There is nothing quite like the aroma of Bread machine cinnamon rolls wafting through your home on a slow Sunday morning. This recipe bridges the gap between high-end artisan bakery quality and the effortless convenience of modern kitchen technology.
By utilizing the dough cycle of your bread machine, we eliminate the guesswork and physical labor of kneading. The result is a perfectly developed, pillowy gluten structure that serves as the foundation for deep, caramelized cinnamon-sugar swirls.
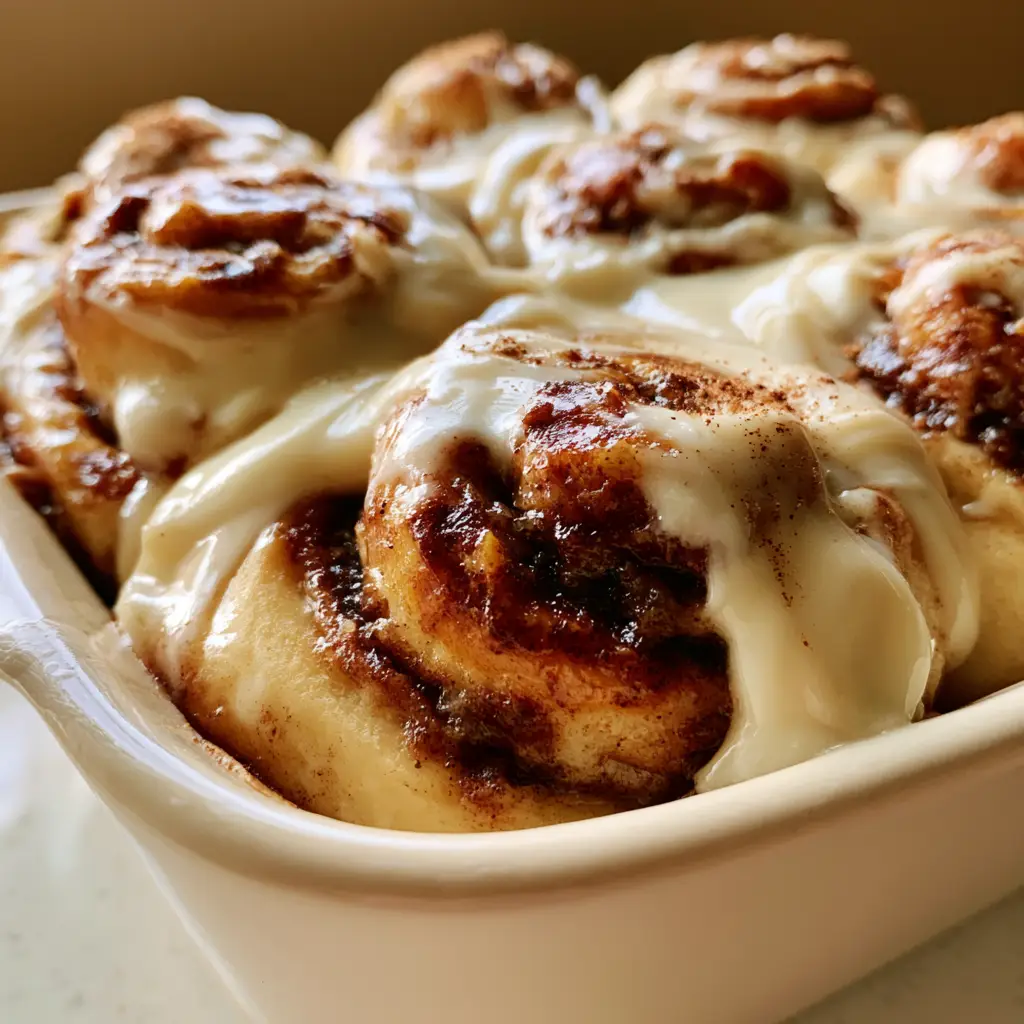
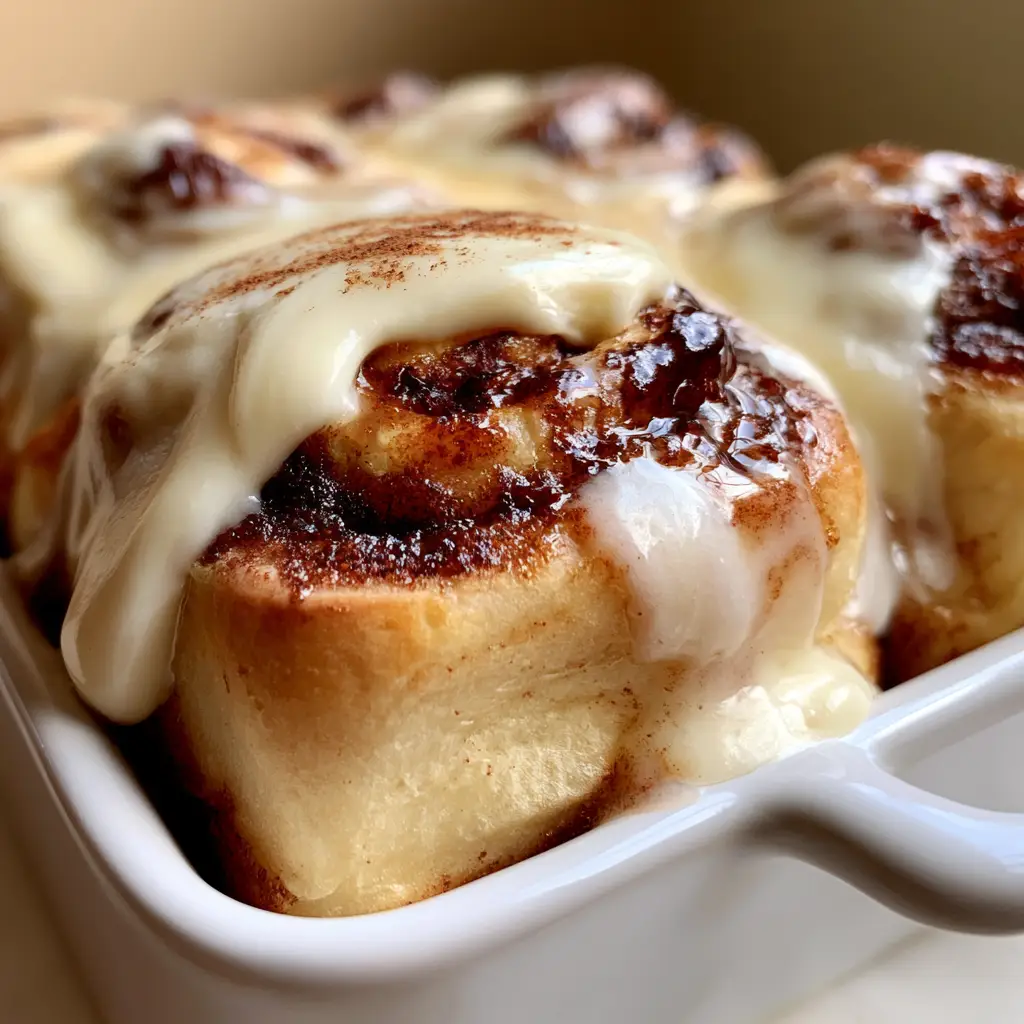
As seen in our visual guide, these rolls emerge from the oven with a stunning golden-brown crust. They are finished with a velvety, melted cream cheese frosting that drips into every crevice, topped with a delicate final dusting of ground cinnamon for that professional touch.
Why These Bread machine cinnamon rolls Are a Game Changer
- Perfectly Developed Crumb: The bread machine provides consistent temperature and kneading, ensuring a soft, pillowy yeast dough every single time.
- Caramelized Depth: Our filling technique creates a bubbling, dark brown cinnamon-sugar glaze that fuses with the dough during the bake.
- Decadent Texture: The thick cream cheese frosting is designed to be applied while the rolls are warm, creating those iconic glossy, melting layers.
- Forensic Accuracy: From the rustic matte white ceramic dish to the final cinnamon dusting, this recipe delivers exactly what you see in the photos.
The Science of Soft Yeast Dough and Essential Ingredients
To achieve the bakery-style results seen in our visuals, we must focus on the “invisible” ingredients that provide structure and moisture. Each component serves a specific culinary purpose in the Bread machine cinnamon rolls ecosystem.
Bread Flour: Use 4 cups (500g) of high-protein bread flour. This provides the necessary gluten strength to support the heavy cinnamon-sugar glaze and butter-rich dough.
Warm Whole Milk: 1 cup (240ml) of milk warmed to 110°F (43°C) hydrates the flour while providing the sugars and fats needed for a tender crumb. It also activates the yeast without killing it.
Unsalted Butter: You will need 1/2 cup (115g) of softened butter for the dough and another 1/2 cup (115g) for the filling. Butter is the key to that “pillowy” texture and the golden-brown finish.
Large Egg: 1 room-temperature egg adds protein and fat, acting as an emulsifier that creates a rich, brioche-like consistency in your bread machine.
Active Dry Yeast: 2.25 tsp (7g) is the engine of our recipe. It feeds on the sugar and flour to produce the carbon dioxide bubbles that make the dough rise.
Dark Brown Sugar: 1 cup (200g) for the filling. The molasses content in dark brown sugar is what creates that deep, caramelized dark brown glaze that bubbles within the swirls.
Ground Cinnamon: 2 tbsp (16g) for the filling, plus a “tiny dusting” for the finish. Cinnamon provides the warmth and aromatic profile that defines the dish.
Cream Cheese: 4 oz (115g) of full-fat cream cheese, softened. This is the base for our velvety frosting, providing the tang that balances the sweet glaze.
Powdered Sugar: 1.5 cups (180g) to thicken the frosting and provide a smooth, glossy finish that drips perfectly down the sides of the rolls.
Essential Tools for the Perfect Bake
To replicate the rustic, handheld photo aesthetic, you will need a few specific items. A bread machine with a dedicated “Dough” setting is mandatory for the primary kneading and first rise.
We recommend a rustic matte white ceramic baking dish (9×13 inch / 23×33 cm). Ceramic retains heat more evenly than metal, which helps achieve that specific golden-brown bottom without burning the sugar glaze.
A sharp bench scraper or unflavored dental floss is vital for cutting the rolls. Using a knife often squishes the delicate yeast dough, but floss allows you to maintain those perfect, tight swirls.
Step-by-Step Instructions for Bread machine cinnamon rolls
Phase 1: Preparing the Enriched Dough
Start by adding the warm milk (240ml), room-temperature egg, and softened butter (115g) to the bread machine pan. Follow this with the bread flour, salt, and sugar, making a small well on top for the yeast.
Select the “Dough” cycle. This typically takes about 90 minutes. During this time, the machine will knead the ingredients into a smooth ball and provide a warm, controlled environment for the first rise.
Your sensory cue for success: The dough should be soft and slightly tacky but should not stick to your fingers. It should have doubled in size and look airy and light.
Phase 2: Rolling and Filling for Maximum Caramelization
Turn the dough onto a lightly floured surface. Roll it out into a large rectangle, approximately 12×18 inches (30×45 cm). Ensure the thickness is even to guarantee uniform baking.
Spread the remaining 1/2 cup (115g) of softened butter across the dough, leaving a 1/2 inch border. Generously sprinkle the dark brown sugar and 2 tbsp of cinnamon over the butter.
Roll the dough tightly from the long edge. Use your dental floss to cut the log into 12 even pieces. Place them into your matte white ceramic dish, ensuring they have room to grow.
Phase 3: The Second Rise and Golden-Brown Bake
Cover the dish with a clean towel and let the rolls rise in a warm spot for 45-60 minutes. This second rise is crucial for the “soft, pillowy” texture described in our visual blueprint.
Preheat your oven to 350°F (175°C). Bake for 20-25 minutes. Watch for the visual cue: the tops should be a deep golden-brown, and you should see the cinnamon-sugar glaze bubbling at the edges.
Phase 4: Whipping the Velvety Cream Cheese Frosting
While the rolls bake, whisk together the softened cream cheese, 1/4 cup (55g) butter, powdered sugar, and a splash of vanilla. If the frosting is too thick, add a teaspoon of heavy cream until it reaches a velvety consistency.
As soon as the rolls come out of the oven, spread the frosting generously. The heat from the rolls will cause the frosting to melt slightly, creating those luscious, glossy layers that drip down the sides.
Finish with a tiny dusting of ground cinnamon across the top to mirror the aesthetic of a professional bakery.
Expert Tips for Success
- Temperature Control: Ensure your egg and butter are at room temperature. Cold ingredients can shock the yeast and slow down the rise time significantly.
- The Floss Trick: Always use unflavored floss to cut your rolls. It prevents the dough from compressing, which keeps the interior layers light and airy.
- Frosting Timing: For that “melted and dripping” look, frost the rolls within 5 minutes of pulling them from the oven. If you prefer a thicker, fluffier frosting layer, wait 15 minutes.
- Don’t Over-Flour: When rolling out the dough, use just enough flour to prevent sticking. Too much extra flour will result in a dry, tough cinnamon roll.
Storage, Reheating, and Freezing Advice
These Bread machine cinnamon rolls are best enjoyed fresh and warm. However, they can be stored in an airtight container at room temperature for up to 2 days or in the refrigerator for up to 5 days.
To reheat, place a single roll in the microwave for 15-20 seconds. This revives the “melted” texture of the frosting and softens the dough perfectly.
For freezing, we recommend freezing the rolls after the second rise but before baking. When ready to eat, let them thaw in the fridge overnight and bake as directed, adding 5 minutes to the bake time if needed.
What to Serve With This Sweet Breakfast
Balance the sweetness of these rolls with a savory side or a sophisticated beverage. If you are hosting a brunch, consider starting with some high-protein recipes like a vegetable frittata to keep your guests full.
For a festive morning, a French 75 cocktail provides a bright, acidic contrast to the rich cream cheese frosting. If you are looking for more baking inspiration, check out our guide on cinnamon muffins for a quicker fix.
For those who love hearty, rustic cooking, many techniques used here are echoed in The Farm Table Cookbook, which emphasizes fresh, foundational ingredients.
Frequently Asked Questions
Absolutely! After the dough cycle, shape the rolls and place them in the baking dish. Cover tightly with plastic wrap and refrigerate overnight. Let them sit at room temperature for 30-60 minutes before baking the next morning.
Yes, but bread flour is preferred. The higher protein content in bread flour creates a stronger gluten structure, which results in a taller, fluffier roll that can better support the heavy cinnamon-sugar filling.
Yes. If using Instant Yeast in a bread machine, you don’t need to change the amount, but you can technically skip the warming of the milk (though warm milk still helps the dough rise faster).
The key is timing. Apply the cream cheese frosting while the rolls are still very warm (about 5 minutes after removing from the oven). The residual heat melts the fats in the frosting, creating those beautiful drips.
The most common reasons are expired yeast or milk that was too hot. Ensure your yeast is fresh and your milk is between 105°F and 115°F. If the milk is hotter than 120°F, it will kill the yeast.
Bread machine cinnamon rolls Recipe Card
Bread machine cinnamon rolls with Thick Cream Cheese Frosting
Ingredients
Equipment
Method
- Add warm milk, egg, and 1/2 cup softened butter to the pan. Layer bread flour, sugar, and salt on top. Create a well for the yeast and add it last.
- Run the machine on the 'Dough' setting. The dough should be pillowy and double in size after the cycle finishes.
- Roll dough into a 12x18 inch rectangle. Spread with softened butter and sprinkle with the brown sugar and cinnamon mixture.
- Roll tightly into a log and cut into 12 pieces using floss. Place in a ceramic dish and let rise for 45 minutes until touching.
- Bake at 350°F (175°C) for 20-25 minutes until golden-brown and the glaze is bubbling.
- Whisk cream cheese frosting ingredients and spread over hot rolls. Finish with a dusting of cinnamon.
Notes
Ensure milk is between 105-115°F to properly activate yeast.
The Ultimate Weekend Treat
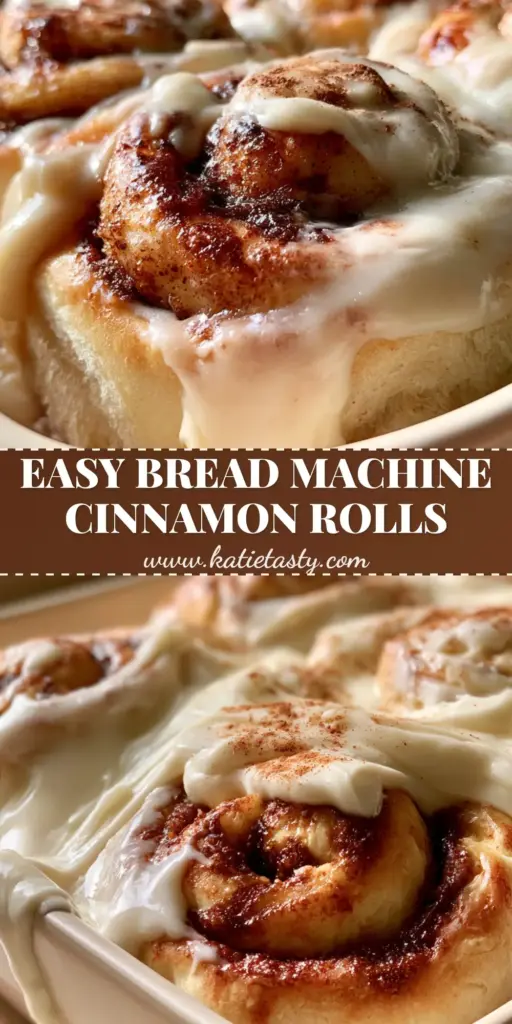
Mastering Bread machine cinnamon rolls is a rite of passage for any enthusiastic home cook. The combination of automated kneading and artisanal finishing techniques ensures a result that looks and tastes like it came from a high-end kitchen.
Whether you’re serving these for a holiday morning or a simple weekend treat, the sight of that thick, melting frosting and the smell of caramelized cinnamon is guaranteed to bring everyone to the table. Don’t forget to share your results with us!
If you enjoyed this recipe, please leave a comment below and follow us on Pinterest for more culinary inspiration. Tag your photos with #KatieTasty so we can see your beautiful bakes!