Homemade banana pudding is the ultimate nostalgia-drenched dessert, but this isn’t your average box-mix version. We are elevating this classic comfort food into a gourmet experience featuring a thick, pastel-yellow vanilla bean custard that is so velvety, it practically melts on your tongue. If you’ve been searching for a recipe that delivers pristine layers of golden vanilla wafers and perfectly sliced bananas, you have arrived at the right place.
There is something magical about the way the homemade banana pudding elements interact after a few hours in the fridge. The cookies soften just enough to become cake-like, while the vibrant yellow banana rounds stay fresh and sweet. This recipe focuses on technical precision—specifically, how to achieve that dense, rich custard texture without any weeping or separation, ensuring every spoonful is as beautiful as it is delicious.
Whether you are serving this at a summer barbecue after some hot honey chicken or looking for a show-stopping Sunday night treat, this pudding is designed to impress. We’ve optimized the layering technique so that when you look through the glass of your dessert bowl, you see a masterpiece of culinary architecture. Let’s dive into the science of the perfect custard.
The Visual & Textural Appeal of Gourmet Pudding
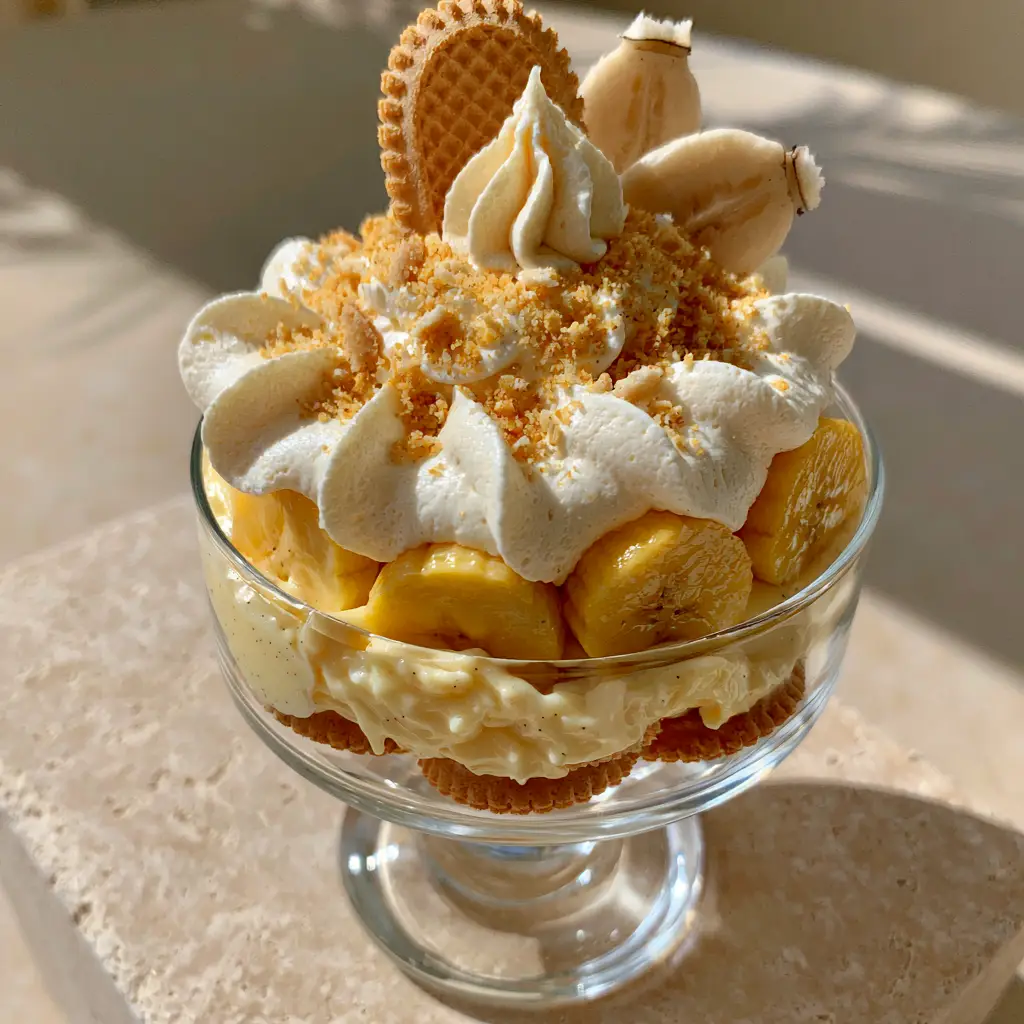
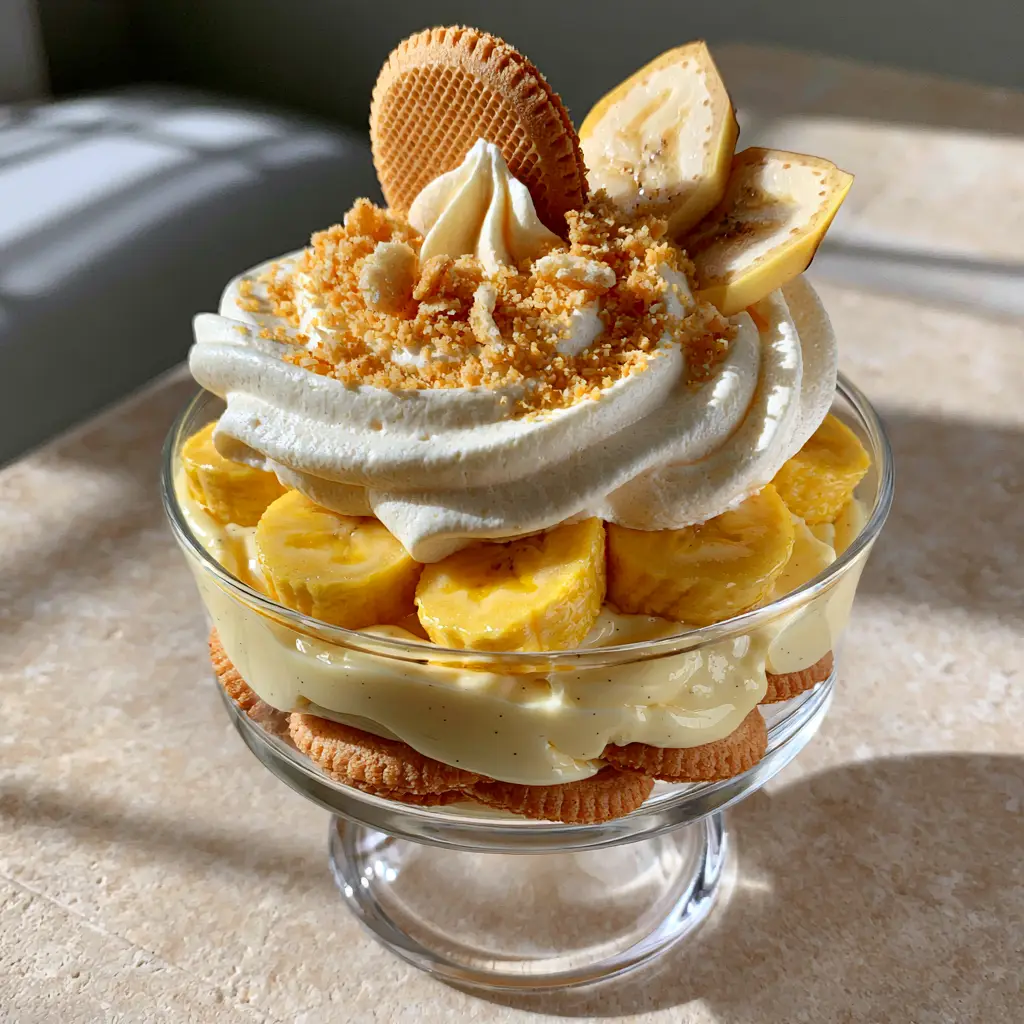
- Ultra-Thick Custard: A dense, pastel-yellow base infused with real vanilla bean specks for a high-end gourmet look.
- Structural Integrity: Layers of whole golden vanilla wafers that provide a sturdy foundation for the rich cream.
- Fresh Visuals: Neatly tucked bright yellow banana rounds that remain vibrant and free of browning.
- Cloud-Like Topping: A generous mound of billowy ivory whipped cream that holds its shape for hours.
- The Perfect Garnish: Finished with a dusting of golden-brown cookie crumbs and a single, pristine upright wafer.
Essential Ingredients for Success
To achieve the specific texture and flavor profile of this homemade banana pudding, high-quality ingredients are non-negotiable. We aren’t just making pudding; we are building a dessert that rivals the best bakeries in the South.
Whole Milk & Heavy Cream: 2 cups (480ml) of whole milk and 1/2 cup (120ml) of heavy cream create the high-fat base necessary for a velvety, dense custard. Do not use skim milk here, as the custard will lack the necessary body.
Egg Yolks: 4 large egg yolks provide the pastel-yellow hue and essential emulsifiers. They ensure the custard is rich and stable without tasting overly “eggy.”
Vanilla Bean: 1 whole vanilla bean, split and scraped. This provides the tiny black flecks and a deep, aromatic flavor that vanilla extract alone cannot replicate. If you’re a fan of deep vanilla flavors, you might also enjoy our blueberry lemon pie bars.
Granulated Sugar & Cornstarch: 3/4 cup (150g) sugar for sweetness and 3 tablespoons (24g) of cornstarch for that thick, non-weeping structure. The cornstarch is the secret to a pudding that stands tall.
Vanilla Wafers: You will need 1 box (11 oz/312g) of golden vanilla wafers. We use whole cookies for the base and layers, plus crushed crumbs for the final artistic garnish.
Bananas: 4-5 medium ripe bananas. Look for bright yellow peels with just a few brown spots—they should be sweet but firm enough to hold their clean cuts when sliced.
Heavy Whipping Cream (For Topping): 1.5 cups (360ml) of cold heavy cream whipped with powdered sugar creates the stable, ivory-colored whipped cream mound that crowns the dish.
Step-by-Step Instructions: The Master Custard Method
1. Infusing the Vanilla Base
In a medium saucepan, combine your milk, heavy cream, and half of the sugar. Take your vanilla bean, split it lengthwise, and scrape the seeds into the liquid. Drop the pod in as well. Heat over medium heat until small bubbles form around the edges—do not let it reach a rolling boil. This step ensures the thick pastel-yellow custard is deeply aromatic.
2. Tempering the Egg Yolks
While the milk heats, whisk the egg yolks, remaining sugar, and cornstarch in a separate bowl until the mixture is pale and smooth. Slowly drizzle about 1/2 cup (120ml) of the hot milk mixture into the yolks while whisking constantly. This tempering process prevents the eggs from scrambling, ensuring a velvety texture with no separation.
3. Thickening the Custard
Pour the tempered yolk mixture back into the saucepan. Cook over medium-low heat, whisking vigorously. Within 3-5 minutes, the mixture will transform into a thick, dense custard. Once it coats the back of a spoon and looks glossy, remove it from the heat. Stir in 2 tablespoons (28g) of unsalted butter for extra richness. Remove the vanilla bean pod.
4. Preparing the Banana Rounds
Slice your bananas into 1/4 inch (6mm) rounds. For the best homemade banana pudding presentation, ensure your cuts are clean. A professional tip is to lightly toss the slices in a teaspoon of lemon juice to prevent browning, though tucking them tightly against the glass and covering them with custard usually does the trick.
5. The Architecture of Layering
Grab your modern clear glass footed dessert bowl. Start with a foundation of whole golden vanilla wafers. Next, pour a layer of the warm custard. Neatly tuck a circle of banana rounds against the glass so they are visible from the outside. Repeat the layers: wafers, bananas, and custard until the bowl is nearly full.
6. The Billowing Whipped Cream Topping
In a chilled bowl, beat the heavy cream and 2 tablespoons (15g) of powdered sugar until stable, stiff peaks form. Once the pudding has chilled and set, pile the ivory-colored whipped cream on top in a billowy mound. Use a spatula to create swirls and peaks for that artisanal, handheld smartphone photo look.
Expert Tips for the Perfect Set
- Chill Time is Vital: Let the homemade banana pudding set in the refrigerator for at least 4 hours. This allows the wafers to soften to a cake-like consistency while the custard firms up.
- Prevent Skin Formation: If you aren’t assembling immediately, press plastic wrap directly onto the surface of the hot custard to prevent a rubbery skin from forming.
- Stabilize Your Cream: For a stable, fluffy whipped cream that won’t melt, ensure your cream and bowl are ice-cold before whipping.
- The Garnish Timing: Add the final pristine whole vanilla wafer and crushed cookie dust just before serving to maintain their crunch.
Storage & Make-Ahead Advice
This homemade banana pudding is best enjoyed within 24 to 48 hours. After 48 hours, the bananas may begin to release moisture, which can lead to weeping. Do not freeze this pudding; the custard texture will break and become grainy upon thawing.
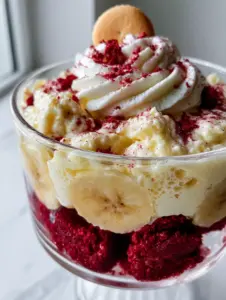
If you are making this for a party, you can prepare the custard up to two days in advance. Assemble the layers 4-6 hours before serving to ensure the golden-brown cookies have the perfect bite. If you love layered desserts, you might also want to try our red velvet banana pudding for a colorful twist.
What to Serve With Banana Pudding
Since this is a rich, creamy dessert, it pairs beautifully with salty or savory main courses. It is a classic follow-up to a heavy meal like classic homemade lasagna or even a lighter pasta primavera. For a complete southern-themed menu, serve it alongside a crisp ramen coleslaw for a refreshing textural contrast.
Frequently Asked Questions
Yes, you can make the custard 2 days early, but for the best results, assemble the layers 4-8 hours before serving so the cookies stay soft but not mushy.
Yes, you can substitute 1 tablespoon of high-quality vanilla extract or vanilla bean paste for the whole bean. However, the bean provides the best flavor and visual flecks.
To prevent browning, ensure the banana slices are fully submerged in the custard or tucked tightly against the glass where air cannot reach them. You can also lightly toss the slices in lemon juice before layering.
It needs at least 4 to 6 hours in the refrigerator. This time allows the vanilla wafers to absorb moisture from the custard, turning them into a soft, cake-like texture.
Weeping usually happens if the custard wasn’t cooked long enough to fully activate the cornstarch, or if the bananas were overripe and released excess moisture. Ensure the custard is thick and coats a spoon before cooling.
The Ultimate Homemade Banana Pudding Recipe
Now, let’s bring all these elements together into the final recipe card. Follow these measurements precisely to achieve the thick, pastel-yellow results shown in our photos.
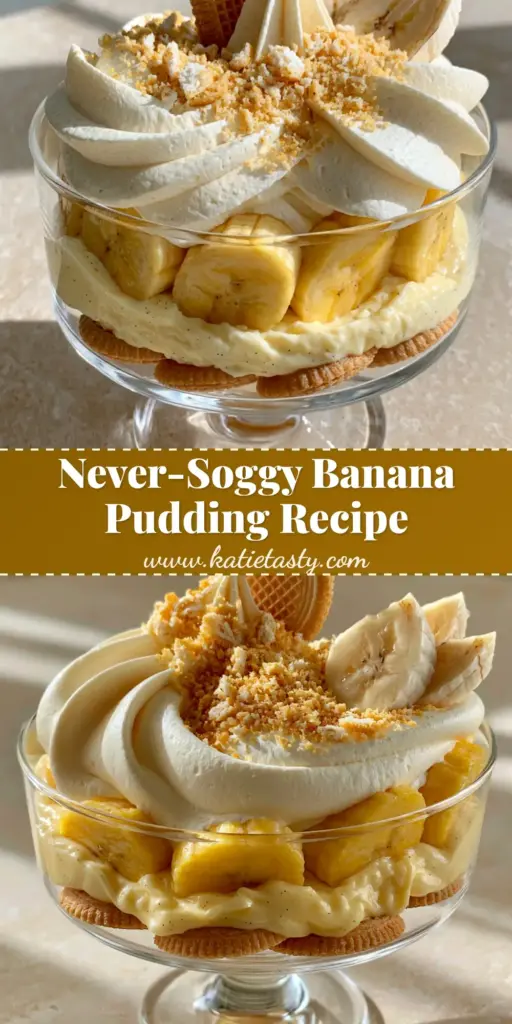
Homemade Banana Pudding with Thick Vanilla Bean Custard
Ingredients
Equipment
Method
- Heat milk, cream, and half the sugar with the vanilla bean in a saucepan until steaming.
- Whisk yolks, cornstarch, and remaining sugar. Slowly whisk in hot milk mixture to temper.
- Return to heat and whisk until thick and pastel-yellow. Stir in butter and remove bean pod.
- Create foundation with whole wafers. Layer custard and bananas, pressing rounds against the glass bowl.
- Refrigerate for at least 4 hours to set and soften cookies.
- Whip heavy cream with powdered sugar until stable. Mound on top and garnish with cookie dust and one whole wafer.
Notes
Toss bananas in lemon juice if you plan to store the pudding for more than 24 hours.
Share Your Masterpiece!
Did you make this homemade banana pudding? We want to see your beautiful layers! Save this recipe to your Dessert Board on Pinterest so you never lose it. Follow @katie_tasty for more gourmet comfort food inspiration. If you loved the vanilla bean custard, please leave a 5-star rating and upload a photo of your glass bowl in the comments below!