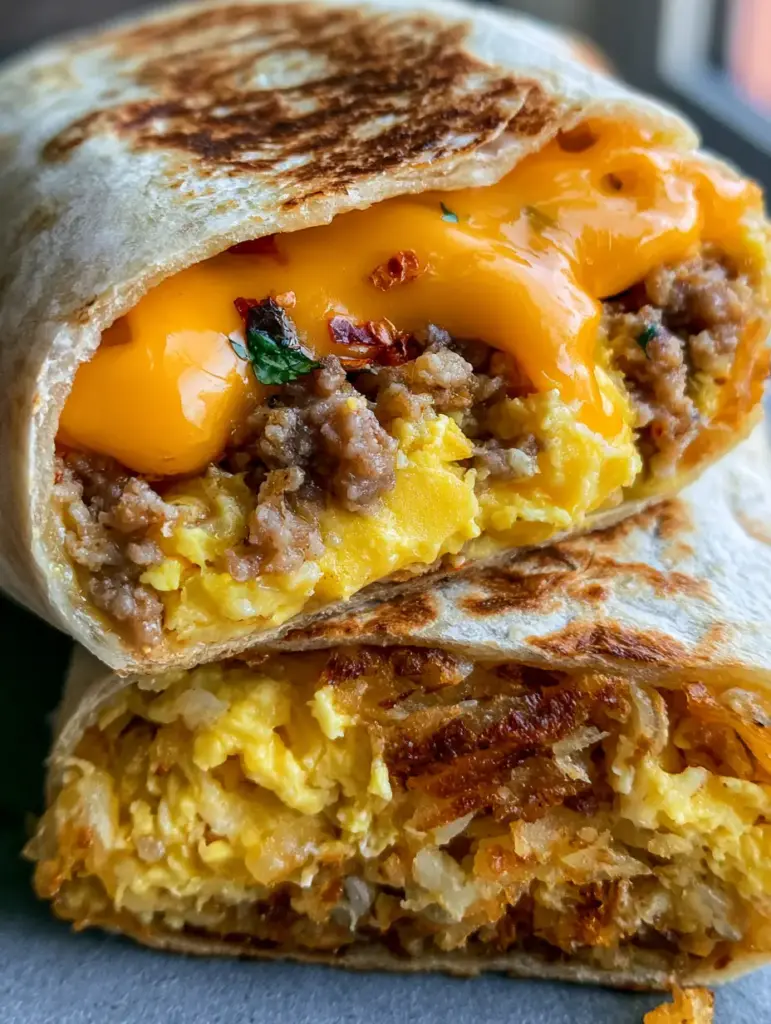
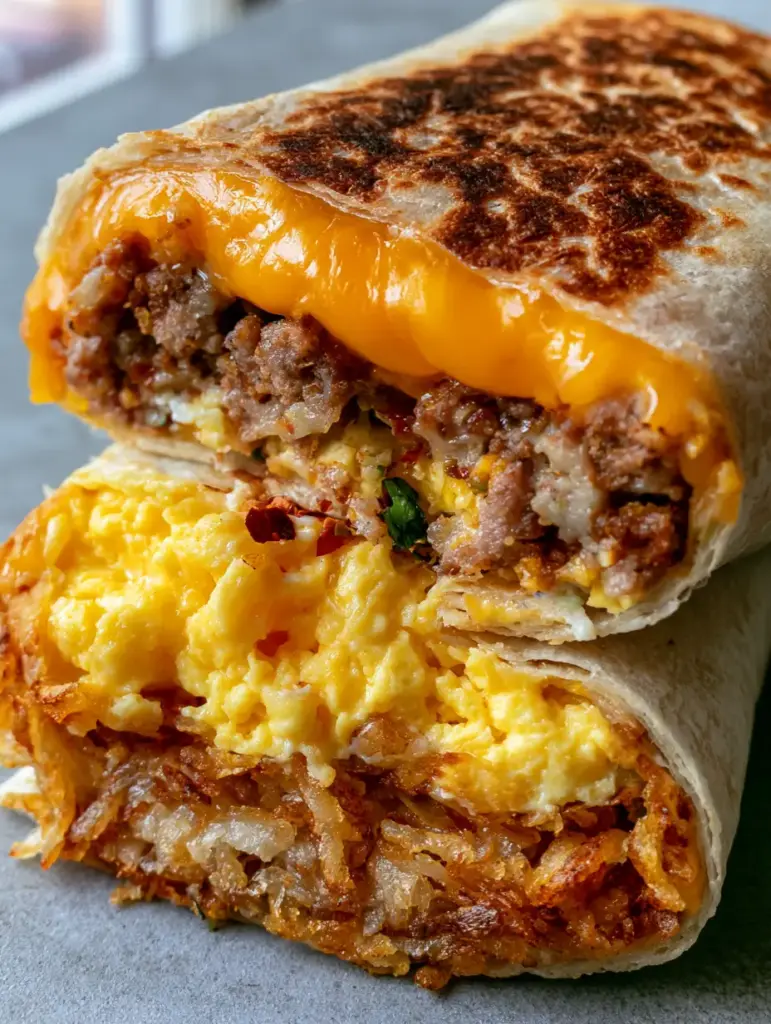
Freezer breakfast burritos are the undisputed champions of morning productivity, offering a gourmet, protein-packed start to your day with zero morning prep. Imagine biting into a perfectly toasted flour tortilla, its surface kissed by golden-brown sear marks, giving way to layers of crispy hash browns and velvety eggs.
This isn’t your average soggy microwave wrap; we are building a structural masterpiece designed for the freezer. By focusing on distinct, dry layers and high-quality sharp cheddar, we ensure every bite maintains the textural integrity of a fresh-off-the-griddle cafe order.
Whether you are fueling up for a long workday or looking for a post-workout recovery meal, these burritos deliver a symphony of savory pork sausage and subtle heat from dried red chili flakes. Let’s dive into the culinary science of the perfect make-ahead breakfast.
Why These Gourmet Freezer Breakfast Burritos Outperform the Rest
- Visual Perfection: We utilize a dry-layering technique that creates a stunning cross-section of bright yellow eggs and orange cheddar.
- Textural Contrast: The combination of a seared, crisp exterior and crunchy shredded hash browns provides a satisfying “crunch” in every mouthful.
- Flavor Density: Fresh cilantro and red chili flakes provide aromatic brightness that cuts through the rich, browned pork sausage.
- Smart Moisture Control: By properly venting steam during the assembly, we prevent the dreaded “soggy tortilla” syndrome common in meal prep.
The Anatomy of Flavor: Essential Ingredients for Success
Large Flour Tortillas (10-12 inch): You need a sturdy, pliable base that can handle the “burrito tuck” and develop those iconic char marks when seared.
Shredded Hash Browns: We use 2 cups (300g) of potatoes, cooked until deep golden-brown to ensure they provide a structural crunch even after reheating.
Bulk Pork Sausage: 1 lb (450g) of savory pork, crumbled and browned until caramelized, provides the essential salty, umami foundation for the burrito.
Large Eggs: 8 eggs, whisked with a splash of cream, create the dense, fluffy yellow layer that acts as the soft center of our cross-section.
Sharp Cheddar Cheese: 1.5 cups (170g) of freshly grated sharp cheddar creates that “thick ribbon” of melted orange goodness visible in the final cut.
Fresh Cilantro and Red Chili Flakes: These “finishing” ingredients add tiny specks of green and red, providing a fresh pop against the heavier savory elements.
Foundational Fats and Seasoning: You will need 2 tbsp (30ml) of neutral oil for searing and 1/2 tsp (3g) of kosher salt to enhance the natural flavors of the eggs and potatoes.
Pro-Level Tools for the Ultimate Sear
To achieve the “unedited smartphone photo” quality of a gourmet burrito, you need a heavy-bottomed cast iron skillet. This tool is non-negotiable for creating those high-contrast char marks and even heat distribution.
You will also need a wide offset spatula for flipping the burritos without tearing the tortilla and a cooling rack. Placing seared burritos on a rack prevents steam from softening the bottom, keeping the entire circumference crisp.
Step-by-Step Architecture for a Better Breakfast
1. Mastering the Crispy Hash Brown Base
Heat 1 tbsp (15ml) of oil in your skillet over medium-high heat. Add the shredded hash browns in an even layer and resist the urge to stir; wait until you hear the sizzle and see the edges turn brown.
Flip the potatoes once they are deeply bronzed. The goal is a dry, crispy texture that will provide a distinct layer in the burrito cross-section rather than a mushy interior.
2. Browning the Sausage and Scrambling the Eggs
In the same skillet, brown the pork sausage, breaking it into small crumbles with your spatula until no pink remains and the fat has rendered. Drain any excess grease to keep the burrito “dry” and prevent sogginess.
Wipe the pan and lower the heat to medium-low. Pour in your whisked eggs and cook slowly, folding them gently until they are just set but still bright yellow and fluffy.
3. The Assembly: Layering for Visual Impact
Lay a tortilla flat and place a thick base layer of crispy hash browns in the center. Top with a dense layer of scrambled eggs, followed by the browned sausage crumbles.
Finish with a generous ribbon of sharp cheddar, a sprinkle of fresh chopped cilantro, and a pinch of red chili flakes. This specific order ensures the cheese melts into the warm sausage while the cilantro stays vibrant.
4. Searing for the Perfect Toasted Finish
Fold the sides of the tortilla in and roll tightly. Place the burrito seam-side down in a hot, dry skillet. Sear for 1-2 minutes per side until you see those beautiful golden-brown sear marks and the exterior feels crisp to the touch.
Culinary Troubleshooting: Tips for Perfection
- Cool Before Wrapping: Never wrap a hot burrito in foil for the freezer. Let them reach room temperature first to avoid trapping steam, which leads to ice crystals and mushy tortillas.
- The “Cheese Barrier”: Placing the cheese between the hot meat and the egg helps it melt into a “ribbon” rather than disappearing into the tortilla.
- Parchment First: Wrap each burrito in parchment paper before foil; the parchment prevents the tortilla from sticking to the foil during the reheating process.
- Spice Management: If you prefer more heat than a sprinkle of chili flakes, consider serving these alongside a savory mushroom side or a spicy salsa.
Strategic Pairing and Serving Suggestions
While these freezer breakfast burritos are a complete meal on their own, they pair beautifully with a fresh, acidic side to balance the richness of the sausage and cheese. Try serving them with a light spinach salad or a refreshing apple and chickpea salad.
If you are hosting a brunch, these burritos make a great “main” alongside a tray of crunchy banana muffins or some strawberry cheesecake oats for those who prefer a sweeter start.
Managing Your Make-Ahead Stash
These burritos will stay fresh in the freezer for up to 3 months. When you are ready to eat, the best method for maintaining that “crisp texture” is to thaw them overnight in the fridge and then reheat them in a toaster oven or air fryer at 350°F (175°C) for 10-12 minutes.
If you are in a rush, you can microwave them for 2 minutes (remove foil first!), but we highly recommend a quick 1-minute sear in a pan afterward to revive those iconic char marks.
Frequently Asked Questions
Yes! Just ensure you cook them in a skillet until they are very crispy and golden-brown. This ensures they maintain their texture after being frozen and reheated.
The key is moisture control. Let all fillings cool to room temperature before assembling, and sear the burrito in a dry pan to create a crisp barrier. Avoid adding watery salsas or wet vegetables inside the burrito before freezing.
When properly wrapped in parchment paper and aluminum foil, freezer breakfast burritos will maintain high quality for up to 3 months.
For best results, thaw in the fridge overnight and reheat in an air fryer or toaster oven at 350°F (175°C) for 10 minutes. If using a microwave, remove the foil and heat for 2 minutes, then finish in a skillet for a crisp crust.
Sharp cheddar has a lower moisture content and a more intense flavor profile, which stands up better to the freezing process and provides a more distinct ‘ribbon’ of cheese in the cross-section.
The Ultimate Freezer Breakfast Burritos Recipe Card
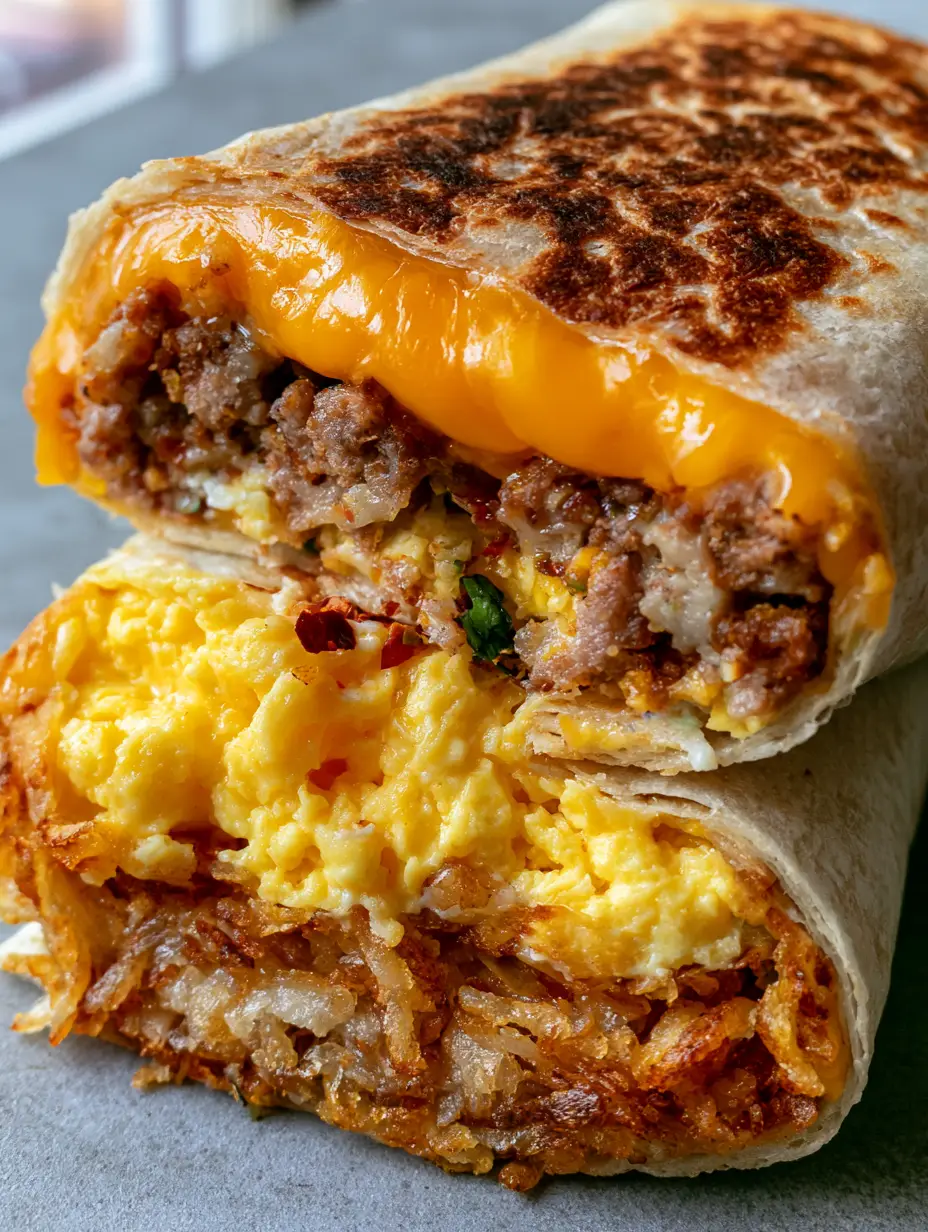
Freezer Breakfast Burritos: The Ultimate Crispy & Cheesy Make-Ahead Meal
Ingredients
Equipment
Method
- Heat 1 tbsp oil in a skillet and cook hash browns until deep golden-brown and crispy on both sides.
- Brown the pork sausage until caramelized; drain grease. In a clean pan, softly scramble whisked eggs until just set and fluffy.
- Layer potatoes, eggs, sausage, and cheese in the center of a tortilla. Add cilantro and chili flakes.
- Fold into a burrito and sear in a dry skillet seam-side down until golden-brown char marks appear.
Notes
Wrap in parchment paper then foil for the best freezer storage.
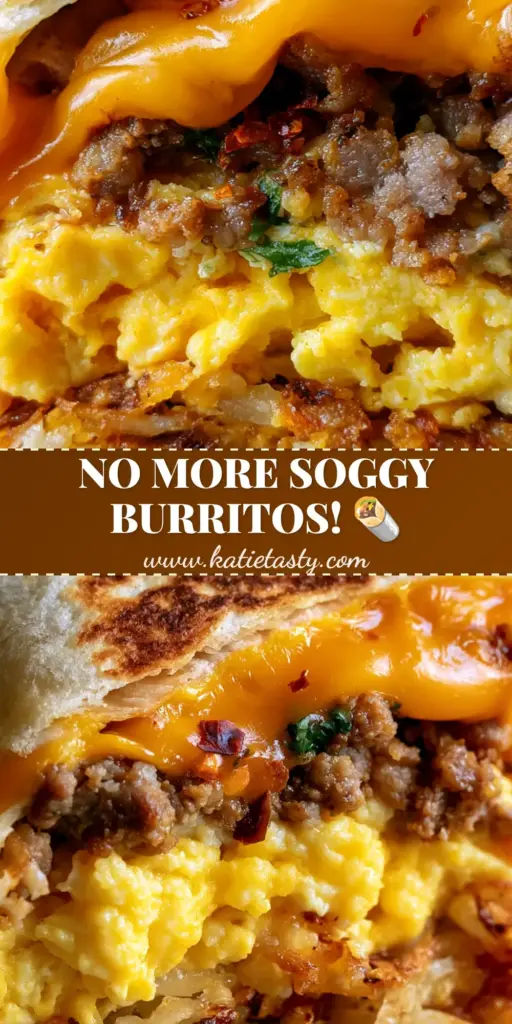
Unlock Your Most Productive Mornings
Mastering freezer breakfast burritos is more than just meal prep; it’s a lifestyle upgrade. No more settling for bland cereal or expensive drive-thru options when you have a gourmet, crispy, cheesy wrap waiting in your freezer.
If you loved this recipe, please leave a comment below and let me know your favorite burrito fillings! Don’t forget to share your creations and follow my latest kitchen adventures on Pinterest.