If you are searching for the ultimate crowd-pleasing appetizer, these cream cheese stuffed mini peppers are the vibrant, crunchy, and creamy answer to your snack cravings. These handheld delights perfectly balance the natural sweetness of crisp peppers with a savory, hand-mixed everything bagel crust that looks as stunning as it tastes.
In this guide, we are diving deep into the culinary science of the perfect “mound” and the forensic details required to make your platter look like a professional food photograph. Whether you are hosting a summer brunch or looking for a low-carb alternative to your favorite bagel, this recipe delivers on every sensory level.
Our approach ensures that every bite offers a “crisp and juicy” snap from the pepper followed by the airy, velvet texture of aerated cream cheese. By the time you finish this article, you will master the art of seasoning adhesion and the secret to getting that perfect fresh-snipped chive finish.
Why These Everything Bagel Mini Peppers Dominate the Appetizer Table
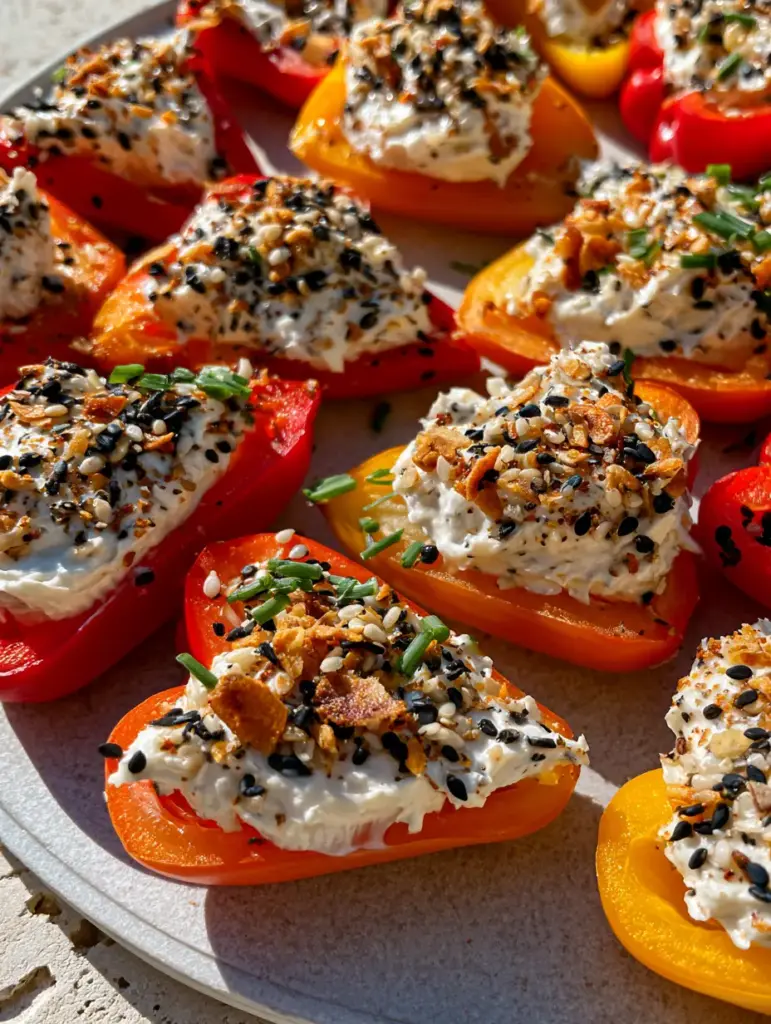
- Visual Contrast: The vibrant red, orange, and yellow hues of the peppers provide a high-definition backdrop for the black and white sesame seeds.
- Textural Complexity: You get the crunch of the pepper, the fluffiness of the whipped cheese, and the crystalline snap of flaky sea salt in one bite.
- Make-Ahead Friendly: These beauties hold their structural integrity for hours, making them ideal for long events where you need snacks to stay “photo-ready.”
- Nutrient-Dense: Unlike traditional bagel-based snacks, these utilize vitamin-rich sweet peppers as the vessel.
The Anatomy of Ingredients for Maximum Flavor Impact
To achieve the specific visual in our blueprint, we aren’t just using store-bought blends. We are building a custom flavor profile that ensures every flake of garlic is toasted to a perfect golden hue.
Mini Sweet Peppers: Look for a bag containing a mix of red, orange, and yellow. These should be firm to the touch with no soft spots to ensure that “crisp and juicy” experience described in our visual guide.
Whipped Cream Cheese: While you can buy pre-whipped, we recommend whipping 16 oz (450g) of full-fat brick cream cheese with a splash of heavy cream for a more stable, textured mound. This provides the “thick, textured” look essential for holding the heavy seasoning.
Black and Toasted White Sesame Seeds: These provide the primary visual contrast. Using 2 tbsp (18g) of each ensures every pepper is “heavily encrusted” rather than just lightly dusted.
Dried Garlic and Onion Flakes: These must be “flakes,” not powders. The flakes provide the “golden garlic” visual and a punchy, savory crunch that simulates a toasted bagel.
Poppy Seeds and Flaky Sea Salt: Poppy seeds fill the micro-gaps between larger flakes, while 1 tsp (5g) of flaky sea salt provides those bursts of salinity that make the cream cheese sing.
Fresh Snipped Chives: Use sharp kitchen shears to cut 2 tbsp (8g) of chives into tiny, uniform rings. This adds the final “pop of color” and a fresh oniony note that cuts through the richness of the cheese.
Essential Equipment for Professional Appetizer Styling
To replicate the high-detail morning light look of our stone platter, you will need a few specific tools from your culinary arsenal. A sharp paring knife is non-negotiable for clean cuts through the pepper skins without bruising the flesh.
A hand mixer or stand mixer is required to aerate the cheese to the point where it can be mounded high without collapsing. For the seasoning application, a small shallow bowl is better than a shaker, as it allows for the “dipping and pressing” technique that ensures a heavy encrusting.
Finally, a set of kitchen shears (scissors) is much more effective than a knife for getting those perfectly round chive snips. If you enjoy the creamy filling in this recipe, you should also try our creamy chicken taquitos for a warm, savory alternative.
The Step-By-Step Forensic Prep Method
Step 1: Preparing the Pepper Vessels
Wash 1 lb (450g) of mini sweet peppers in cold water and pat them completely dry with a lint-free towel. Moisture is the enemy of seasoning adhesion, so ensure the skins are bone-dry.
Slice each pepper in half lengthwise, starting from the stem down to the tip. Use a small spoon or your thumb to gently remove the seeds and the white ribs, leaving a clean, hollow boat ready for the filling.
Step 2: Engineering the Whipped Filling
Place 16 oz (450g) of room-temperature cream cheese into a bowl. Beat on high speed for 2-3 minutes until the volume has increased by nearly 30% and the texture looks fluffy and mounded.
This aeration is what allows the cream cheese to hold the heavy bagel seasoning without sinking. If you love stuffed vegetables, you might also enjoy our spinach stuffed peppers which utilize a similar filling technique but with a warm finish.
Step 3: Creating the Bespoke Everything Blend
In a small bowl, combine 2 tbsp (18g) black sesame seeds, 2 tbsp (18g) toasted white sesame seeds, 1 tbsp (9g) dried garlic flakes, 1 tbsp (9g) dried onion flakes, 1 tbsp (9g) poppy seeds, and 1 tsp (5g) flaky sea salt.
Stir the mixture gently to ensure the smaller poppy seeds are evenly distributed among the larger garlic and onion flakes. This creates the “heavily encrusted” look seen in the morning light on our stone surface.
Step 4: The Mounding and Encrusting Process
Using a small offset spatula or a spoon, fill each pepper half with a generous amount of whipped cream cheese. Aim for a “thick, textured mound” that sits about half an inch above the rim of the pepper.
Take the stuffed pepper and gently press the cream cheese side directly into your seasoning bowl. Pressing firmly ensures the flakes embed themselves into the cheese, preventing them from falling off when guests pick them up.
Expert Tips for Appetizer Success
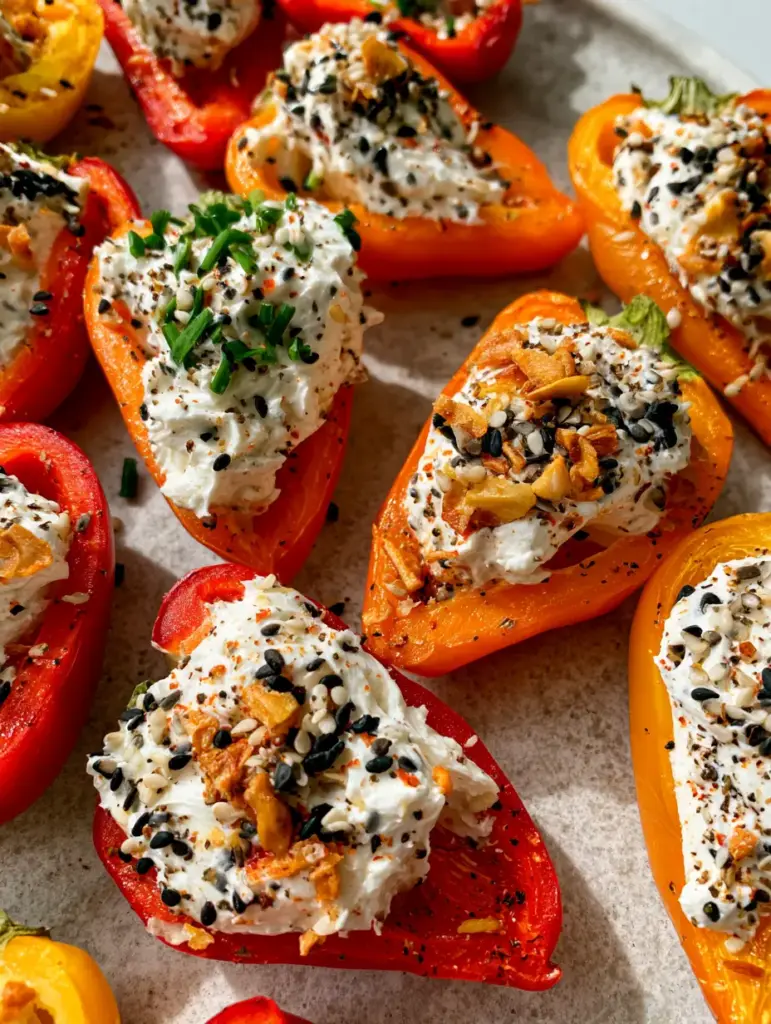
- Temperature Control: Serve these peppers chilled. The cold temperature keeps the peppers “crisp and juicy” and helps the whipped cheese maintain its structural height.
- The “Snap” Test: If your peppers feel soft, soak them in an ice-water bath for 10 minutes before drying and stuffing to restore their crunch.
- Custom Toasting: If your garlic flakes look pale, toast them in a dry pan for 60 seconds until they reach that “golden garlic” hue mentioned in the visual prompt.
- Chive Precision: Always snip chives at the very last second. This prevents them from wilting and ensures they provide that vibrant green “pop of color” against the white cheese.
The Best Ways to Store and Prep Ahead
These cream cheese stuffed mini peppers are best consumed within 4-6 hours of assembly to maintain the maximum crunch. However, you can prep the components separately up to 48 hours in advance.
Store the cleaned pepper halves in an airtight container with a paper towel to absorb excess moisture. The whipped cream cheese can be stored in the fridge, but you may need to give it a quick 30-second whip with a fork before stuffing to regain its fluffiness.
Do not freeze these. The high water content in the sweet peppers will cause the cell walls to collapse upon thawing, resulting in a mushy texture that loses its handheld appeal. For a snack that stores better in the freezer, consider our cottage cheese chips.
What to Serve with Everything Bagel Peppers
These peppers are a versatile sidekick to many different flavor profiles. Because of their savory bagel notes, they pair exceptionally well with brunch items or salty snacks.
Try serving them alongside mini taco cups for a diverse appetizer platter. If you are looking for something sweet to balance the garlic and onion flakes, a side of blueberry cottage cheese bites provides a refreshing contrast.
For a full lunch spread, these peppers offer a great crunch next to a simple spinach salad. The juicy texture of the peppers acts almost like a palate cleanser between bites of leafy greens.
Frequently Asked Questions
Yes, they are an excellent low-carb option. With only 3g of carbs per serving, they are a popular alternative to bagel-based snacks for those on keto or paleo diets.
Yes, but for the specific visual result of golden garlic and prominent black sesame seeds, we recommend our hand-mixed blend which ensures the flakes are larger and more textured.
Absolutely! You can mix red pepper flakes or finely diced jalapeños into the whipped cream cheese for a kick that complements the sweet mini peppers.
The key is to dry the peppers completely after washing and keep them refrigerated until the moment of serving. Do not salt the peppers themselves, as salt draws out moisture.
Whipped cream cheese provides the ‘textured mound’ look and a lighter mouthfeel. If using brick cream cheese, beat it with a hand mixer to aerate it before stuffing.
The Ultimate Cream Cheese Stuffed Mini Peppers Recipe
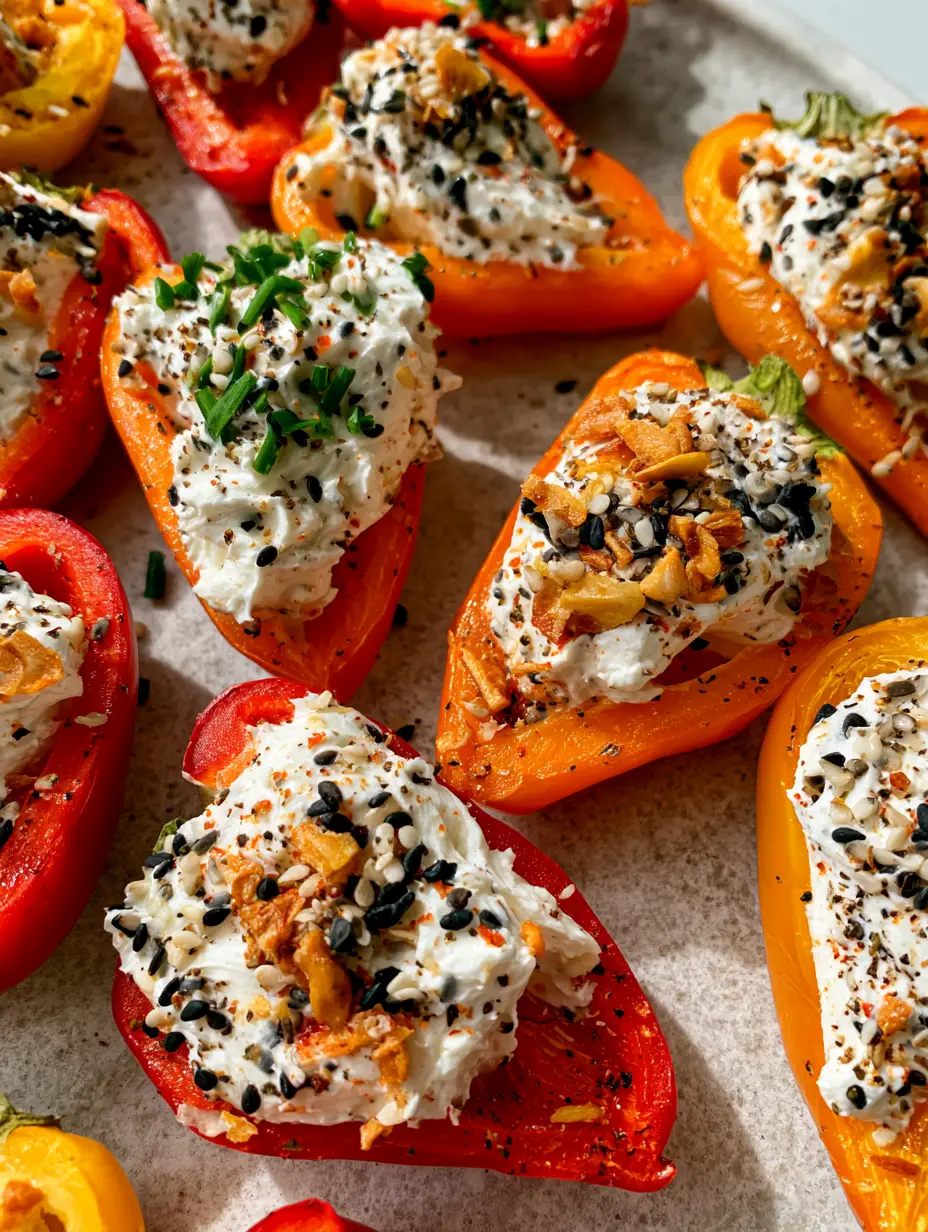
Cream Cheese Stuffed Mini Peppers with Everything Bagel Seasoning
Ingredients
Equipment
Method
- Wash and dry mini peppers thoroughly. Slice in half lengthwise and remove seeds and ribs to create clean vessels.
- In a bowl, beat the cream cheese (and cream if using) with a hand mixer for 2-3 minutes until thick, airy, and textured.
- In a shallow bowl, stir together black sesame, white sesame, garlic flakes, onion flakes, poppy seeds, and sea salt until evenly distributed.
- Mound a generous tablespoon of whipped cheese into each pepper half, creating a textured dome above the rim.
- Gently press the cheese side of each pepper into the seasoning blend until heavily encrusted.
- Arrange on a platter and sprinkle with freshly snipped chives for a pop of color.
Notes
Toast garlic flakes in a dry pan for 1 minute for a more intense golden color.

Final Thoughts on This Crispy, Creamy Snack
Mastering these cream cheese stuffed mini peppers is all about the balance of textures. From the “toasted golden garlic flakes” to the “crisp and juicy” pepper walls, this recipe is a masterclass in simple, high-impact culinary assembly.
We hope you enjoy the process of mounding that whipped cheese and creating your own vibrant platter. If you make these for your next gathering, please leave a comment below and tell us how they turned out!
Don’t forget to share your creations and follow for more visual recipe inspiration on Pinterest. Happy snacking!