When it comes to mastering Homemade snacks, few recipes offer the immediate gratification and nutritional density of a perfectly crafted energy bite. Imagine a snack that requires zero oven time, yet delivers a complex interplay of textures: the hearty chew of large rolled oats, the silky richness of roasted peanut butter, and the floral sweetness of glistening wildflower honey. This recipe isn’t just about convenience; it is a study in culinary balance, designed to look as beautiful on a matte ceramic plate as it feels satisfying to eat.
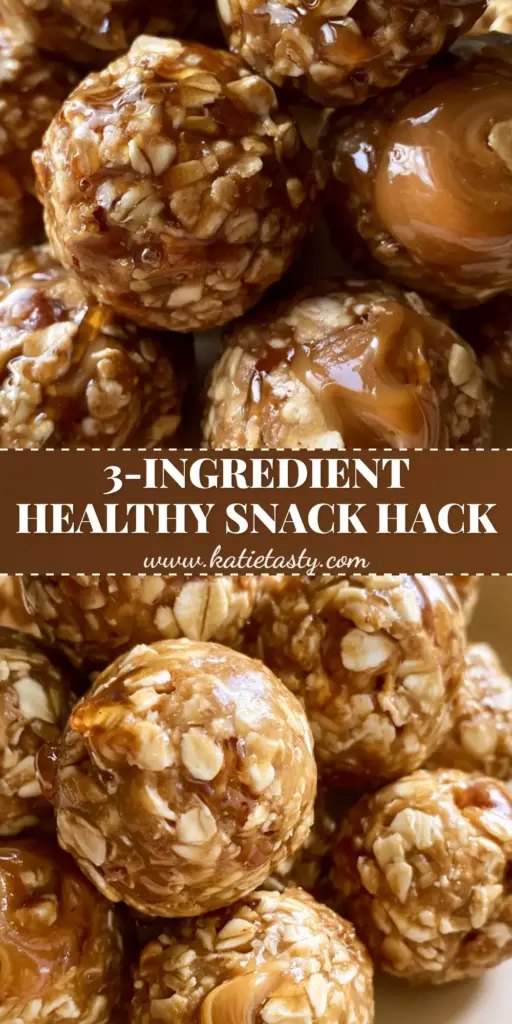
The visual appeal of these bites is undeniable, characterized by their perfectly spherical shape and a surface that catches the light with tiny, glistening honey droplets. Whether you are fueling a busy morning or looking for a post-workout recovery treat, these energy bites provide a sustainable energy boost without the processed sugars found in store-bought alternatives. By focusing on high-quality, whole-food ingredients, you can elevate your Homemade snacks game to professional heights while keeping your kitchen cool and your prep time under twenty minutes.
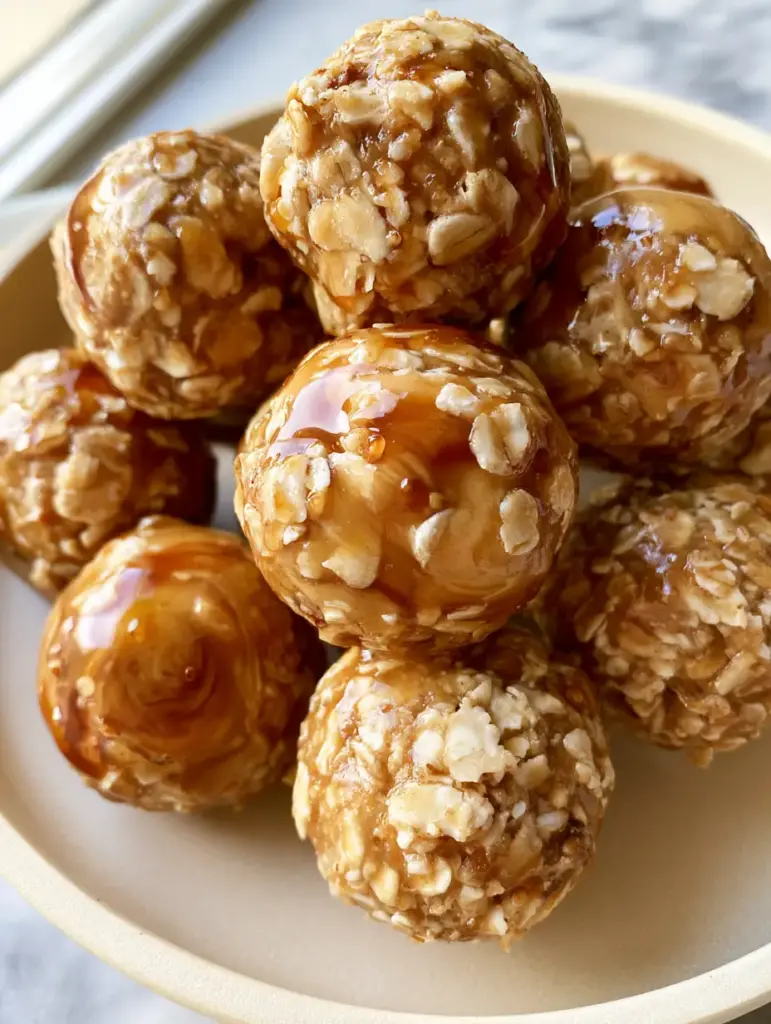
Why These No-Bake Energy Bites Redefine Homemade snacks
- Textural Harmony: We utilize chunky, large-rolled oats to provide a robust structure that contrasts beautifully with the creamy, toasted peanut butter swirls.
- Natural Glisten: The use of golden wildflower honey ensures a moist, glossy finish that stays “tacky” enough to hold its shape without being overly sticky.
- Architectural Integrity: These bites are engineered to be perfectly spherical, ensuring they don’t crumble or flatten when stored or transported.
- Visible Freshness: Every bite showcases individual oat flakes and micro-droplets of amber honey, mimicking the look of authentic lifestyle food photography.
The Anatomy of a Perfect Energy Bite: Ingredients and Substitutions
Large Old-Fashioned Rolled Oats (180g / 2 cups): These are the skeletal structure of your Homemade snacks. Unlike quick oats, which turn mushy, large rolled oats provide a distinct chew and visible texture that is essential for that “macro” food aesthetic. If you require a gluten-free option, ensure your oats are certified GF to maintain the integrity of the recipe.
Creamy Roasted Peanut Butter (250g / 1 cup): The primary binder and fat source. Using a “no-stir” creamy variety ensures the bites have that smooth, swirling texture seen in high-end culinary photography. For those with nut allergies, sunflower seed butter is a direct 1:1 substitute that maintains the necessary viscosity.
Golden Wildflower Honey (170g / 1/2 cup): This provides the “glistening moisture” and acts as the liquid gold that glues the oats together. Wildflower honey offers a complex, floral profile, but you can swap it for maple syrup if you prefer a vegan alternative, though the “droplet” effect may be slightly less pronounced.
Pure Vanilla Extract (5ml / 1 tsp): An “invisible” foundational ingredient. While it doesn’t change the color, it provides the aromatic depth that makes these Homemade snacks taste like they came from a high-end bakery. It bridges the gap between the savory nut butter and the sweet honey.
Fine Sea Salt (1.5g / 1/4 tsp): A scientific necessity. Salt suppresses the bitterness of the oats and heightens the perception of sweetness in the honey. Without it, the flavor profile remains flat; with it, the toasted notes of the peanut butter truly sing.
Optional: Chia Seeds or Ground Flax (15g / 2 tbsp): While not strictly in the visual blueprint, these add “tiny glistening specks” and extra binding power. They act like little sponges, absorbing excess moisture to ensure your bites stay perfectly round and don’t weep honey over time.
Essential Tools for Spherical Success
To achieve the professional look of these Homemade snacks, you don’t need fancy machinery, but a few specific tools will make the process seamless. A large glass mixing bowl is preferred so you can see the distribution of honey and peanut butter throughout the oats. A sturdy silicone spatula is vital for folding the heavy mixture without breaking the individual oat flakes.
For the “perfectly spherical” look, a small cookie scoop (1-tablespoon capacity) is your best friend. It ensures every snack is uniform in size, which is critical for even chilling and professional presentation. Finally, a matte ceramic plate or parchment-lined baking sheet is necessary for the initial set, preventing the honey-laden bites from sticking to the surface.
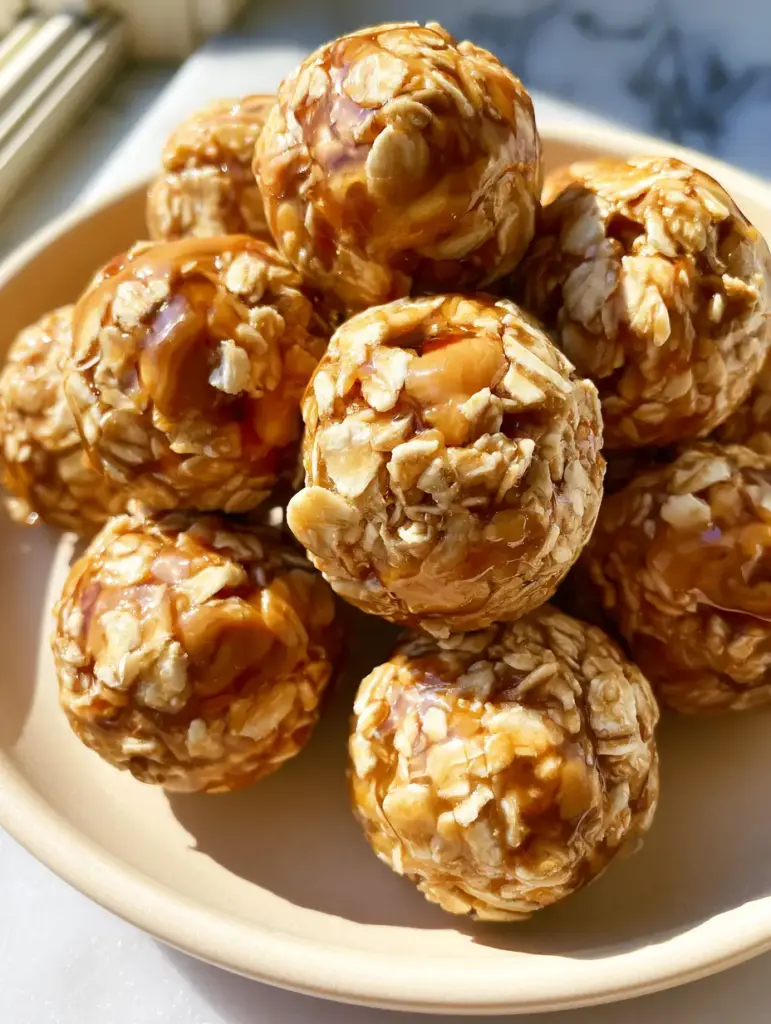
Step-by-Step Crafting: Rolling for Visual Perfection
Hydrating the Dry Base
Begin by placing your 2 cups (180g) of large rolled oats into your mixing bowl. Sprinkle the sea salt and optional chia seeds over the top, tossing them lightly. This ensures the “invisible” flavor enhancers are distributed before the wet binders are introduced, preventing clumps of salt in your Homemade snacks.
Incorporating the Liquid Gold
In a separate microwave-safe bowl, combine the 1 cup (250g) of creamy peanut butter and 1/2 cup (170g) of wildflower honey. Heat for 20-30 seconds just until the mixture is pourable but not hot. Stir in the vanilla extract. Pour this glossy, dark amber liquid over the oats. Use your spatula to fold the mixture gently, ensuring every oat flake is coated in a thin, glistening layer of nut butter and honey.
The “Macro” Sensory Cue: Achieving the Swirl
As you fold, look for creamy swirls of toasted peanut butter that haven’t fully homogenized with the honey. This creates the visual depth mentioned in the blueprint. The mixture should feel thick and heavy—a “thick binding texture” that resists the spatula slightly. If it feels too loose, let it sit for 5 minutes so the oats can begin to absorb the moisture.
Forming the Spheres
Scoop a rounded tablespoon of the mixture into your palm. Using light pressure, roll the mixture between your hands to form a smooth, round shape. You should see individual oat flakes pressed into the surface, with a glistening moisture that reflects natural morning light. Place each sphere on your ceramic plate, leaving a small gap between them.
The Setting Phase
While these are “no-bake,” they do require a brief rest. Place the plate in the refrigerator for at least 30 minutes. This allows the honey to firm up and the fats in the peanut butter to solidify, locking in that perfectly spherical shape. Once set, the bites will be firm to the touch but maintain a soft, chewy interior.
Expert Tips for Success with Homemade snacks
- Temperature Control: If your kitchen is warm, the honey may become too runny. Work quickly, and if the mixture starts sticking to your hands, lightly dampen your palms with water or a tiny bit of coconut oil.
- Oat Quality Matters: Avoid “Instant Oats” at all costs for this recipe. They lack the surface area and structural integrity to create the macro-textured look we are aiming for.
- The Glisten Factor: If your bites look dull after chilling, a very light drizzle of warmed honey over the top right before serving will recreate those “tiny glistening droplets” for a photo-ready finish.
- Consistency Check: Depending on the brand of peanut butter (natural vs. processed), you may need to add an extra tablespoon of oats if the mixture is too wet to hold a sphere.
Storage, Reheating, and Freshness
Proper storage is the key to maintaining the “glistening moisture” of these Homemade snacks. Place the energy bites in an airtight glass container, separating layers with parchment paper to prevent them from fusing together. They will stay fresh and chewy in the refrigerator for up to two weeks.
For long-term storage, these bites freeze exceptionally well. Place the set spheres in a freezer-safe bag for up to three months. When you’re ready to eat, simply let them thaw at room temperature for 10 minutes. The texture remains remarkably consistent, retaining that signature creamy peanut butter mouthfeel even after being frozen.
What to Serve With Your Energy Bites
These bites are versatile enough to stand alone, but they also pair beautifully with other nutritious options. For a complete breakfast spread, consider serving them alongside some apple cinnamon overnight oats for a double-dose of heart-healthy fiber. The spice of the cinnamon complements the wildflower honey perfectly.
If you’re looking for a liquid accompaniment, these bites are excellent when enjoyed with a glass of fresh juice from our glow-boosting juice recipes. For those who have a deeper sweet tooth, you might even enjoy one of these as a “cleaner” alternative to a classic chocolate chip cookie recipe or alongside rich creamy peanut butter mousse cups for a decadent dessert platter.
Frequently Asked Questions
No, steel-cut oats are too hard and require cooking. For the best texture in these no-bake snacks, stick to large old-fashioned rolled oats.
The glisten comes from using high-quality wildflower honey. If they look dry, you can lightly mist them with a tiny amount of water or brush with a drop of warmed honey before serving.
Yes! Sunflower seed butter or soy nut butter works as a perfect 1:1 substitute while maintaining the thick binding texture required.
This usually happens if the mixture is too dry. Add a tablespoon more of peanut butter or honey. Ensure you chill them for 30 minutes to let the binders set.
No-Bake Peanut Butter Honey Oat Energy Bites Recipe
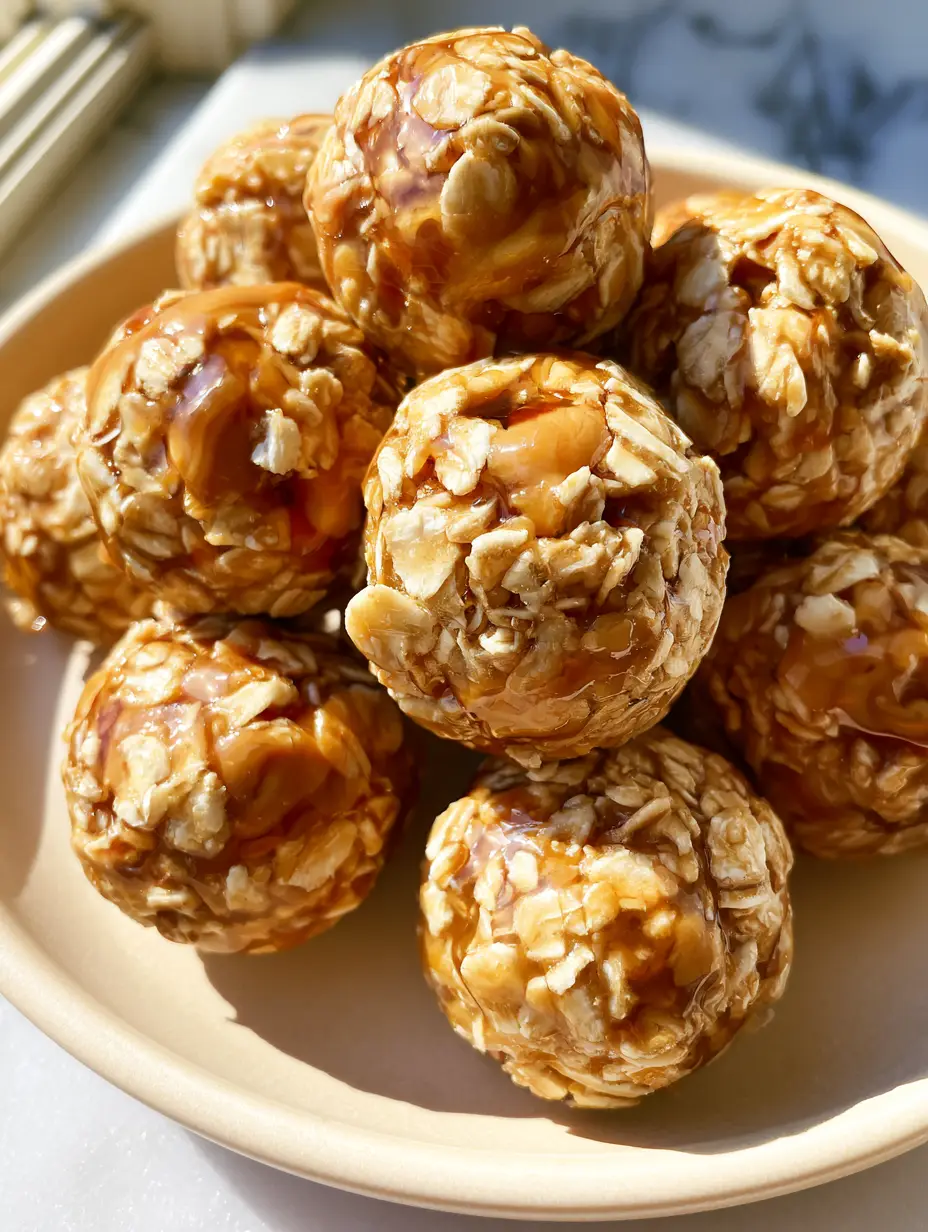
Homemade snacks: The Ultimate No-Bake Peanut Butter and Honey Oat Bites
Ingredients
Equipment
Method
- In a large glass bowl, combine the large rolled oats and sea salt, tossing to distribute the salt evenly.
- Gently warm the peanut butter and honey until pourable. Stir in the vanilla extract, then pour the mixture over the oats.
- Using a silicone spatula, fold the ingredients together until a thick binding texture forms and oats are glistening.
- Using a small scoop, portion the mixture and roll between your palms into smooth, perfectly round spheres.
- Place the bites on a matte ceramic plate and refrigerate for 30 minutes to set the moisture and shape.
Notes
If the mixture is too sticky, slightly dampen your hands before rolling.
Closing & Call to Action
Mastering Homemade snacks is a journey toward better health and culinary creativity. These no-bake energy bites prove that you don’t need complex techniques to achieve professional-grade results. With their glistening honey finish and hearty oat texture, they are sure to become a staple in your household. If you enjoyed this recipe, please leave a comment below or share your “macro” snack photos with us! Don’t forget to follow katie_tasty on Pinterest for more visual recipe inspiration.