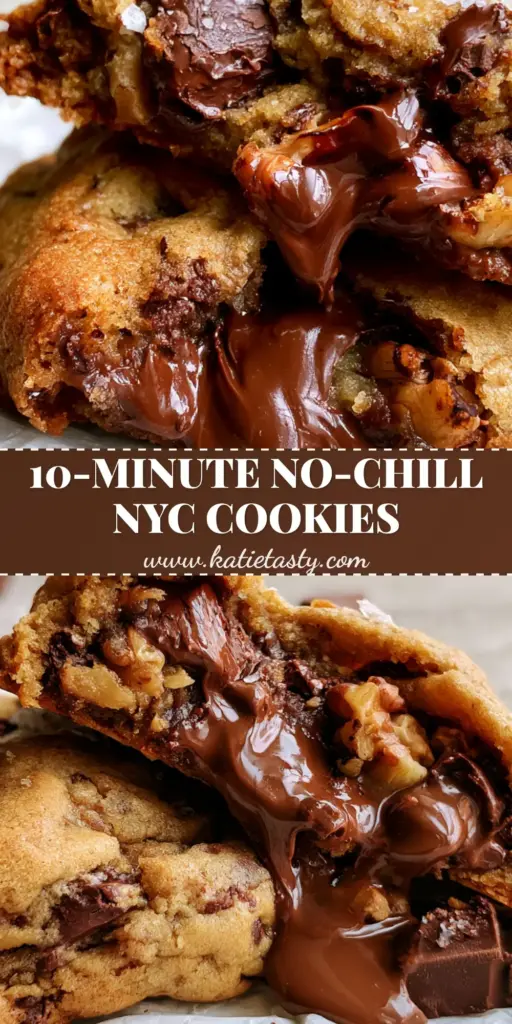
There is nothing quite like the experience of breaking into a massive, 6-ounce NYC cookies masterpiece. These aren’t your average thin-and-crispy snacks; these are architectural wonders boasting a craggy, golden-brown toasted exterior that gives way to a molten underbaked center.
Inspired by the legendary bakeries of Manhattan, this recipe captures the magic of flowing chocolate pools and crunchy toasted walnut halves. We are recreating that high-end food blog aesthetic right in your kitchen, complete with a dusting of flaky sea salt that makes every bite pop.
To achieve the iconic look of a professional handheld smartphone photo, we focus on high-temperature baking and specific ingredient ratios. The result is a cookie that stands tall on a stone countertop, ready to be dunked into a cold glass of whole milk.
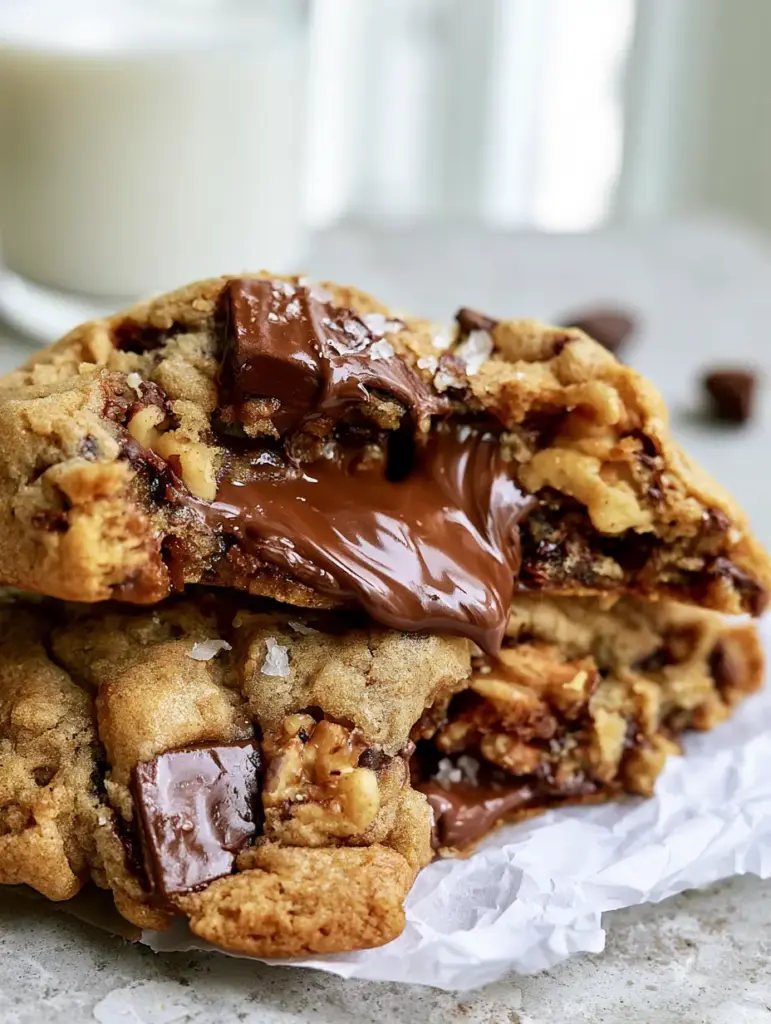
The Anatomy of a Perfect 6-Ounce Bakery Cookie
- Massive Scale: Each cookie is weighed to a precise 6-ounce (170g) mound, ensuring they stay thick and tall rather than spreading thin.
- Textural Contrast: A high-heat blast creates a deeply textured, crispy outer shell while leaving the middle gooey and molten.
- Premium Mix-ins: We use large semi-sweet chocolate chunks for those photogenic melting pools and whole walnut halves for a buttery crunch.
- The Finishing Touch: A light dusting of flaky sea salt balances the rich, brown-sugar-heavy dough perfectly.
Essential Components for Your Gourmet Cookie Mounds
Cold Unsalted Butter: 1 cup (227g) of cold, cubed butter is the secret to preventing spread. Unlike melted butter chocolate chip cookies, using cold fat creates air pockets that keep the cookie lofty.
Brown and Granulated Sugars: 1 cup (200g) of light brown sugar provides moisture and chew, while 1/2 cup (100g) of white sugar helps achieve those crispy, golden-brown edges.
All-Purpose and Bread Flours: We use 1 1/2 cups (185g) of all-purpose flour mixed with 1 1/2 cups (190g) of bread flour. The higher protein in bread flour provides the structural integrity needed to hold 6 ounces of dough together.
Semi-Sweet Chocolate Chunks: 2 cups (340g) of large chunks are superior to chips. Chunks create the “flowing chocolate pools” described in our visual blueprint, as they melt into larger, more cohesive pockets of cocoa.
Toasted Walnut Halves: 1 1/2 cups (150g) of walnuts provide a necessary earthy contrast. We toast them first to ensure their oils are released, enhancing the aroma of the NYC cookies.
Leavening and Binding: 1 tsp (5g) baking powder, 1/4 tsp (1g) baking soda, and 1/2 tsp (3g) fine sea salt. These ensure the mounds rise aggressively and the flavors are fully seasoned.
Cold Whole Milk: While not in the dough, a cold glass of whole milk is the essential pairing for these rich, heavy treats to cleanse the palate between bites.
Must-Have Tools for Professional Results
To get that craggy, highly textured exterior, you will need a digital kitchen scale to weigh the 6-ounce portions. A standard cookie scoop is too small; you will be shaping these by hand into rough, loose mounds to maximize surface area for browning.
Heavy-duty aluminum baking sheets are preferred to ensure even heat distribution. You will also need crumpled white parchment paper to prevent sticking and provide that rustic, high-end aesthetic seen in professional food photography.
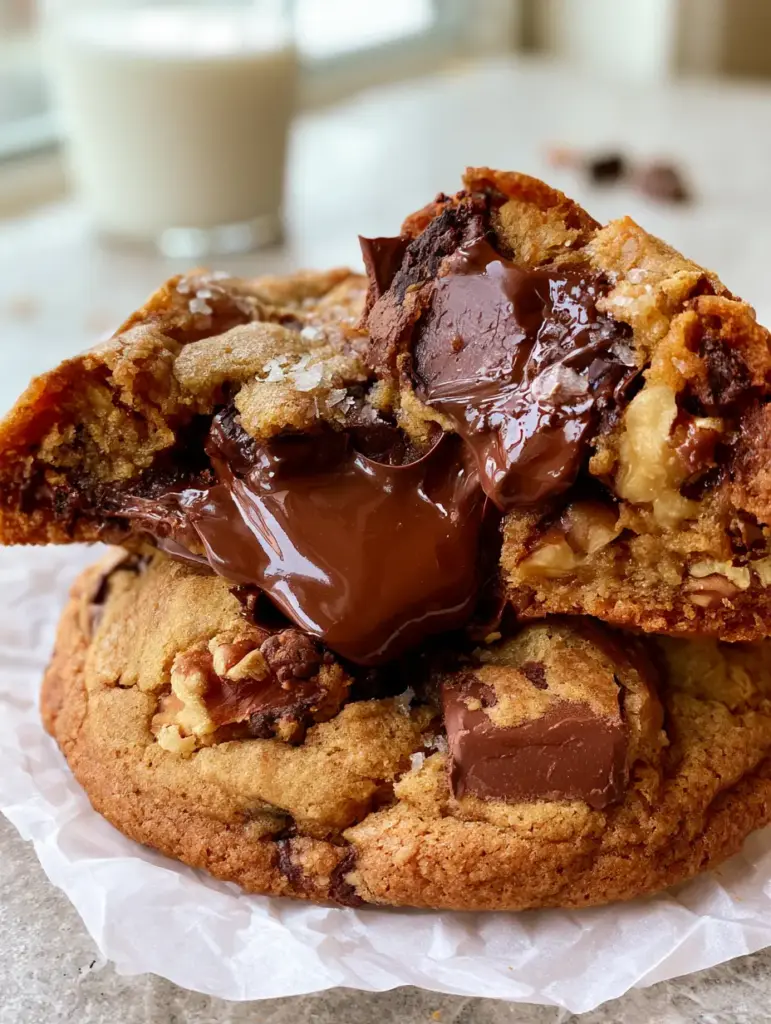
Mastering the NYC Cookies Method
Toasting the Walnuts and Prepping the Chunks
Begin by preheating your oven to 350F (175C). Spread your walnut halves on a tray and toast for 5-7 minutes until they smell nutty and look slightly deepened in color. Once cool, keep them mostly whole or in large halves for maximum visual impact.
Chop your semi-sweet chocolate into large, irregular chunks. Avoid using uniform chips, as we want those “molten pools” that only come from hand-cut chocolate pieces of varying sizes.
Creaming Cold Butter for Maximum Height
In a large stand mixer, combine the cold, cubed butter with both sugars. Beat on medium-high for about 4 minutes. You are looking for the butter to break down into the sugar, creating a grainy but aerated paste that is pale in color.
Add 2 large eggs one at a time, ensuring each is fully incorporated before adding the next. This creates a strong emulsion that will hold the heavy flours and mix-ins in place.
The High-Protein Flour Fold
Whisk together your all-purpose flour, bread flour, baking powder, baking soda, and fine salt. Turn the mixer to the lowest setting and add the dry ingredients just until a few streaks of flour remain. Do not overmix, or the cookies will become tough.
Gently fold in the chocolate chunks and toasted walnuts by hand. You want the mix-ins to be evenly distributed but the dough to remain slightly shaggy and textured, not smooth.
Shaping the Iconic 6-Ounce Mounds
Using your kitchen scale, weigh out portions of exactly 6 ounces (170g). Do not roll them into smooth balls. Instead, loosely press the dough together into tall, craggy mounds that look like little mountains.
Place the mounds on a plate and chill in the freezer for at least 30 minutes. This cold shock is vital; it ensures the exterior sets quickly in the oven while the center remains underbaked and gooey.
The High-Heat Bake and Sensory Cues
Increase your oven temperature to 410F (210C). Place your chilled mounds onto the crumpled parchment-lined sheets, leaving plenty of space between them. Bake for 10-12 minutes.
Watch for visual cues: the edges should be a deep golden brown and the tops should have crispy, craggy peaks. The center should still look slightly soft and “wet”—this is the secret to the molten underbaked center.
Pro Tips for the Ultimate Craggy Texture
- Don’t Overbake: The cookies will continue to firm up on the hot pan. Pull them out when the chocolate looks melting and the tops are just starting to toast.
- The Salt Rain: Apply the flaky sea salt immediately after the cookies come out of the oven so the crystals adhere to the melting chocolate.
- Internal Moisture: If you love these textures, you might also enjoy our inside-out chocolate chip cookies for a different take on chocolate density.
- Resting Period: Let the cookies rest on the pan for at least 15 minutes. This allows the structure to set so you can break them in half without the whole thing collapsing.
What to Serve With These Massive Treats
The richness of these cookies demands a refreshing beverage. A tall glass of cold whole milk is the classic choice, providing a creamy contrast to the semi-sweet chocolate chunks. For a fun dessert spread, you could serve these alongside cookies and cream cupcakes.
If you are looking for something more adventurous, try pairing them with a warm brown sugar maple cookie pie slice during the holidays for a total cookie extravaganza.
Frequently Asked Questions
While you can, chunks are preferred because they create larger, flowing pools of chocolate that are characteristic of high-end NYC bakeries.
Yes. The high heat flashes the exterior to create that signature craggy crust while keeping the inside underbaked and molten.
Avoid rolling the dough into smooth balls. Instead, pull the dough apart and loosely press it together into rough mounds to create peaks that crisp up in the oven.
Bread flour has a higher protein content than all-purpose flour, which provides the extra structure needed to keep a massive 6-ounce cookie from spreading into a pancake.
Cold butter takes longer to melt in the oven, which helps the cookie maintain its height and prevents it from spreading too quickly.
The Official NYC Cookie Recipe Card
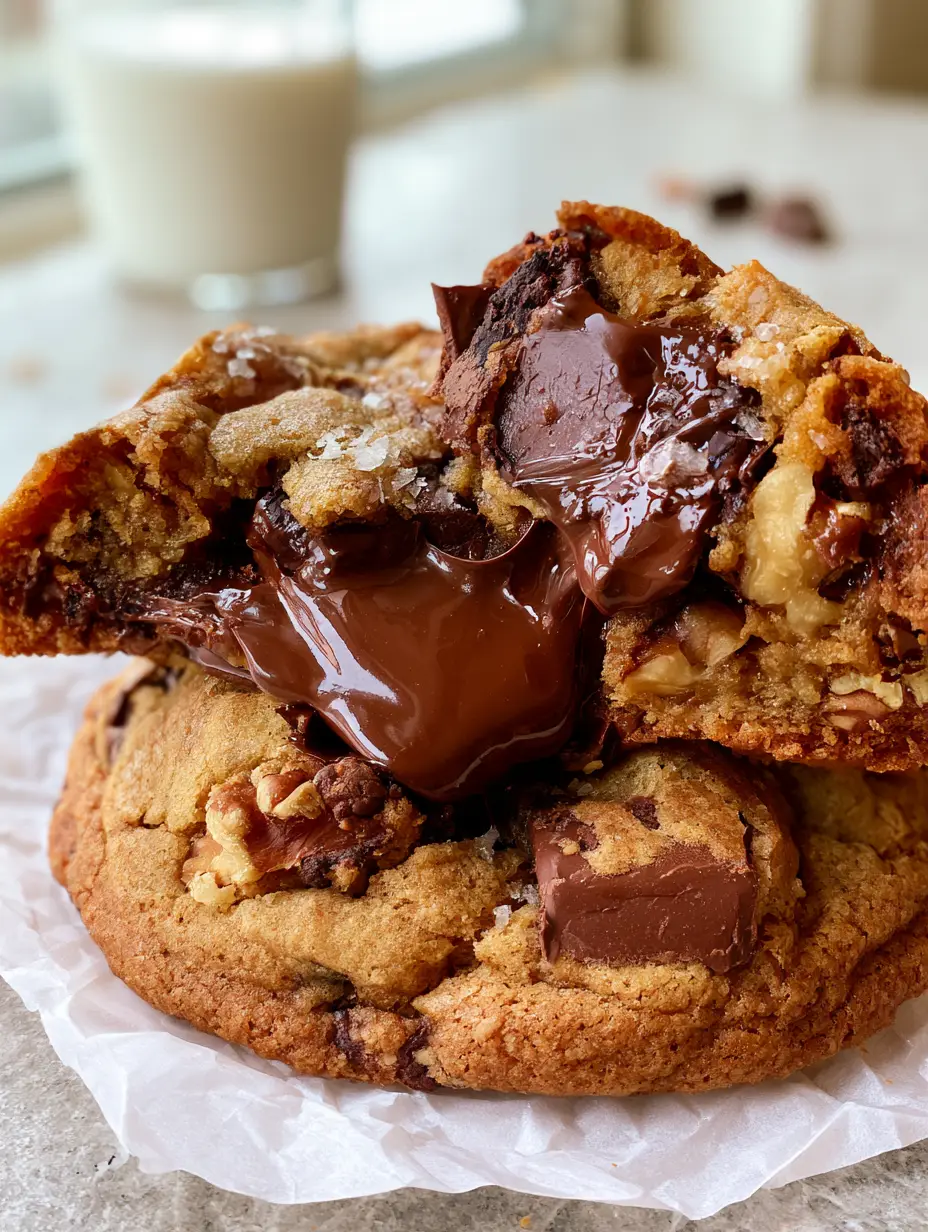
NYC Cookies: The Ultimate Bakery-Style 6-Ounce Chocolate Chip Cookie Recipe
Ingredients
Equipment
Method
- Preheat oven to 350F (175C). Toast walnut halves for 5-7 minutes until fragrant. Let cool.
- In a stand mixer, beat cold cubed butter and sugars for 4 minutes until a grainy paste forms.
- Incorporate eggs one at a time. Slowly add flours, baking powder, baking soda, and fine salt until just combined.
- Hand-fold the chocolate chunks and toasted walnuts into the dough.
- Weigh out 6-ounce (170g) portions and form into loose, craggy mounds. Chill in freezer for 30 minutes.
- Bake at 410F (210C) for 10-12 minutes until the exterior is golden-brown but the center remains molten.
- Immediately sprinkle with flaky sea salt. Let rest on the pan for 15 minutes before serving with cold milk.
Notes
Do not overbake; the molten center is achieved by pulling them out while they still look slightly soft.
Storing and Reheating Your Bakery Treasures
These cookies are best enjoyed warm, about 20 minutes after baking. However, you can store them in an airtight container at room temperature for up to 3 days. To regain that molten center, simply microwave a cookie for 15-20 seconds.
For long-term storage, you can freeze the unbaked 6-ounce mounds. Bake them directly from frozen at 400F (205C) for an extra 2-3 minutes. This is a great way to always have fresh gourmet cookies or NYC classics ready for guests.
Closing Thoughts and Joining the Community
Mastering these NYC cookies is a rite of passage for any serious home baker. The combination of the massive size, the toasted walnuts, and that gooey, molten heart creates a sensory experience that standard cookies simply cannot match. The visual contrast of the golden crust against the dark chocolate pools is truly a work of art.
If you enjoyed this recipe, please leave a comment below and let us know how your craggy mounds turned out! Don’t forget to share your photos and follow us on Pinterest for more indulgent dessert inspiration. Happy baking!