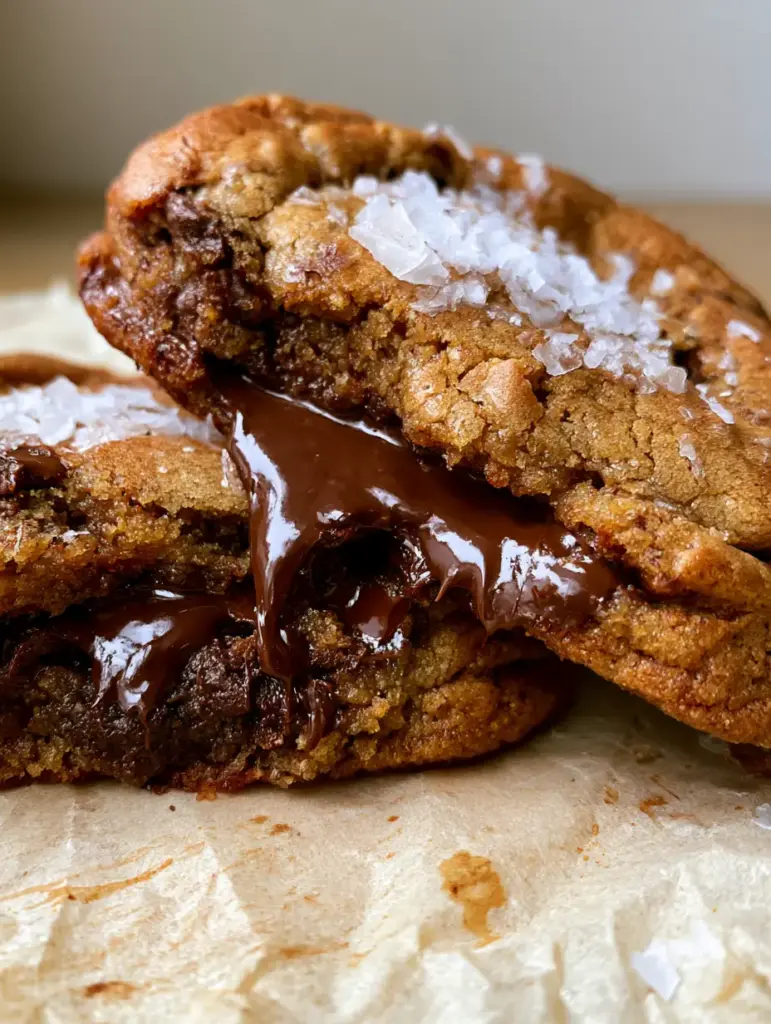
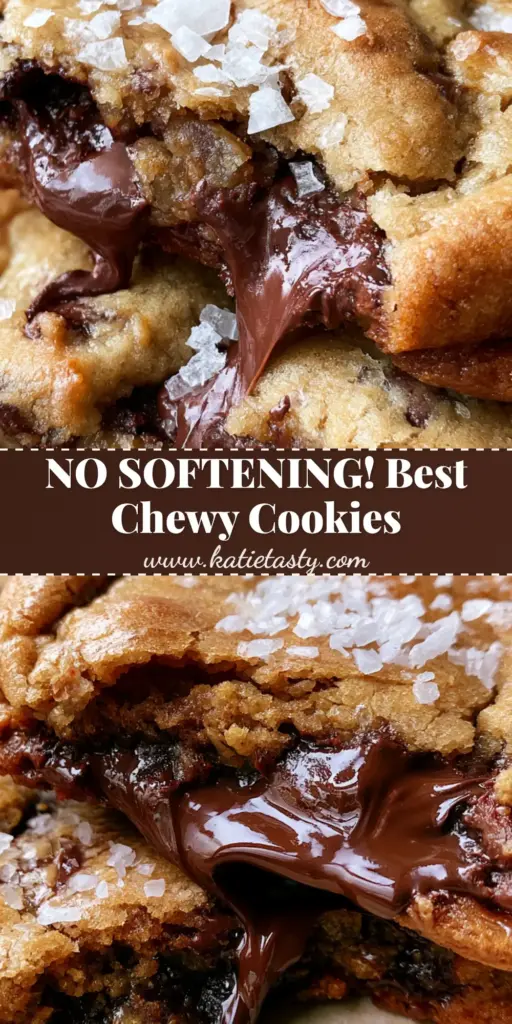
There is a specific, primal joy found in the perfect cookie, and these melted butter chocolate chip cookies are designed to trigger every single sensory reward system in your brain. Imagine a cookie so thick and chewy that it feels more like a slab of fudge than a baked good, yet it possesses a delicate, paper-thin crackled crust that shatters upon the first bite. This isn’t just another recipe; it is a culinary study in texture, balancing the richness of molten dark chocolate with the sharp, clean finish of premium flaky sea salt.
The secret to this specific aesthetic—the one that makes you stop scrolling—lies in the chemistry of the fat. By using melted butter instead of the traditional creamed method, we bypass the aeration process, resulting in a dense, moisture-heavy dough that refuses to be light or cakey. Instead, we achieve a glistening, butter-saturated interior that remains soft for days, providing the perfect stage for massive pools of dark chocolate to stretch and pull as you break the cookie in half.
Whether you are a seasoned baker or a weekend enthusiast, this recipe delivers a high-end food blog result right from your home oven. We are moving away from the uniform, factory-look of standard chips and embracing the rustic, artisanal beauty of hand-chopped chocolate and hand-crinkled parchment paper. Get ready to master the art of the crackle and the science of the chew.
Why These Fudgy Cookies Outperform Every Other Recipe
- The Melted Butter Advantage: Unlike creamed butter, melted butter creates a much tighter, chewier crumb structure and a richer, more toffee-like flavor profile.
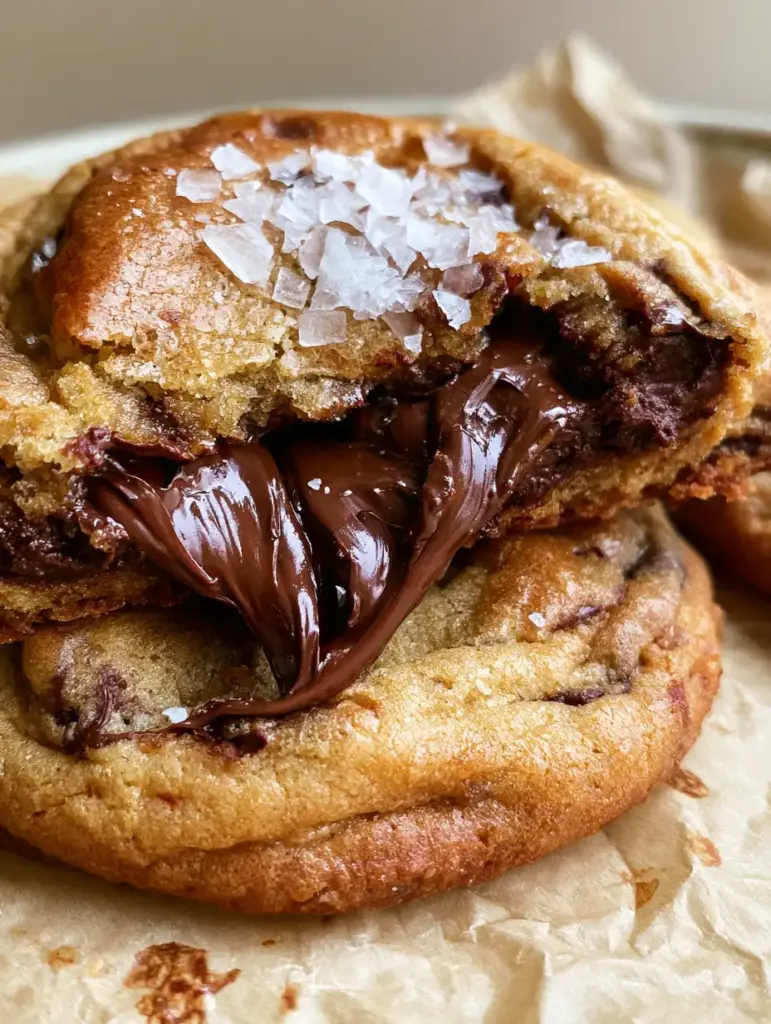
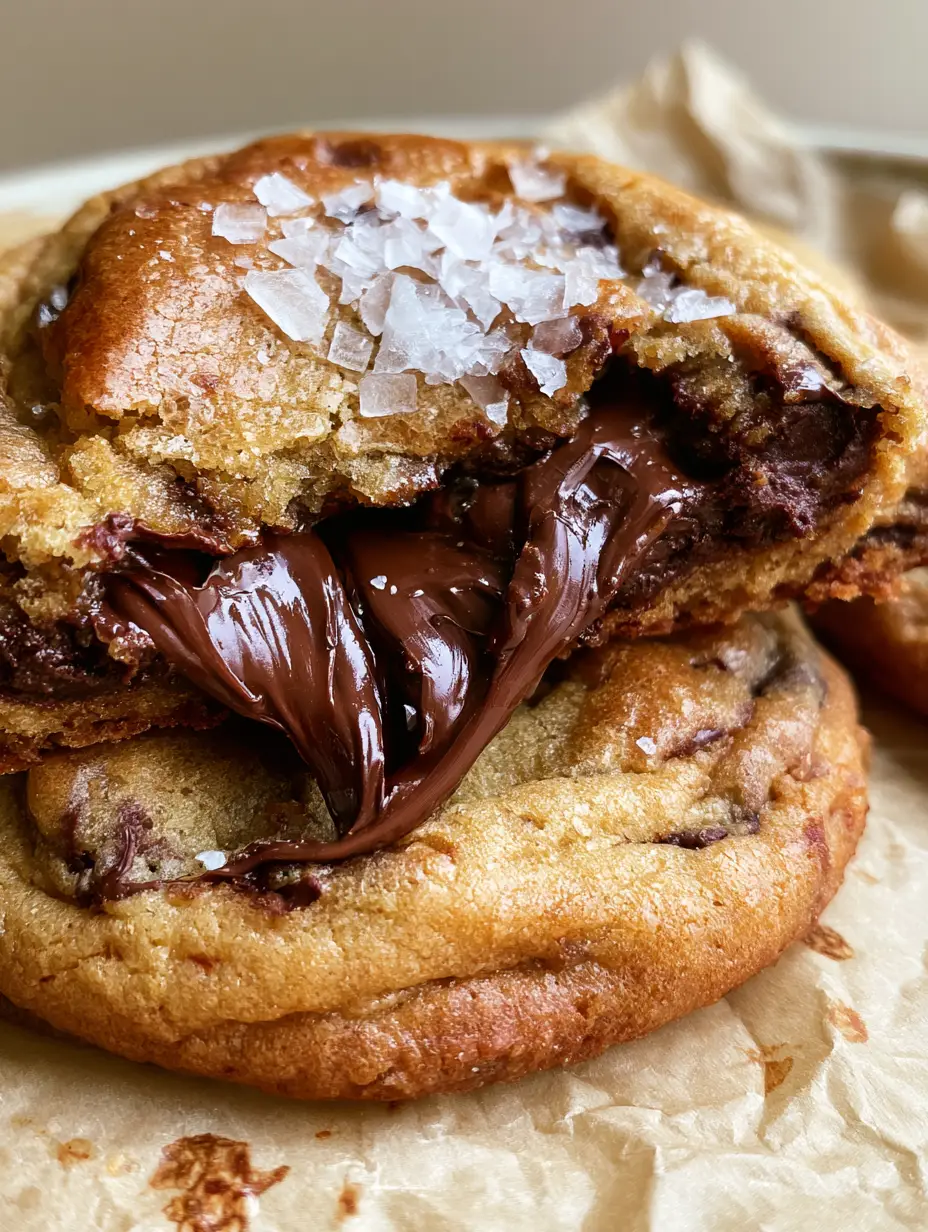
- Multi-Dimensional Chocolate: By using hand-chopped dark chocolate chunks, we create varying “molten pools” that stay liquid at room temperature longer than stabilized chips.
- The Crackle Factor: A precise ratio of granulated sugar to brown sugar ensures the surface dehydrates just enough to create that iconic, shiny, tissue-paper-thin top crust.
- Salt Contrast: Large, square crystals of Maldon sea salt are used not just for flavor, but for a structural crunch that cuts through the intense richness of the dark cocoa.
The Secret Pantry Staples for Molten Chocolate Bliss
To achieve the visual and textural benchmarks of our classic cookie foundation, every ingredient must serve a structural purpose. Here is what you need to gather for these melted butter chocolate chip cookies.
Unsalted European-Style Butter: 1 cup (226g). Using a butter with higher fat content ensures less water evaporation, leading to that glistening, grease-stained parchment look we desire.
Dark Brown Sugar: 1 ½ cups (300g). This provides the moisture and molasses depth required for a dense, fudgy center that stays soft for days.
Granulated White Sugar: ½ cup (100g). This is the key to the crackled top; as the cookie bakes, the white sugar migrates to the surface and crystallizes into a thin crust.
Large Eggs (Room Temperature): 2 eggs plus 1 yolk. The extra yolk adds emulsifiers and fat, which contributes to the “ultra-chewy” texture described in our visual blueprint.
Pure Vanilla Bean Paste: 1 tbsp (15ml). Paste offers those beautiful black flecks and a more intense aromatic profile than standard extract.
All-Purpose Flour: 2 ¼ cups (280g). We use a moderate amount of flour to ensure the cookies remain thick but don’t become “bready” or dry.
Baking Soda: 1 tsp (5g). This reacts with the molasses in the brown sugar to provide just enough lift and encourage the golden-brown browning known as the Maillard reaction.
Kosher Salt (For the dough): ¾ tsp (4g). Essential for balancing the sugars within the dough itself.
70% Dark Chocolate Bars: 10 oz (280g). Chopping your own chocolate from bars ensures you get those massive, stretching pools of molten cocoa seen in professional food photography.
Maldon Flaky Sea Salt: 2 tbsp (10g). These large, square crystals are the finishing touch, providing a visual glow and a necessary sharp contrast to the dark chocolate.
Essential Tools for Bakery-Style Results
Achieving the look of thick, professional cookies requires more than just a bowl and a spoon. You will need a heavy-duty light-colored baking sheet to prevent the bottoms from burning before the tops crackle. A large 3-tablespoon cookie scoop ensures uniformity, which is critical for even heat distribution. Perhaps most importantly, you need authentic parchment paper; look for unbleached varieties that will show those beautiful, authentic grease stains as the cookies rest.
A digital kitchen scale is also highly recommended. In the world of elite baking, measuring by weight is the only way to ensure the ratio of melted butter to flour is exact, preventing the cookies from spreading into a flat puddle. Finally, a sharp chef’s knife is required to hack the dark chocolate bars into irregular, jagged chunks—this is how you get those “molten pools” that chips simply cannot provide.
The Step-by-Step Path to Molten Chocolate Bliss
Preparing the Liquid Gold Foundation
Begin by melting your 1 cup (226g) of butter in a small saucepan over medium-low heat. You aren’t looking to brown the butter today—though if you love that flavor, you might enjoy our sourdough variant—you simply want it fully liquid and warm. Once melted, pour it into a large mixing bowl and whisk in the 1 ½ cups (300g) of dark brown sugar and ½ cup (100g) of granulated sugar. Whisk vigorously for 2 minutes; the mixture should look like shiny, wet sand.
Emulsifying for Maximum Chewy Texture
Add the 2 large eggs, the extra egg yolk, and the 1 tbsp (15ml) of vanilla bean paste to the butter-sugar mixture. Whisk for another 2-3 minutes until the batter lightens slightly in color and becomes ribbony. This step is crucial for the crackled top; by emulsifying the fats and sugars thoroughly now, we ensure the sugar creates that thin crust later. You should see a glossy sheen on the surface of the liquid mixture.
Folding in the Dry Architecture
Sift the 2 ¼ cups (280g) of all-purpose flour, 1 tsp (5g) of baking soda, and ¾ tsp (4g) of kosher salt directly into the bowl. Use a rubber spatula to gently fold the ingredients together. Stop the moment you see no more streaks of dry flour. Over-mixing at this stage will develop gluten, turning your fudgy cookie into a tough, bread-like disk. The dough should be soft, heavy, and very oily to the touch.
The Chocolate Chunk Integration
Take your chopped dark chocolate and fold it into the dough. Ensure you include all the tiny “chocolate dust” created during the chopping process—this melts into the dough itself, creating a marbled, fudgy interior. Once combined, cover the bowl and chill the dough in the refrigerator for at least 30 minutes. This “hydration period” allows the flour to fully absorb the melted butter, ensuring the cookies stay thick and don’t spread too thin.
Baking for the Perfect Crackle
Preheat your oven to 350°F (175°C). Line your baking sheet with crumpled, then flattened, parchment paper. Scoop large, 3-tablespoon mounds of dough onto the sheet, spacing them 3 inches apart. Bake for 10-12 minutes. **Visual Cue:** Watch for the edges to turn a deep golden brown while the centers still look slightly underdone and “wobbly.” You should see the top surface beginning to break apart into beautiful, shiny crackles.
The Finishing Touch: The Salt Shower
Immediately upon removing the cookies from the oven, while the chocolate is still bubbling and molten, sprinkle a generous amount of Maldon flaky sea salt over the tops. The heat will help the crystals adhere to the surface. Let the cookies rest on the baking sheet for at least 10 minutes. This is when the “grease stains” will begin to bloom on the parchment, and the centers will settle into their final fudgy state.
Expert Tips for Success
- The “Pan Bang” Technique: If your cookies aren’t rippling enough, gently bang the baking sheet on the oven rack halfway through baking. This collapses the air pockets and creates those dense, wavy edges.
- Quality of Chocolate: Avoid “tasting” chocolate or cheap chips. Use a bar with at least 70% cocoa solids for the best “stretch” and flavor depth.
- Don’t Overbake: These cookies will look raw in the middle when you take them out. This is intentional! They carry overcook on the hot pan to reach that perfect fudgy consistency.
- Room Temp Eggs: Cold eggs will seize up the melted butter, resulting in a chunky, broken dough. Always warm your eggs in a bowl of warm water for 5 minutes before using.
Storage, Reheating & Freezing
These melted butter chocolate chip cookies stay remarkably fresh thanks to their high moisture content. Store them in an airtight container at room temperature for up to 5 days. For the best experience, microwave a cookie for 8-10 seconds before eating to return the dark chocolate chunks to their molten, stretching state.
To freeze, scoop the raw dough into balls and freeze on a tray before transferring to a zip-top bag. You can bake them straight from the freezer—just add 2 minutes to the total bake time. This ensures you are never more than 15 minutes away from a fresh, crackly-topped treat.
What to Pair with Your Fudgy Cookies
While a glass of cold milk is the traditional choice, these cookies are rich enough to stand up to more complex pairings. The deep cocoa notes pair beautifully with a warm cup of coffee or even a serving of cinnamon oats for a decadent brunch dessert. If you are hosting a party, consider serving these alongside a platter of homemade snacks or even as a sweet follow-up to a savory meal of Greek-inspired favorites. The saltiness of the cookie actually acts as a bridge to savory flavors, making them surprisingly versatile.
Frequently Asked Questions
You can, but chips contain stabilizers that prevent them from melting into the ‘molten pools’ seen in the photos. For the best stretch, use high-quality chopped dark chocolate bars.
Yes. Because the butter is liquid, chilling for at least 30 minutes allows the flour to hydrate and the fat to solidify slightly, preventing the cookies from spreading too thin in the oven.
The crackle is created by a high ratio of sugar (especially granulated sugar) and ensuring the eggs and sugars are thoroughly emulsified with the melted butter before adding flour.
The extra yolk adds more fat and lecithin (an emulsifier), which provides extra richness and contributes to that ultra-chewy, fudgy texture in the center.
Melted butter eliminates the air pockets created during creaming, resulting in a denser, much chewier, and fudgy cookie rather than a cakey one.
The Master Recipe for Melted Butter Chocolate Chip Cookies
Melted Butter Chocolate Chip Cookies: The Ultimate Fudgy & Crackly Recipe
Ingredients
Equipment
Method
- Melt the butter and whisk it with both sugars for 2 minutes until it looks like wet sand.
- Add eggs, yolk, and vanilla; whisk for 3 minutes until the mixture is glossy and lightened.
- Gently fold in the flour, baking soda, and salt until no streaks remain. Do not overmix.
- Fold in the chocolate chunks and chill the dough in the fridge for 30 minutes.
- Scoop 3-tbsp balls onto parchment-lined sheets and bake at 350°F (175°C) for 10-12 minutes.
- Remove when edges are golden and tops are crackled. Immediately sprinkle with flaky sea salt and cool on the pan for 10 minutes.
Notes
Use high-quality bar chocolate for the best molten pools.
Closing & Call to Action
Mastering the melted butter chocolate chip cookies technique is a rite of passage for any home baker looking to elevate their game. The combination of the crackled top, the fudgy interior, and those molten dark chocolate pools creates a cookie that is truly unforgettable. If you enjoyed this recipe, please leave a comment below and tell us how yours turned out! Don’t forget to share your cookie pulls and tag us on Pinterest so we can see those beautiful salt-dusted creations.