There is a specific kind of magic that happens when high-contrast textures meet on a single slice of toasted bread. This appetizer recipe is designed to be a showstopper, capturing the essence of an elegant, modern bistro right in your own kitchen.
Every element of this dish is a sensory experience, from the audible crunch of the sourdough to the silky, airy peaks of the whipped feta. It is a masterclass in balance, pitting the sharp tang of Mediterranean cheese against the concentrated sweetness of oven-blistered tomatoes.
When you serve this, you aren’t just putting out food; you are presenting a piece of culinary art. The glossy zig-zag of balsamic glaze and the delicate sprig of micro-basil create a handheld masterpiece that looks as if it stepped off the pages of a high-end food magazine.
Why This Elegant Starter is the Ultimate Appetizer Recipe
- Textural Contrast: You get the golden-brown, crispy edges of toasted sourdough paired with a “swirling mountain” of whipped feta that feels like a savory cloud.
- Flavor Explosion: The tomatoes are roasted until they are glistening and bursting, releasing juicy centers that cut through the richness of the cheese.
- Visual Sophistication: With visible cracks of black pepper and a thick, dark, glossy balsamic drizzle, this dish uses professional plating techniques that anyone can master.
- Efficiency for Entertaining: Most components can be prepared in advance, allowing you to assemble these gourmet bites in minutes before guests arrive.
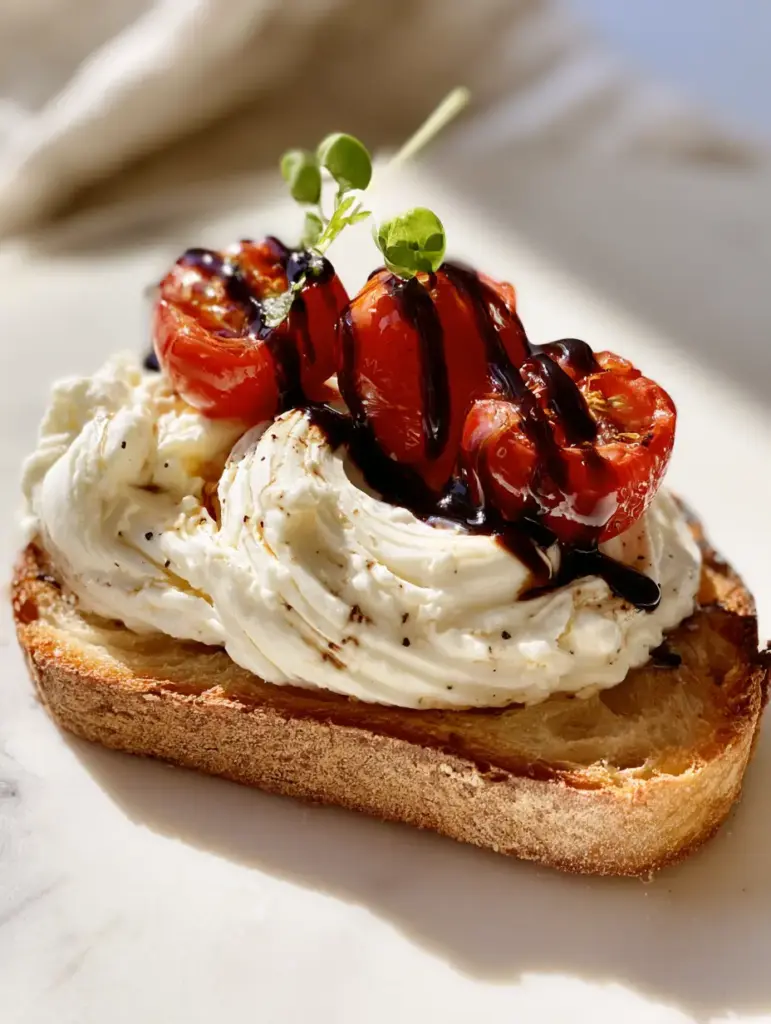
The Anatomy of a Perfect Whipped Feta Toast: Essential Ingredients
The Foundation: Artisan Sourdough Baguette
You need 1 loaf (approx. 450g) of high-quality sourdough baguette to provide a sturdy, tangy base. We slice these into 1-inch (2.5cm) rounds and toast them until the edges are golden-brown and the centers retain a slight chew.
The Creamy Core: Brined Feta and Greek Yogurt
Use 8 oz (225g) of high-quality feta cheese stored in brine for the best moisture content. To achieve those “airy peaks,” we blend it with 1/4 cup (60g) of plain Greek yogurt, which provides the structural integrity needed for a “swirling mountain” effect.
The Garden Element: Cherry Tomatoes and Fresh Herbs
1 pint (approx. 300g) of cherry tomatoes provides the “glistening” jewels for the top. We finish the dish with a single sprig of micro-basil per slice, offering a concentrated herbal aroma that complements the balsamic glaze.
The “Invisible” Essentials for Culinary Success
You will need 2 tbsp (30ml) of extra-virgin olive oil to ensure the tomatoes blister and the bread toasts evenly. Do not forget 1/2 tsp (2g) of freshly cracked black pepper and a pinch of kosher salt to heighten the natural flavors of the produce.
The Finishing Touch: Thick Balsamic Glaze
Look for a reduction that is thick enough to hold a “zig-zag pattern” without running off the sides. 2 tbsp (30ml) of a high-quality balsamic glaze adds the necessary acidity and a beautiful, dark, glossy sheen to the final plating.
Professional Tools for the Home Kitchen
To achieve the “macro-shot” quality of this appetizer recipe, a few specific tools are indispensable. A high-speed blender or food processor is required to whip the feta until it loses its graininess and becomes perfectly smooth.
For the tomatoes, a heavy-rimmed baking sheet is essential for heat distribution, ensuring they blister rather than just steam. Finally, a pastry bag with a wide star tip can help you achieve those “visible airy peaks” described in our visual blueprint.
The Sourdough Foundation: Achieving That Golden-Brown Crunch
Precision Slicing and Prepping
Start by slicing your baguette on a slight bias to create more surface area for the whipped cheese. Each slice should be approximately 1-inch (2.5cm) thick to support the weight of the tomatoes without folding.
Toasting for Structural Integrity
Brush each side lightly with olive oil and place them under a broiler or in a hot oven at 400°F (200°C). Watch for the “golden-brown edges” to appear; this should take about 3-5 minutes depending on your oven’s intensity.
The Garlic Rub (Optional Pro-Tip)
While not in the visual blueprint, rubbing a halved garlic clove over the toasted sourdough adds a hidden layer of depth. This creates a savory aromatic base that pairs beautifully with the tangy feta.
The Science of the Swirl: Crafting the Perfect Whipped Feta
Emulsifying for Airiness
Place your crumbled feta, Greek yogurt, and a splash of olive oil into your processor. Pulse until the large chunks are gone, then blend on high for 2 full minutes until the mixture looks like a “swirling mountain” of white cream.
The Peppery Finish
Fold in the freshly cracked black pepper by hand rather than blending it in completely. This ensures you see those “tiny cracks of black pepper” throughout the white cheese, providing a rustic and sophisticated visual texture.
Chilling for Stability
If your kitchen is warm, let the whipped feta sit in the refrigerator for 15 minutes before piping. This allows the fats to firm up, ensuring those “airy peaks” hold their shape even under the warmth of the tomatoes.
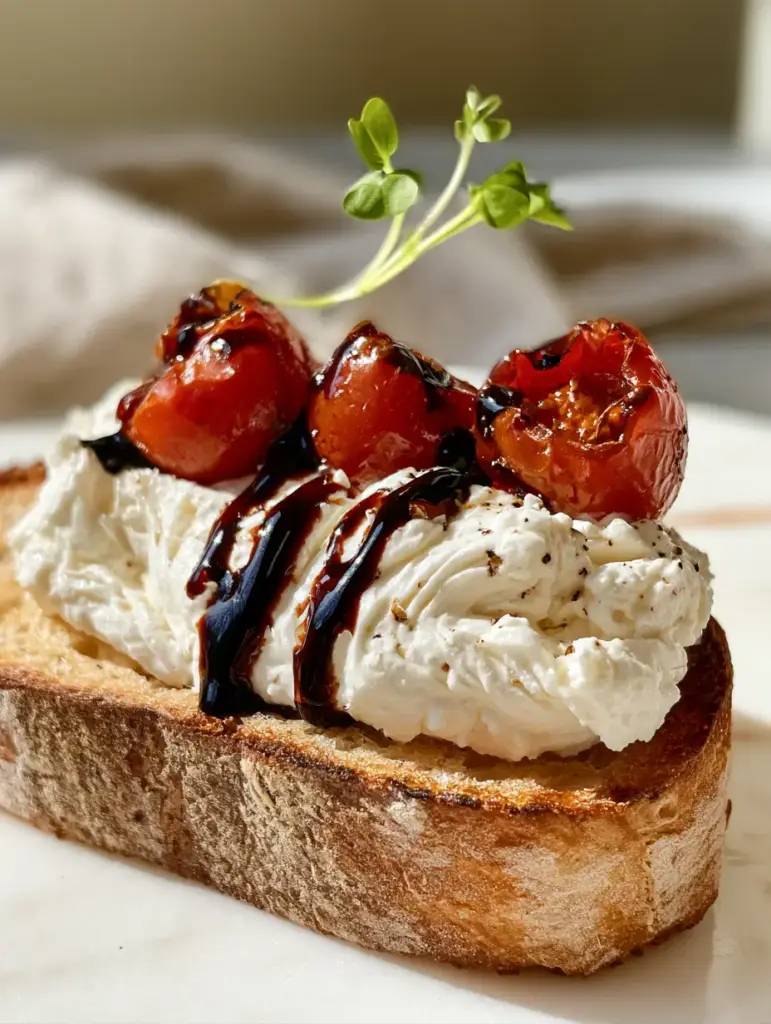
Blistering Tomatoes: Creating Glistening, Juicy Centers
High-Heat Roasting Techniques
Toss your cherry tomatoes with olive oil and a pinch of salt on your baking sheet. Roast at 425°F (220°C) for about 10-12 minutes, or until you hear them start to pop—this is the sound of the skins “bursting slightly.”
Identifying the Visual Cues
You are looking for the skins to become “glistening” and slightly wrinkled. The centers should be juicy and hot, but the tomato should still hold its round shape when placed on the cheese.
The Resting Period
Let the tomatoes rest for 2 minutes after coming out of the oven. This prevents the hot juices from immediately melting your beautiful whipped feta swirls upon contact.
The Art of Assembly: Plating Your Masterpiece
Piping the “Mountain” of Cheese
Using a piping bag or a spoon, create a generous mound of the whipped feta on each toasted sourdough slice. Aim for height and “swirling” textures, leaving some of the golden bread crust visible at the edges.
The Triple-Tomato Placement
Carefully place three small, blistered tomatoes onto the cheese. Press them in just enough so they stay secure, but keep them high enough so they remain the focal point of the appetizer recipe.
The Zig-Zag Drizzle and Micro-Basil
Holding the balsamic glaze bottle about 4 inches above the plate, create a quick, confident zig-zag motion. Finish each piece with a single, delicate sprig of bright green micro-basil right in the center.
Expert Tips for Appetizer Success
- Quality of Feta: Always use sheep’s milk feta in brine; the pre-crumbled dry variety will never achieve the “airy peaks” required for this look.
- Bread Freshness: Sourdough is best because its structure handles the moisture of the whipped cheese without getting soggy as quickly as white bread.
- Glaze Consistency: If your balsamic glaze is too thin, simmer it in a small saucepan for 5 minutes until it coats the back of a spoon.
- Temperature Contrast: Serve the bread and tomatoes warm, while the feta is cool, to create a professional-grade sensory experience.
Storage, Reheating, and Make-Ahead Advice
For the best results, assemble this appetizer recipe immediately before serving. However, the whipped feta can be stored in an airtight container in the refrigerator for up to 3 days.
The tomatoes can be roasted ahead of time and gently reheated in a 300°F (150°C) oven for 5 minutes. Do not freeze the assembled crostini, as the bread will lose its “golden-brown” crunch and the cheese texture will break.
What to Serve with These Gourmet Crostini
If you are hosting a larger gathering, these crostini pair excellently with other finger foods like savory parmesan onion squares or even crispy air fryer mozzarella bites.
To balance the richness of the cheese, consider serving a light salad from our collection of vegetable side dishes. For the ultimate cocktail hour, pair this dish with a crisp French 75 cocktail to cut through the creamy feta.
If you have extra sourdough, you might even want to try making a croissant bread pudding for dessert to round out the meal.
Frequently Asked Questions
Yes, you can whip the feta up to 3 days in advance and store it in an airtight container in the refrigerator. Just give it a quick stir before piping to restore its airy texture.
Absolutely! If you can’t find micro-basil, simply chiffonade (thinly slice) fresh large basil leaves and sprinkle them over the top for a similar herbal punch.
To prevent sogginess, toast the bread until it is very crisp and let the blistered tomatoes rest for 2 minutes so their hot juices don’t immediately melt the cheese.
You can make your own by simmering balsamic vinegar with a little honey or sugar in a saucepan until it reduces by half and becomes thick and syrupy.
This usually happens if the feta is too dry (pre-crumbled) or if you haven’t added enough yogurt. Always use feta in brine and blend for at least 2 minutes.
The Ultimate Whipped Feta Appetizer Recipe
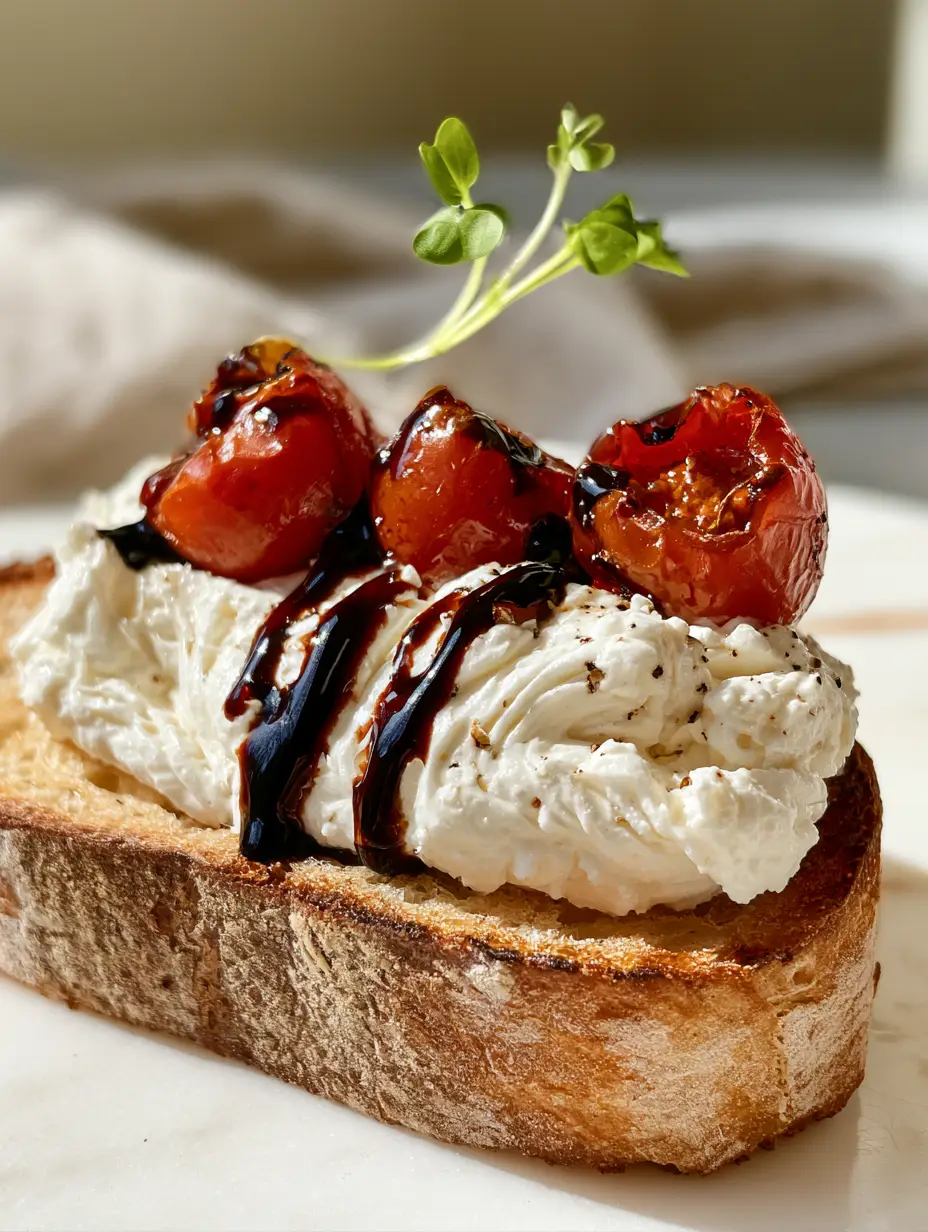
Appetizer Recipe: Whipped Feta and Blistered Tomato Sourdough Crostini
Ingredients
Equipment
Method
- Preheat oven to 400°F (200°C). Brush sourdough slices with olive oil and bake for 3-5 minutes until edges are golden-brown.
- On a rimmed baking sheet, toss tomatoes with olive oil and salt. Roast at 425°F (220°C) for 10-12 minutes until glistening and bursting slightly.
- In a food processor, blend feta and Greek yogurt for 2 minutes until smooth with airy peaks. Fold in cracked black pepper.
- Pipe or spoon a swirling mountain of whipped feta onto each toasted crostini.
- Place three blistered tomatoes on the cheese, drizzle with a zig-zag of balsamic glaze, and top with a sprig of micro-basil.
Notes
Don't skip the resting time for tomatoes to avoid melting the cheese.
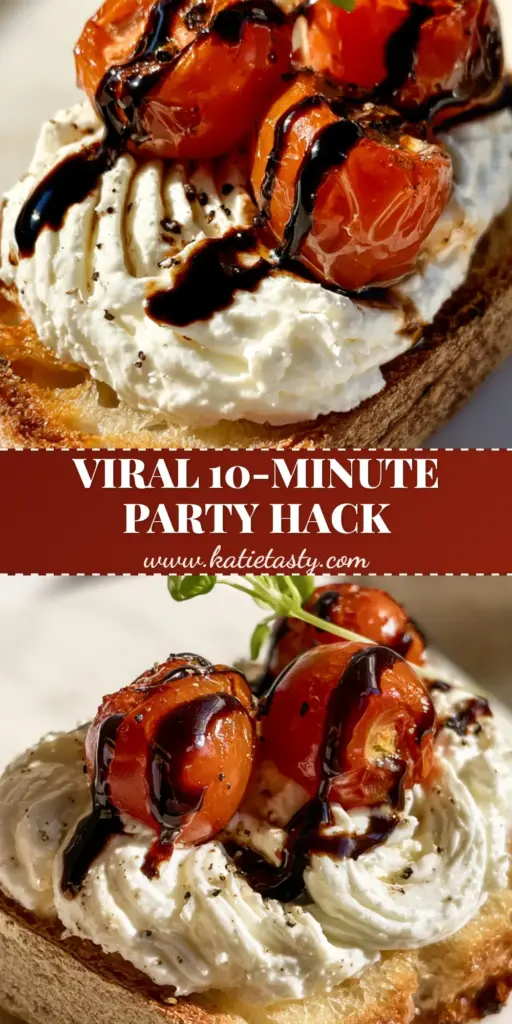
Closing and Call to Action
This whipped feta and blistered tomato crostini is more than just a simple starter; it is the centerpiece of a memorable meal. The combination of “airy peaks” of cheese and “glistening” roasted fruit is a testament to how simple ingredients can create profound flavors.
If you enjoyed this appetizer recipe, please leave a comment below and let me know how your assembly turned out! Don’t forget to follow me on Pinterest and share your creations with our community.