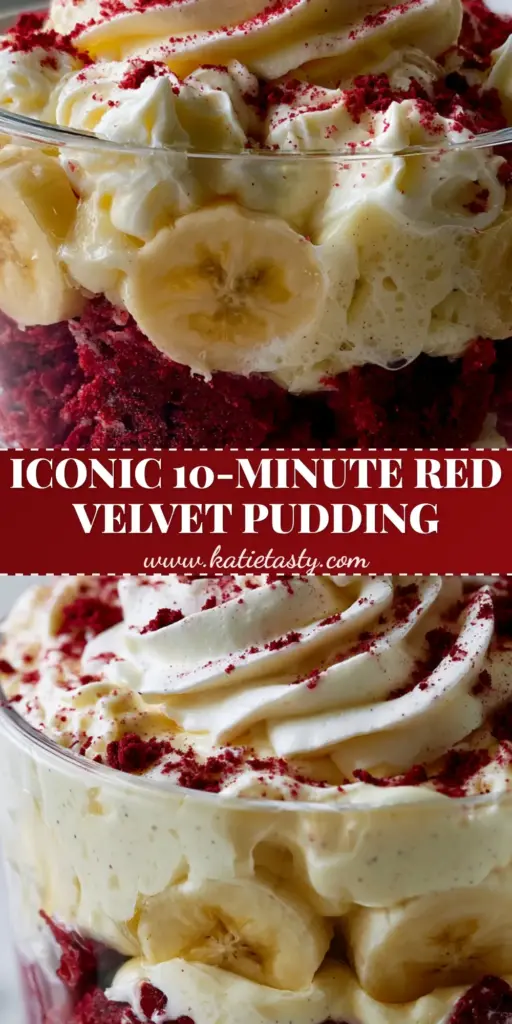
Red Velvet Banana Pudding is the show-stopping, ultra-decadent dessert that is currently taking Pinterest by storm. Imagine the classic, nostalgic comfort of a traditional homemade banana pudding, but elevated with the striking crimson hue and cocoa-infused richness of a moist red velvet cake. This isn’t just a dessert; it’s a visual masterpiece designed for the center of your table.
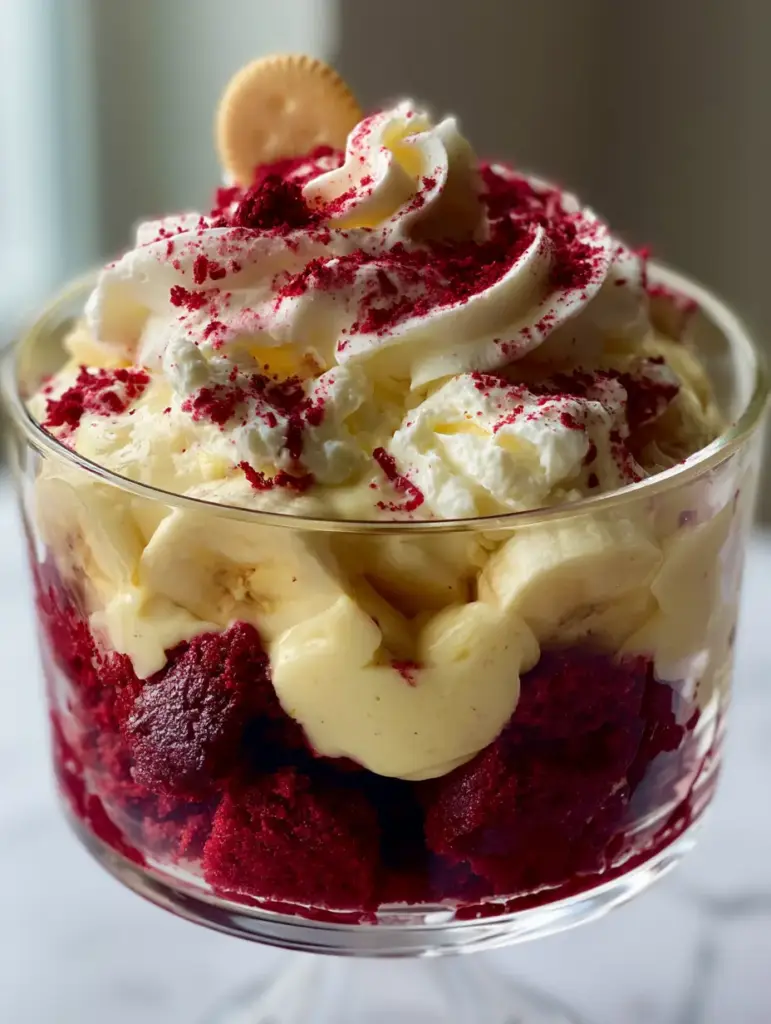
Our Red Velvet Banana Pudding features distinct, vibrant layers that create a messy-yet-delicious texture in every scoop. From the silky vanilla bean pudding to the tangy cream cheese whipped cream, every bite offers a sophisticated balance of flavors. The bright red cake chunks contrasted against the pale yellow bananas make this the perfect festive treat for holidays, birthdays, or weekend indulgences.
Why You Will Crave This Red Velvet Banana Pudding
- Textural Contrast: You get the bite of moist cake, the crunch of vanilla wafers, and the silkiness of thick pudding all in one spoonful.
- Professional Aesthetics: The clear trifle dish showcases vibrant layers of deep crimson, creamy white, and soft yellow, making it a high-engagement “scroll-stopper.”
- Flavor Elevation: By adding cream cheese to the whipped cream, we bridge the gap between a standard pudding and a gourmet Red Velvet cake experience.
- Dual-Unit Precision: We use exact Imperial and Metric measurements to ensure your pudding sets perfectly every single time.
Essential Ingredients for the Best Red Velvet Trifle
To achieve the specific look and taste of this Red Velvet Banana Pudding, you need high-quality components. Each ingredient plays a specific role in the structural integrity and flavor profile of the dish.
Moist Red Velvet Cake: 1 loaf (approx. 450g). You can use a boxed mix or a bakery-style loaf. The deep cocoa notes are essential for the “Red Velvet” identity.
Vanilla Bean Pudding: 2 packages (102g each) instant vanilla pudding mix or a homemade custard base. We recommend adding real vanilla bean paste for those beautiful black specks visible through the glass.
Cold Whole Milk: 3 cups (710ml). Using whole milk is non-negotiable for a thick, luscious pudding that supports the weight of the cake layers.
Cream Cheese: 8 oz (225g), softened. This adds the signature “tang” that defines a Red Velvet dessert and stabilizes the whipped cream.
Heavy Whipping Cream: 2 cups (475ml), chilled. This creates the “fluffy soft peaks” mentioned in our visual blueprint.
Powdered Sugar: 1 cup (120g). To sweeten the cream cheese foam without adding graininess.
Ripe Bananas: 5-6 large bananas. Look for perfectly yellow fruit with just a few brown spots for maximum sweetness without being mushy.
Vanilla Wafers: 1 box (312g). These provide the classic garnish and a necessary crunch between the soft layers.
Vanilla Bean Paste: 1 tsp (5ml). This provides a more intense flavor than extract and adds premium visual cues to the white cream layers.
Step-by-Step: How to Build the Perfect Layers
Prepare the Red Velvet Base
Begin by crumbling half of your red velvet cake into small, bite-sized chunks. Set aside the other half to cut into clean cubes. Reserve a small portion of the crumbs to blend into a fine “red velvet cake dust” for the final garnish. This dust is what gives the top of the Red Velvet Banana Pudding its professional, bakery-style finish.
Whisk the Thick Vanilla Bean Pudding
In a large mixing bowl, combine the vanilla pudding mix with 3 cups (710ml) of cold whole milk. Whisk vigorously for 2 minutes until the mixture begins to thicken. Stir in the vanilla bean paste. Place the pudding in the refrigerator to firm up for at least 15 minutes. A thick pudding is vital so the layers don’t bleed into one another.
Fold the Fluffy Cream Cheese Whipped Cream
In a separate bowl, beat the softened cream cheese and powdered sugar until completely smooth. In a third chilled bowl, whip the heavy cream until stiff peaks form. Gently fold the whipped cream into the cream cheese mixture. This creates a “fluffy cream cheese whipped cream” that is stable enough to show visible air bubbles against the glass.
Assemble the Visual Layers
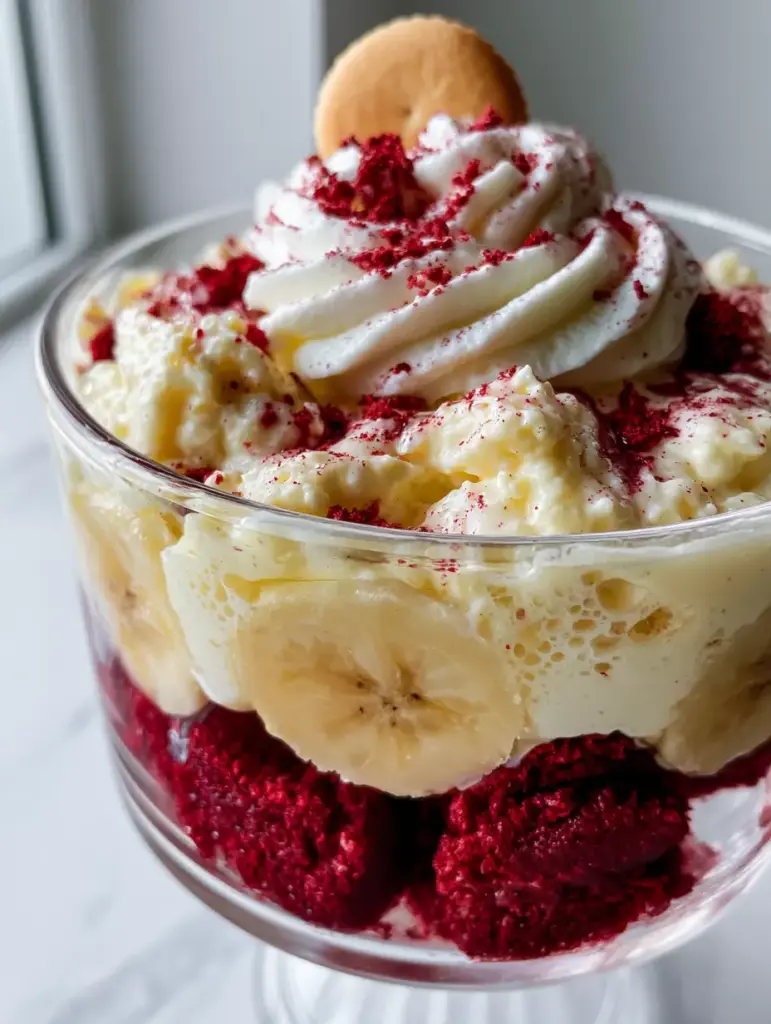
Grab your clear glass trifle dish. Start with a foundation of red velvet cake chunks. Follow with a layer of the thick vanilla bean pudding. Next, press slices of pale yellow bananas firmly against the glass so they are visible from the side. Add a generous layer of the cream cheese whipped cream. Repeat these layers until you reach the top of the dish.
The Final Garnish and Presentation
For the grand finale, pipe a generous swirl of the remaining cream cheese whipped cream on top. Sprinkle the reserved red velvet cake dust over the surface. Finish by placing a single, whole vanilla wafer in the center. The result should look like a handheld smartphone photo of a fresh-scooped portion—messy, delicious, and irresistible.
Expert Tips for a Professional Trifle
- Prevent Banana Browning: Lightly toss your banana slices in a tablespoon of lemon juice before layering. This keeps them looking pale yellow and fresh for hours.
- Chill the Bowl: When making the whipped cream, chill your metal mixing bowl and beaters in the freezer for 10 minutes. This ensures the highest volume and stiffest peaks.
- Layering Strategy: Always place the cake at the bottom. It acts as a sponge, soaking up any excess moisture from the pudding and bananas, preventing the dessert from becoming soggy.
- Vertical Height: Don’t be afraid to pile the whipped cream high! Programmatic ads love vertical space, and so does the Pinterest algorithm.
Storage, Reheating & Freezing
To Store: This Red Velvet Banana Pudding is best served after chilling for at least 4 hours, which allows the wafers to soften slightly. Store leftovers in the refrigerator, covered tightly with plastic wrap, for up to 3 days.
Freezing: We do not recommend freezing this dish. The bananas will turn black and mushy, and the cream cheese whipped cream may break and lose its fluffy texture upon thawing.
What to Serve With This Decadent Pudding
While this pudding is a meal in itself, it pairs beautifully with other vibrant dishes. If you are hosting a brunch, try it alongside a croissant breakfast sandwich. For a summer BBQ, follow a main course like baked pineapple salmon with a big scoop of this red velvet goodness. It also complements a lighter pasta primavera for a balanced dinner party menu.
Frequently Asked Questions
Yes, it is actually better if made 4-8 hours in advance. This gives the vanilla wafers time to soften slightly into a cake-like texture while the flavors meld together.
Absolutely! A boxed mix works perfectly for the cake chunks. Just ensure the cake is completely cooled before crumbling it into the trifle dish to prevent the pudding from melting.
Toss the banana slices in a small amount of lemon or pineapple juice before layering. The acidity prevents oxidation, keeping them pale yellow and fresh-looking for up to 24 hours.
Instant pudding is preferred for its stability and speed. However, if you use cook-and-serve, it must be completely chilled and set before assembly to maintain the distinct layers.
The Ultimate Red Velvet Banana Pudding Recipe
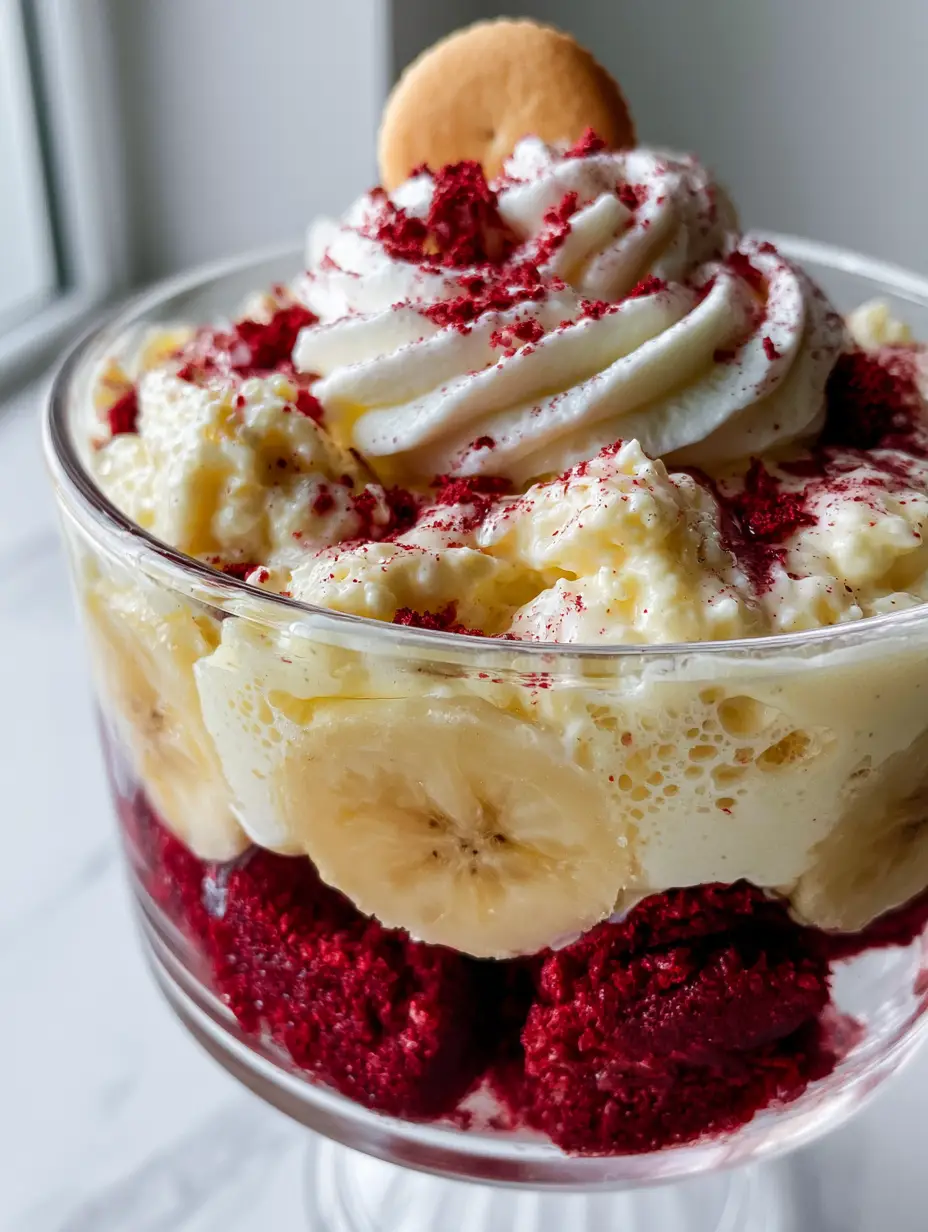
Red Velvet Banana Pudding: The Ultimate Layered Trifle Dessert
Ingredients
Equipment
Method
- Crumble half of the red velvet cake and cube the remaining half. Blend a small handful into dust for garnish.
- Whisk pudding mix with cold milk and vanilla bean paste for 2 minutes. Chill for 15 minutes.
- Beat softened cream cheese and sugar. In a separate bowl, whip heavy cream to stiff peaks, then fold into the cream cheese.
- In a glass trifle dish, layer cake chunks, pudding, sliced bananas, and whipped cream. Repeat until full.
- Finish with a swirl of cream, red velvet cake dust, and a whole vanilla wafer.
Notes
Use cold whole milk for the thickest pudding structure.
Join the Community!
Did you make this Red Velvet Banana Pudding? We want to see your gorgeous layers! Save this recipe to your “Dessert Goals” board on Pinterest and follow katie_tasty for more viral treats. Leave a 5-star rating below and upload a photo of your trifle dish in the comments—seeing your creations is the best part of my day!