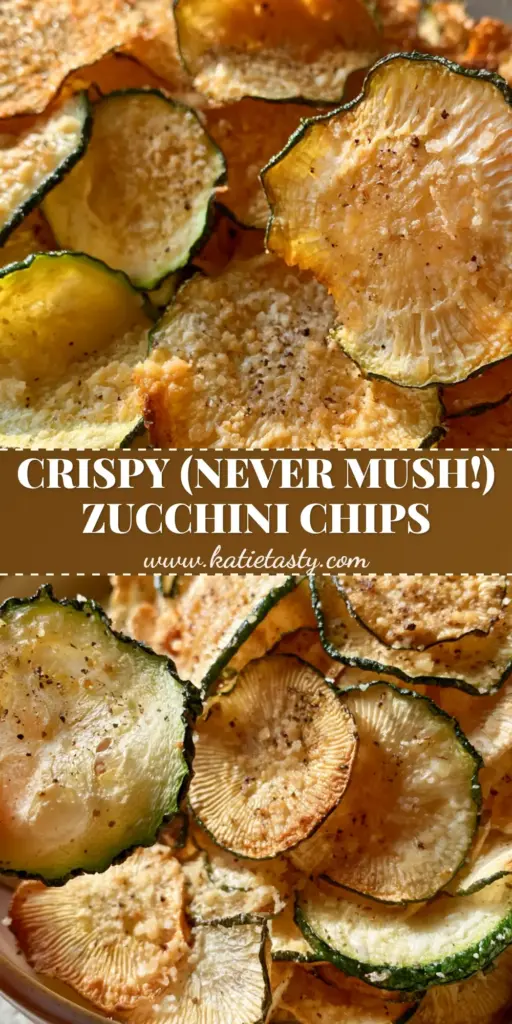
Air fryer zucchini chips are the ultimate solution for when you crave a salty, crunchy snack but want to keep things light and low-carb. These ultra-thin rounds are seasoned to perfection, featuring toasted golden brown edges and a delicate dusting of fine-grated parmesan cheese. Unlike traditional fried snacks, these chips rely on the power of rapid air circulation to achieve a moisture-wicked dry texture without a heavy breading.
If you have ever struggled with soggy vegetable chips, this recipe is for you. We focus on the science of the crunch, ensuring every slice is translucent at the edges and offers a clean snap-break when you bite into it. By using a few simple culinary techniques, you can transform a humble summer squash into a gourmet snack that rivals any store-bought potato chip.
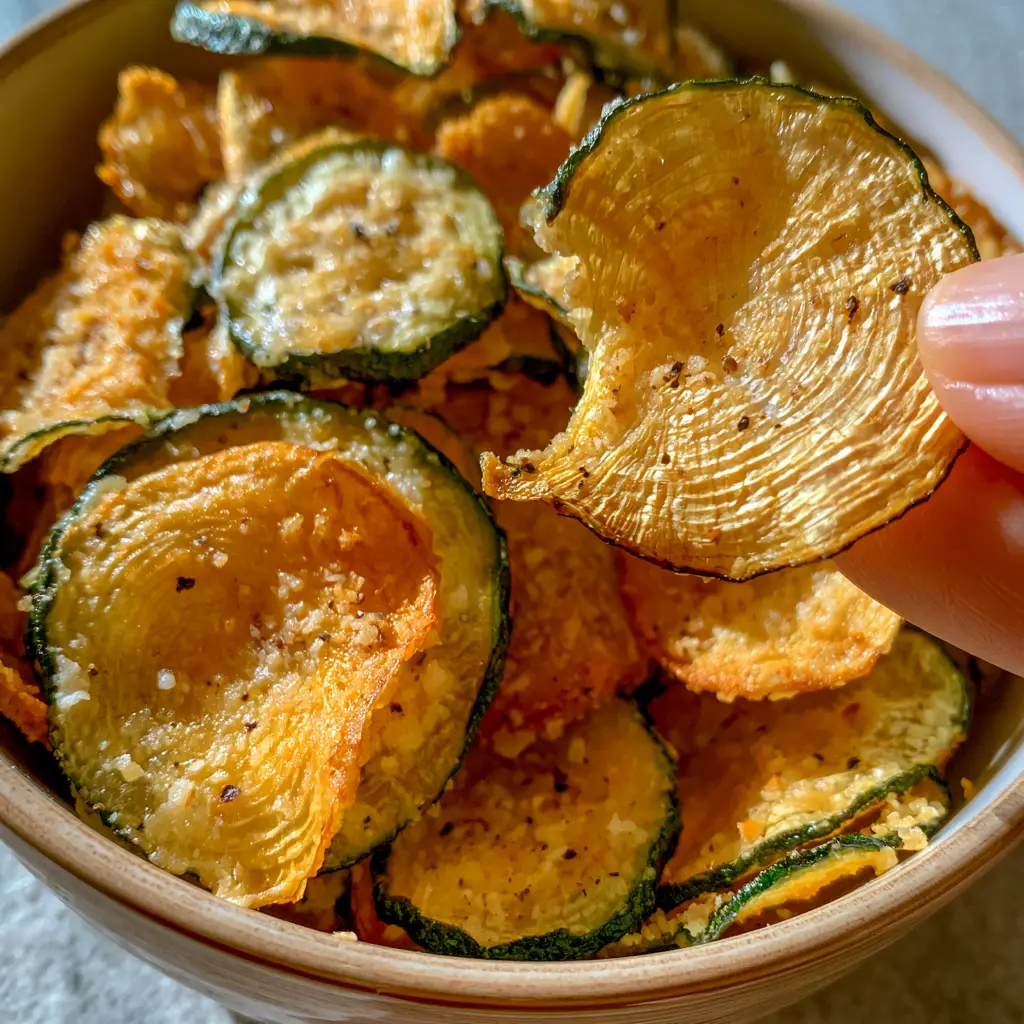
Why You Will Love These Crispy Air Fryer Zucchini Chips
- Ultra-Thin and Rippled: By slicing the zucchini thin, we create a rippled texture that maximizes surface area for the perfect crunch.
- No Breading Required: We skip the flour and panko, letting the melted fine-grated parmesan cheese create a savory, lacy crust.
- Low Carb & Keto-Friendly: A guilt-free way to satisfy your snack cravings while sticking to your nutritional goals.
- Fast and Efficient: The air fryer achieves that toasted golden brown finish in a fraction of the time it takes an oven.
If you enjoy this recipe, you might also love our zucchini tots or these savory korean zucchini frittters for more ways to use up your garden harvest.
Essential Ingredients for Success
To make the best air fryer zucchini chips, you only need a handful of high-quality ingredients. The quality of your produce and cheese will directly impact the final flavor profile.
- Zucchini: Look for medium-sized zucchini (about 250g each). Smaller squash have fewer seeds and a lower water content, which is vital for a dry, non-greasy surface.
- Extra Virgin Olive Oil: 1 tablespoon (15ml). This “invisible” ingredient helps the seasonings stick and promotes even browning in the air fryer basket.
- Parmesan Cheese: 1/4 cup (30g) of fine-grated parmesan. It must be finely grated so it melts into a thin, crispy layer rather than clumping.
- Sea Salt Flakes: 1/2 teaspoon (3g). Flaky salt provides a targeted burst of flavor and helps draw out excess moisture during the prep phase.
- Cracked Black Pepper: 1/4 teaspoon (1g). Use freshly cracked pepper for tiny specks of heat that balance the richness of the cheese.
The Secret to The Perfect Crunch: Moisture Management
Zucchini is roughly 95% water. If you simply slice it and toss it in the air fryer, you will end up with a steamed, limp vegetable rather than a perfectly golden-brown chip. The most important step in this recipe is the “sweating” process.
After slicing your rounds to roughly 1/8 inch (3mm) thick, you must lay them out on paper towels and sprinkle them with a tiny bit of salt. Let them sit for 10 minutes. You will see beads of moisture rising to the surface. Pat them dry firmly. This moisture-wicked dry texture is the foundation of a chip that snaps.
Step-by-Step Instructions for Air Fryer Zucchini Chips
1. Slicing with Precision
Start by washing and drying your zucchini. Using a mandolin slicer is highly recommended for ultra-thin zucchini chips. Set the blade to 1/8 inch (3mm). Consistent thickness ensures that every chip cooks at the same rate, preventing half the batch from burning while the other half remains soft.
2. The Dewatering Technique
Lay the slices in a single layer on a clean kitchen towel or several layers of paper towels. Sprinkle lightly with sea salt. Wait 10-15 minutes, then use another towel to press down firmly on the slices. The goal is to remove as much internal water as possible before they hit the heat.
3. Seasoning and Coating
In a large bowl, gently toss the dry zucchini slices with the olive oil. Once lightly coated, sprinkle in the fine-grated parmesan cheese and cracked black pepper. Use your hands to ensure the cheese is evenly distributed across every slice. You want a visible crispy crust forming even before they are cooked.
4. The Air Frying Process
Preheat your air fryer to 325°F (165°C). Place the slices in the air fryer basket in a single layer. Do not overlap them! If you crowd the basket, the air cannot circulate, and you won’t get those toasted golden brown edges. Cook for 8-12 minutes, flipping halfway through. Keep a close eye on them during the last 2 minutes, as they can go from golden to burnt very quickly.
Expert Tips for the Ultimate Snack
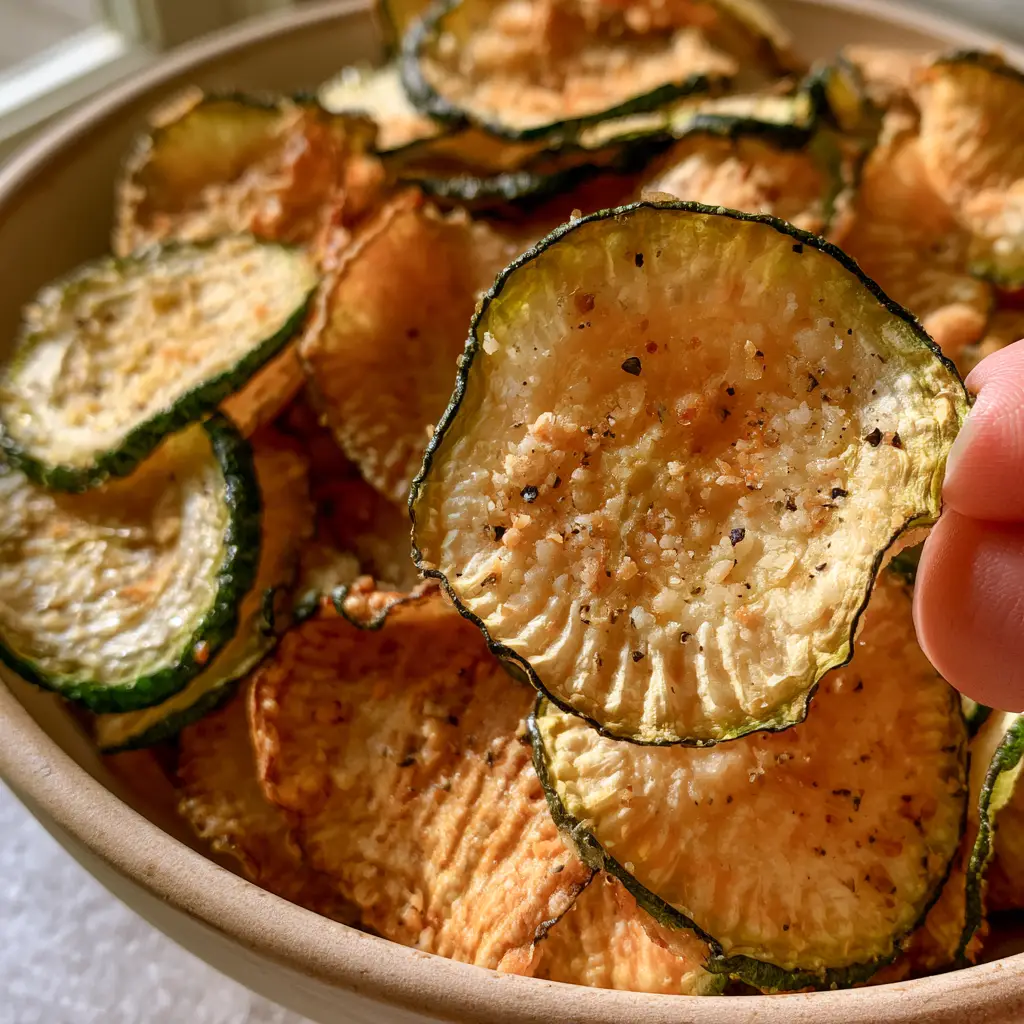
- The “Snap” Test: When you think they are done, take one chip out and let it sit for 30 seconds. If it hardens into a clean snap-break, the batch is ready. If it stays flexible, give them another minute.
- Fine Grate Only: Do not use shredded parmesan from a bag; it contains anti-caking agents that prevent it from melting and crisping properly. Use a microplane for the best results.
- Avoid High Heat: It is tempting to crank the heat to 400°F (200°C), but zucchini chips are delicate. A lower temperature (325°F/165°C) allows the moisture to evaporate without burning the translucent edges.
- Serve Immediately: Like most vegetable chips, these are best enjoyed within 20 minutes of cooking for the maximum crispy, rippled texture.
For a complete air fryer feast, try serving these alongside our air fryer tortellini or as a side to a healthy bang bang chicken bowl.
Storage and Reheating Guidelines
To Store: If you have leftovers, place them in an airtight container with a piece of parchment paper or a desiccant pack. They will last about 2 days at room temperature, though they may lose some crunch.
To Reheat: Do not use the microwave! To restore the dry, non-greasy surface, pop them back into the air fryer at 350°F (175°C) for 1-2 minutes until they sizzle and crisp back up.
Freezing: We do not recommend freezing air fryer zucchini chips. The cell structure of the zucchini breaks down when frozen, resulting in a mushy texture upon thawing.
What to Serve With Zucchini Chips
These chips are incredibly versatile. They pair beautifully with a variety of dips and main courses:
- Dips: Try a cool Greek yogurt ranch, a spicy sriracha mayo, or even a simple marinara.
- Main Dishes: Serve them as a side for slow cooker turkey breast or alongside a fresh tomato salad for a light lunch.
- Snack Boards: Add them to a charcuterie board for a unique, homemade touch that guests will rave about.
Frequently Asked Questions
Yes, you can bake them at 325°F (165°C) on a parchment-lined sheet, but it will take 20-30 minutes and they may not get as consistently rippled and crispy as they do in the air fryer.
No! This recipe uses fine-grated parmesan cheese and olive oil to create a natural, lacy crust that is much lighter and lower in carbs than traditional flour or panko breading.
A mandolin slicer is the best tool for this job. Set it to 1/8 inch (3mm) to get those translucent, ultra-thin slices that crisp up perfectly.
Sogginess is usually caused by excess moisture. You must salt the zucchini slices and pat them dry firmly with paper towels before air frying to ensure a crispy, dry texture.
The Ultimate Crispy Air Fryer Zucchini Chips Recipe
Air fryer zucchini chips with Parmesan (Crispy & No Breading!)
Ingredients
Equipment
Method
- Slice zucchini into 1/8 inch (3mm) rounds using a mandolin for consistency.
- Lay slices on paper towels, sprinkle with salt, and let sit for 10 minutes to draw out water.
- Firmly pat the slices dry with a clean towel to ensure a moisture-wicked dry texture.
- Toss dry slices with olive oil, then add parmesan and pepper until evenly coated.
- Arrange in a single layer in the air fryer basket at 325°F (165°C).
- Cook for 8-12 minutes, flipping halfway, until edges are golden brown and translucent.
Notes
Do not overcrowd the basket; cook in batches if necessary for maximum crunch.
Join the Tasty Community!
Did you manage to get that perfect clean snap-break on your chips? We want to see! Please save this recipe to your Pinterest boards so you never lose it. Follow @katie_tasty for more air fryer inspiration and healthy snack ideas. If you made these, leave a comment below and don’t forget to give us a 5-star rating! Your feedback helps other home cooks find the best way to enjoy their veggies.