There is a specific kind of culinary magic that happens when high heat meets a cast iron skillet. This one pan balsamic chicken is the embodiment of that magic, transforming humble poultry into a gourmet masterpiece coated in a syrupy, mahogany-hued glaze. If you have been searching for a dinner that looks like it belongs on a restaurant menu but requires minimal cleanup, you have arrived at your destination.
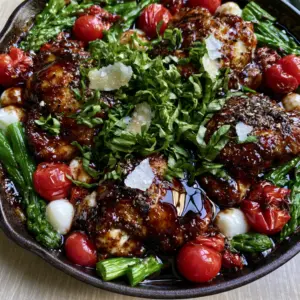
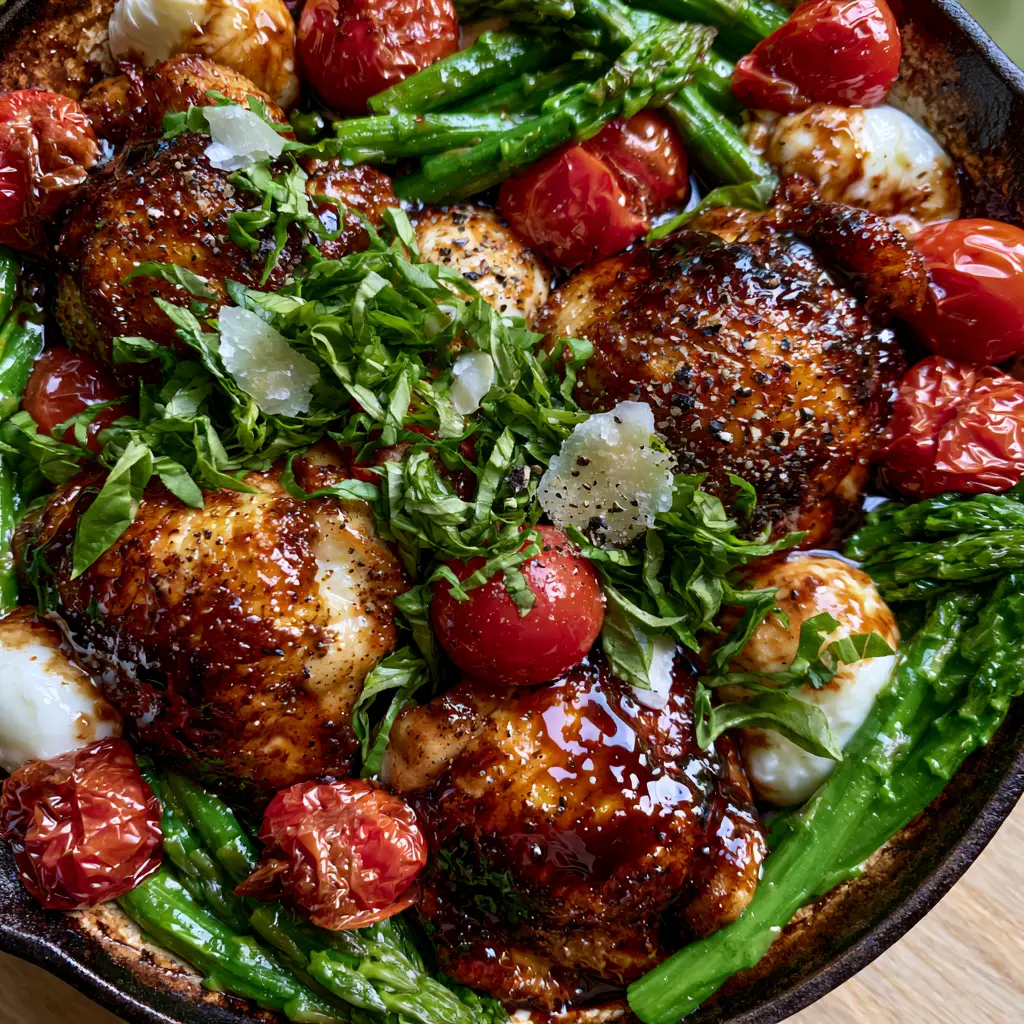
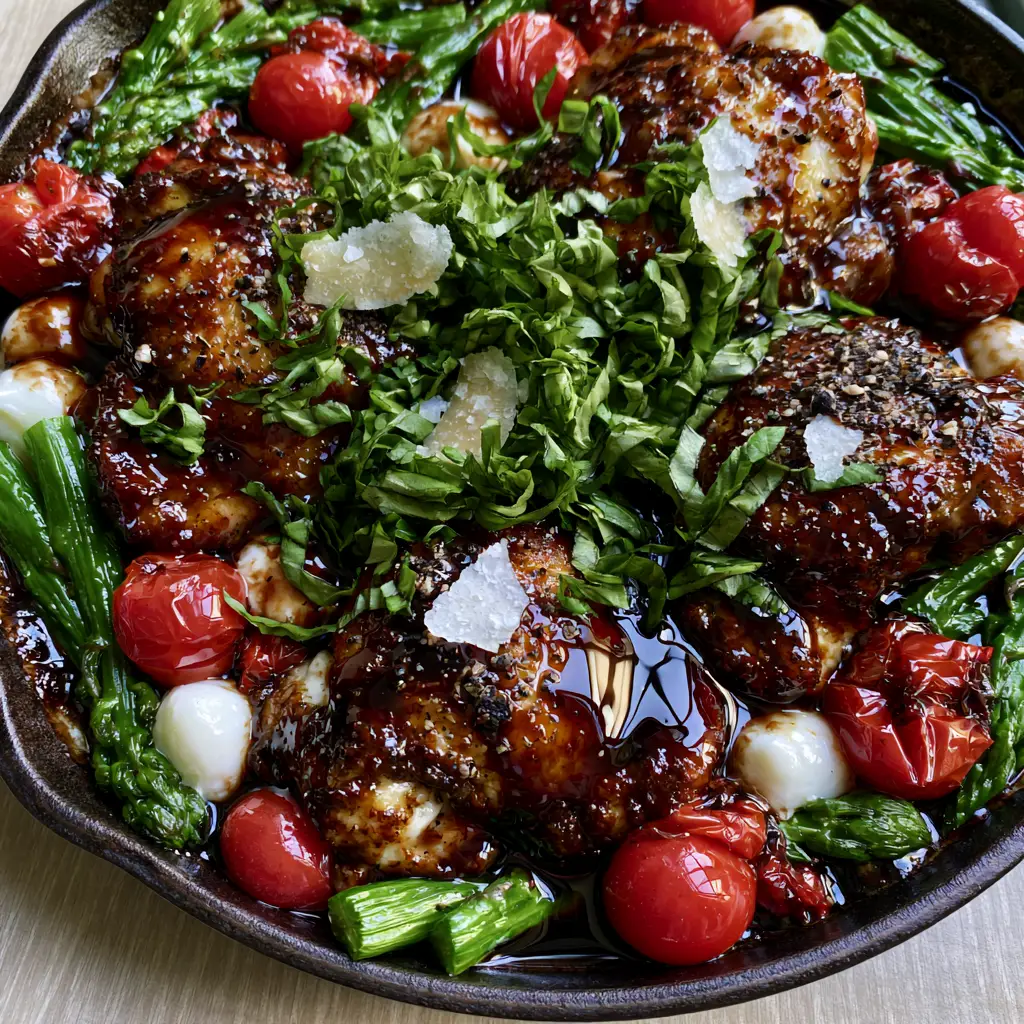
The visual appeal of this dish is undeniable. Imagine succulent, golden-brown chicken thighs nestled alongside bright red blistered cherry tomatoes and vibrant green asparagus spears. The final touch of melted mozzarella pearls and fresh basil ribbons creates a color palette that is as appetizing as the flavor profile is complex. This is not just a meal; it is a sensory experience designed for the modern home cook.
Why This Skillet Chicken Recipe Will Become Your New Weeknight Obsession
This recipe isn’t just about convenience; it is about maximizing flavor through layering and technique. Here is what makes this one pan balsamic chicken stand out from the crowd:
- The Perfect Sear: By using a cast iron skillet, we achieve a deep, golden-brown crust on the chicken thighs that locks in moisture.
- Glossy Balsamic Reduction: The sauce reduces down to a thick, syrupy glaze that clings to every ingredient, offering a perfect balance of tangy and sweet.
- Textural Contrast: You get the snap of tender-crisp asparagus, the burst of warm tomatoes, and the creamy pull of melted mozzarella pearls.
- Visual Sophistication: The mahogany glaze contrasted against the fresh white mozzarella and green basil makes this dish a true showstopper for guests.
- Efficiency: From sear to serve, everything happens in one pan, making it a dream for those who prioritize a quick cleanup.
The Anatomy of Flavor: Ingredients for the Ultimate Balsamic Chicken
To achieve the results seen in our visual blueprint, every ingredient must play a specific role. We aren’t just tossing things in a pan; we are building a foundation of flavor and texture.
Chicken Thighs: We recommend 1.5 lbs (680g) of boneless, skinless chicken thighs. Thighs are far more forgiving than breasts and stay juicy even when exposed to the high heat required for a proper sear.
Balsamic Vinegar: 1/2 cup (120ml) of high-quality balsamic vinegar of Modena provides the acidic backbone. As it reduces, the natural sugars caramelize, creating that signature mahogany glaze.
Honey or Maple Syrup: 2 tbsp (30ml) of liquid sweetener is essential. It acts as the “glue” for the glaze, providing the glossy sheen and balancing the sharp acidity of the vinegar.
Fresh Garlic: 3 cloves (15g) of minced garlic provide the aromatic depth. Garlic becomes sweet and mellow as it simmers in the balsamic reduction.
Cherry Tomatoes: 1 cup (150g) of whole cherry tomatoes. We want them to blister until their skins pop, releasing their juices into the sauce to create a natural acidity.
Fresh Asparagus: 1 bunch (approx. 450g) with the woody ends trimmed. Asparagus adds a needed earthiness and a vibrant green pop that breaks up the dark tones of the glaze.
Mozzarella Pearls: 1/2 cup (100g) of fresh mozzarella pearls. These small spheres melt just enough to become gooey without completely losing their shape, providing a creamy contrast to the glaze.
Fresh Basil: A generous handful, cut into thin ribbons (chiffonade). The volatile oils in fresh basil provide a floral finish that cuts through the richness of the chicken.
The Seasoning Foundation: 1 tsp (5g) kosher salt and 1/2 tsp (2g) cracked black pepper, plus a final sprinkle of flaky sea salt. Salt is the primary flavor enhancer that makes all other ingredients “pop.”
Essential Equipment for a Professional Finish
To achieve the “rustic handheld photography” look from our blueprint, the tools matter as much as the ingredients. A 12-inch black cast iron skillet is the gold standard here. Its heat retention capabilities are unmatched, allowing the chicken to sear without the pan temperature dropping significantly.
If you don’t have cast iron, a heavy-bottomed stainless steel pan is the next best choice. You will also need a pair of silicone-tipped tongs for turning the chicken without tearing the seared surface, and a sharp chef’s knife for creating those beautiful basil ribbons.
The Culinary Blueprint: Step-by-Step Instructions
Step 1: The Initial Sear and Maillard Reaction
Start by patting your chicken thighs dry with paper towels. Moisture is the enemy of a good sear. Season both sides generously with salt and pepper. Heat 1 tbsp (15ml) of olive oil in your skillet over medium-high heat until it shimmers.
Place the chicken in the pan. Do not crowd them; work in batches if necessary. Let them cook undisturbed for 5-6 minutes. You are looking for a deep, golden-brown crust. Once achieved, flip and cook for another 4 minutes. Remove the chicken from the pan and set aside on a plate; it will finish cooking in the sauce later.
Step 2: Building the Mahogany Glaze
Lower the heat to medium. Add the minced garlic to the residual oil and chicken fat in the pan, stirring for 30 seconds until fragrant. Pour in the balsamic vinegar and honey. Use a wooden spoon to scrape up the brown bits (fond) from the bottom of the pan—this is concentrated flavor!
Let the liquid simmer for 3-5 minutes. You are looking for a visual cue: the bubbles will become larger and the liquid will start to look like syrupy molasses. It should be thick enough to coat the back of a spoon.
Step 3: Blistering the Vegetables
Add the whole cherry tomatoes and the trimmed asparagus spears to the skillet. Toss them gently in the reduction. The heat will cause the tomato skins to stretch and eventually burst (blister). This usually takes about 4-5 minutes. The asparagus should remain bright green and “tender-crisp”—soft to the bite but still retaining a slight snap.
Step 4: The Final Assembly and Melt
Nestle the seared chicken thighs back into the skillet, tucking them between the vegetables. Spoon some of the thick mahogany glaze over the top of the chicken. Scatter the mozzarella pearls evenly across the pan.
Cover the skillet with a lid for 1-2 minutes, just long enough for the cheese to soften and begin to drape over the chicken. The chicken should reach an internal temperature of 165°F (74°C).
Expert Tips for a Picture-Perfect Skillet Dinner
- Don’t Rush the Reduction: If your glaze is too thin, it will wash off the chicken rather than coating it. Be patient and wait for that syrupy consistency.
- Room Temperature Meat: Take your chicken out of the fridge 15 minutes before cooking. This ensures even cooking and a better sear.
- Basil Timing: Only add the basil ribbons at the very end. The residual heat is enough to wilt them; high heat will turn them black and bitter.
- The Gloss Factor: If your sauce looks dull, whisk in 1 tsp (5g) of cold butter at the very end. This culinary trick, known as monter au beurre, adds a professional shine.
Smart Storage and Reheating Strategies
This one pan balsamic chicken is best enjoyed fresh, but leftovers can be stored in an airtight container in the refrigerator for up to 3 days. To reheat, we recommend using a skillet over low heat with a splash of water or chicken broth to loosen the glaze. Avoid the microwave if possible, as it can make the chicken rubbery and the asparagus mushy.
We do not recommend freezing this dish as a whole, as the tomatoes and asparagus will lose their structural integrity upon thawing. However, the balsamic glazed chicken itself freezes quite well for up to 2 months.
What to Serve With One Pan Balsamic Chicken
While this is a complete meal on its own, you can round it out with some complementary sides. A base of creamy polenta or mashed potatoes is excellent for soaking up every drop of that mahogany glaze. If you prefer something lighter, consider pairing it with one of these vibrant summer vegetable side dishes.
For added texture, a side of crunchy parmesan crisps provides a salty snap that works beautifully with the sweet balsamic. If you are looking to keep things plant-forward throughout the week, check out these high-protein vegetarian meals for your next meal prep session.
Common Questions About Balsamic Glazed Chicken
Yes, you can use chicken breasts, but keep in mind they cook faster and can dry out. Reduce the searing time to 4 minutes per side and ensure the internal temperature doesn’t exceed 165°F (74°C).
We recommend fresh asparagus for the best texture. Frozen asparagus tends to release too much water, which can dilute the balsamic reduction and make the dish soupy.
If your glaze is too thin, remove the chicken and vegetables and simmer the sauce solo on medium-high for 2-3 extra minutes. The addition of honey or brown sugar also aids in thickening.
As written, the honey adds sugar. To make it keto, replace the honey with a sugar-free liquid sweetener or omit it, though the glaze will be slightly less glossy.
A heavy stainless steel skillet or a deep non-stick pan will work. However, you may not get the same deep mahogany sear that cast iron provides due to heat retention differences.
The Ultimate One Pan Balsamic Chicken Recipe
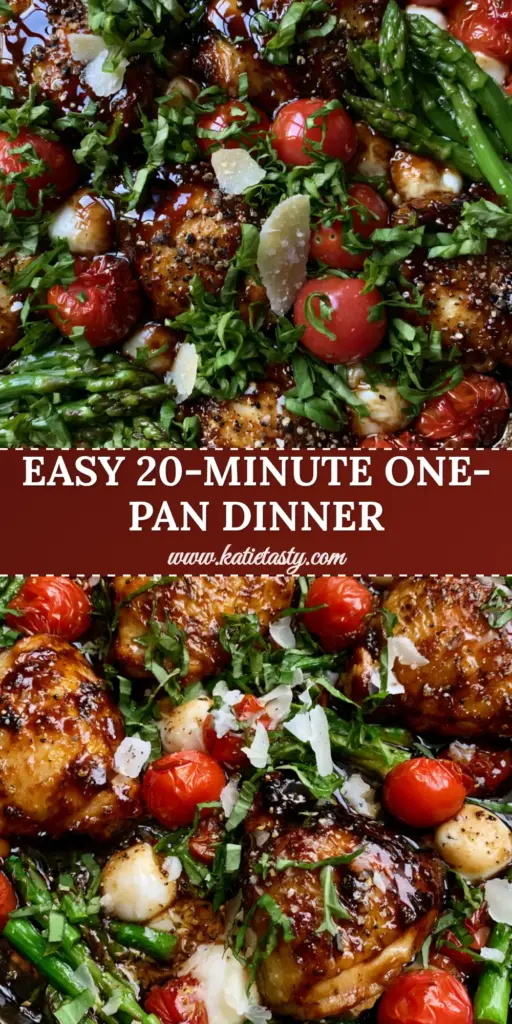
One Pan Balsamic Chicken with Blistered Tomatoes and Asparagus
Ingredients
Equipment
Method
- Season chicken with salt and pepper. In a cast iron skillet, sear chicken in olive oil over medium-high heat until golden-brown (about 5-6 mins per side). Remove and set aside.
- Add garlic to the pan, then deglaze with balsamic vinegar and honey. Simmer for 3-5 minutes until a thick, mahogany-colored syrup forms.
- Add tomatoes and asparagus to the skillet. Cook for 4-5 minutes until tomatoes blister and asparagus is tender-crisp.
- Return chicken to the pan. Top with mozzarella pearls. Cover for 1-2 minutes until cheese melts. Garnish with fresh basil and flaky salt.
Notes
Use high-quality balsamic vinegar of Modena for the best glaze consistency.
Bringing the Rustic Skillet Experience Home
Mastering the one pan balsamic chicken is a rite of passage for the home cook who values both aesthetics and flavor. The combination of the heavy cast iron skillet, the acidic punch of the balsamic, and the freshness of the basil creates a harmony that is hard to beat. Whether you are cooking for a quiet Wednesday night or hosting a weekend dinner, this recipe delivers every time.
If you enjoyed this recipe, please leave a comment below and share your photos with us! Don’t forget to follow katie_tasty on Pinterest for more visual recipe inspiration and kitchen tips.