There is a specific culinary magic that happens when high heat meets the natural sugars of raw honey. This Sticky Honey Glazed Chicken isn’t just another weeknight dinner; it is a masterclass in texture and flavor contrast, designed to mimic the high-gloss, deep-amber finishes found in elite gastropubs.
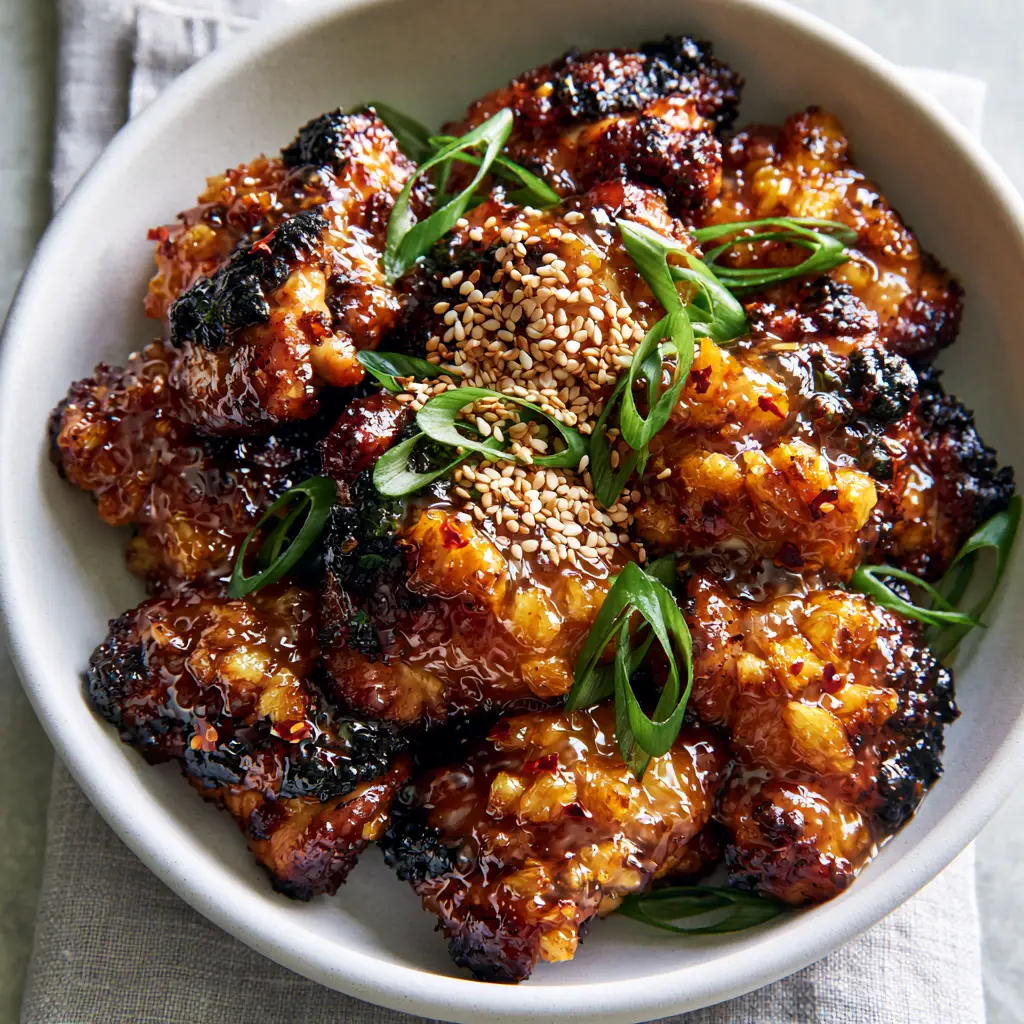
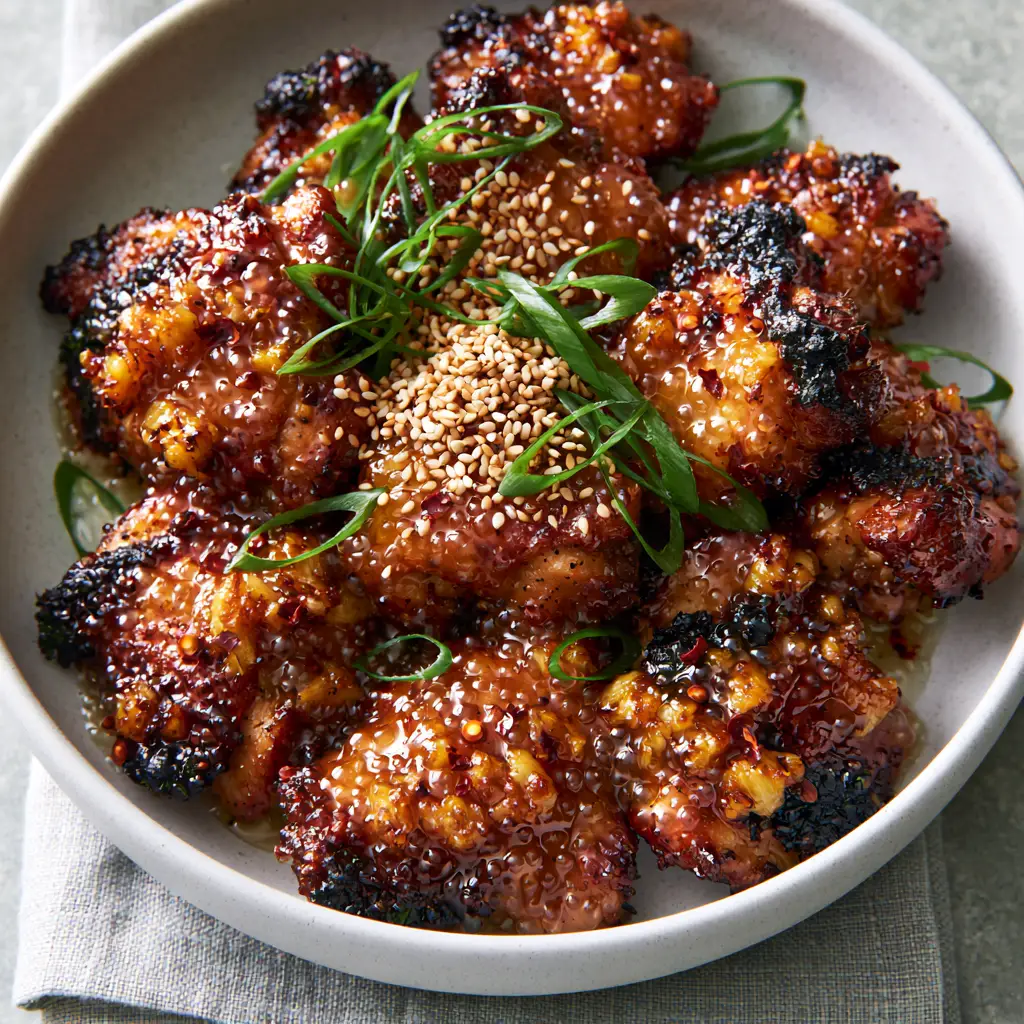
Imagine bite-sized pieces of succulent chicken thighs, pan-seared until the edges achieve a dark, crispy char that shatters slightly when you bite into it. These golden morsels are then tossed in a bubbling, translucent honey-garlic glaze that clings to every crevice, suspended with bits of toasted garlic and vibrant red chili flakes.
Served in a modern matte white ceramic bowl over a light grey linen, this dish is a visual and sensory powerhouse. Whether you are looking for a “better-than-takeout” experience or a protein-packed meal that looks like a professional food photograph, this recipe delivers on every promise of its name.
The Science of the Perfect Sticky Honey Glazed Chicken
- The Maillard Reaction Meets Caramelization: By using chicken thighs instead of breasts, we leverage a higher fat content that allows for a longer sear. This creates a deep crust that survives the glazing process without becoming soggy.
- Translucent Amber Glaze: We achieve a thick, glossy finish by balancing the viscosity of honey with a tiny amount of cornstarch slurry, ensuring the sauce coats the chicken rather than pooling at the bottom of the bowl.
- Aromatic Suspension: The minced garlic isn’t just for flavor; it provides a textural “crunch” when sautéed to a golden-brown state right before the liquid ingredients are added.
- Visual Contrast: The pops of vibrant green from thinly sliced scallions and the ivory crunch of toasted sesame seeds break up the rich amber tones, creating a dish that is as beautiful as it is delicious.
Essential Components for This Gourmet Glazed Poultry
1.5 lbs (680g) Boneless Skinless Chicken Thighs: Thighs are the superior choice here because they remain juicy even under the high heat required to achieve those signature charred edges. Trim the excess fat and pat them bone-dry to ensure a proper sear.
1/2 cup (120ml) Raw Wildflower Honey: This is the backbone of the recipe, providing the “sticky” factor and the sugars necessary for rapid caramelization. The amber color of the final dish depends heavily on the quality and hue of your honey.
6 cloves (30g) Fresh Garlic: We use a high volume of garlic, finely minced, to create those visible golden bits suspended in the sauce. Do not use the jarred variety, as it lacks the pungent oils needed to cut through the sweetness of the honey.
2 tbsp (30ml) Low-Sodium Soy Sauce: This adds the essential umami base and helps deepen the amber color to a rich, dark hue. If you prefer a more tropical profile, you might enjoy comparing this to a huli huli chicken base.
1 tbsp (15ml) Rice Vinegar: A touch of acidity is required to balance the heavy sugars. It brightens the entire flavor profile and prevents the glaze from feeling cloying on the palate.
1 tsp (2g) Dried Red Pepper Flakes: These provide a subtle background heat that cuts through the honey. You will see these tiny red specks suspended in the glossy sauce, adding a professional visual touch.
2 tsp (10ml) Neutral High-Smoke Point Oil: Use avocado or grapeseed oil for the initial sear. Avoid olive oil here, as it will smoke and become bitter at the temperatures needed for charring.
1 tbsp (8g) Toasted White Sesame Seeds & 2 Green Onions: These are your primary garnishes. The scallions should be sliced thinly on a bias for that modern, high-end look described in our visual blueprint.
Must-Have Kitchen Tools for Success
To achieve the macro-shot worthy results of a perfect Sticky Honey Glazed Chicken, you need a heavy-bottomed skillet. A cast-iron pan or a high-quality stainless steel skillet is ideal because they retain heat efficiently, allowing for that dark caramelization without dropping in temperature when the chicken is added.
A sharp chef’s knife is also non-negotiable for the garnishes. To get those “precisely sprinkled” sesame seeds and “thinly sliced” scallions, you need precision. Finally, use a silicone spatula to scrape every bit of the thick amber glaze from the pan—you won’t want to leave a single drop of that liquid gold behind.
Mastering the Sear: A Step-by-Step Guide
Preparing the Protein for Maximum Surface Area
Cut your chicken thighs into uniform 1-inch (2.5cm) chunks. This uniformity ensures that every piece cooks at the same rate and receives an equal amount of glaze. Pat the pieces extremely dry with paper towels; any moisture on the surface will create steam, preventing the charred edges we are looking for.
Achieving the Signature Charred Edges
Heat your oil in the skillet over medium-high heat until it begins to shimmer. Add the chicken in a single layer, ensuring you don’t crowd the pan (work in batches if necessary). Let the chicken sit undisturbed for 3-4 minutes. You are looking for a deep, golden-brown crust to form before you even think about flipping them.
Once flipped, continue cooking until the chicken is nearly done. At this stage, the edges should look slightly dark and crispy, similar to the “charred caramelized edges” seen in our reference photo. This is the foundation of the dish’s texture.
Building the Bubbling Amber Glaze
Reduce the heat to medium and push the chicken to the sides of the pan. Add the minced garlic and red pepper flakes to the center. Sauté for about 30-60 seconds until the garlic is fragrant and turns a light golden brown. Pour in the honey, soy sauce, and rice vinegar.
Stir everything together, coating the chicken thoroughly. Watch as the sauce begins to bubble. The honey will react with the heat, thickening into a translucent, glossy glaze. If the sauce is too thin, let it simmer for an extra 2 minutes until it clings to the chicken like a thick syrup.
The Final Flourish: Garnishing for Impact
Transfer the Sticky Honey Glazed Chicken into a neutral stoneware bowl. While the glaze is still hot and “bubbling and glossy,” sprinkle the toasted sesame seeds evenly across the top. Finish with the vibrant green scallions, sliced thinly on the bias to add height and freshness to the presentation.
Expert Tips for a Professional Finish
- Don’t Rush the Reduction: The “sticky” in Sticky Honey Glazed Chicken comes from the reduction of the honey. If your sauce looks like water, keep simmering. It should look like warm maple syrup.
- Controlled Heat: If the honey starts to smell like it’s burning rather than caramelizing, immediately add a teaspoon of water or rice vinegar to the pan to drop the temperature.
- The Garlic Timing: Never add the garlic at the start of the sear. It will burn and turn bitter long before the chicken is cooked. Always add it right before the liquids.
- Velvetizing (Optional): For an even softer interior, toss the raw chicken chunks in a tablespoon of cornstarch before searing. This creates a thin barrier that holds in juices.
Optimal Storage and Meal Prep Advice
This dish is an excellent candidate for meal prep. Store your Sticky Honey Glazed Chicken in an airtight container in the refrigerator for up to 4 days. The glaze will thicken significantly when cold, so when reheating, add a splash of water to loosen the sauce back to its original glossy state.
For freezing, place the cooled chicken and sauce in a freezer-safe bag for up to 3 months. Thaw overnight in the fridge before reheating in a skillet over medium heat to maintain the integrity of the charred edges.
Perfect Pairings for a Complete Meal
To balance the sweetness of the honey, serve this dish alongside something savory or bright. A bowl of garlic butter noodles acts as the perfect neutral vessel for the extra glaze. Alternatively, if you want to keep things lighter, a simple spinach salad provides a crisp, acidic contrast that cleanses the palate between bites.
If you enjoy the flavor profile of this recipe, you might also want to try our teriyaki chicken for a more soy-forward experience, or even a one-pot chicken and rice for a simplified weeknight version of these flavors.
Frequently Asked Questions
Yes, but be careful not to overcook them. Breasts lack the fat content of thighs, so sear them quickly on high heat to avoid a dry interior while still achieving the honey glaze texture.
The stickiness comes from the reduction of honey. Let the sauce bubble on medium heat until the bubbles become large and slow-popping; this indicates the water has evaporated, leaving a thick syrup.
Always add the garlic after the chicken is fully seared and right before you add the liquid ingredients. Garlic only needs about 60 seconds to become fragrant and golden.
Apple cider vinegar or white wine vinegar are the best substitutes. You need that touch of acidity to balance the sweetness of the wildflower honey.
The Ultimate Sticky Honey Glazed Chicken Recipe
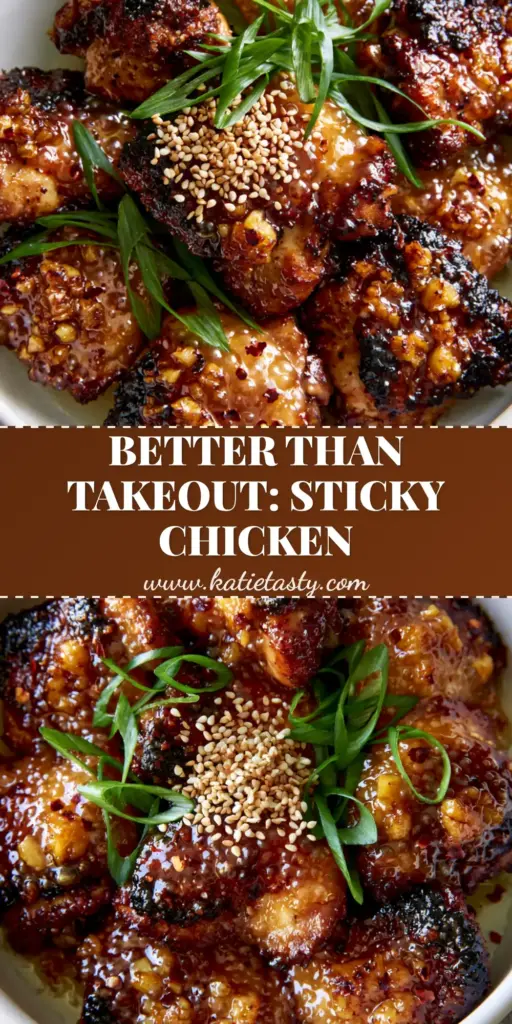
Sticky Honey Glazed Chicken with Charred Garlic and Sesame
Ingredients
Equipment
Method
- Pat chicken dry. Heat oil in a large skillet over medium-high heat. Add chicken in a single layer and sear without moving for 3-4 minutes until deep golden-brown charred edges form.
- Flip the chicken pieces and cook for another 3 minutes until nearly cooked through.
- Lower heat to medium. Add minced garlic and red pepper flakes. Sauté for 60 seconds until the garlic turns golden brown but not burnt.
- Pour in honey, soy sauce, and rice vinegar. Stir to coat. Allow the sauce to bubble and reduce for 2-3 minutes until it becomes a thick, translucent amber glaze.
- Transfer to a bowl and immediately top with toasted sesame seeds and sliced green onions while the glaze is glossy.
Notes
If the glaze gets too thick, add 1 tablespoon of water to loosen it.
Join the Tasty Community!
This Sticky Honey Glazed Chicken is a testament to how simple ingredients can create a high-end dining experience at home. The combination of crispy charred edges and that signature bubbling amber glaze makes it a recipe you’ll return to again and again. If you enjoyed this dish, please leave a comment below and share your results!
Don’t forget to follow me on Pinterest for more visually stunning recipe inspiration and kitchen tips. Happy cooking!