There is a specific, soul-satisfying magic that happens when high-heat cast iron meets a thick, mahogany-colored glaze. This Teriyaki Chicken Fried Rice isn’t your standard takeout side dish; it is a professional-grade masterpiece defined by individual toasted grains of jasmine rice and chicken breast chunks that carry a distinct, smoky char. If you have been searching for that perfect balance of sticky-sweet umami and the crispy texture of authentic stir-fry, you have arrived.
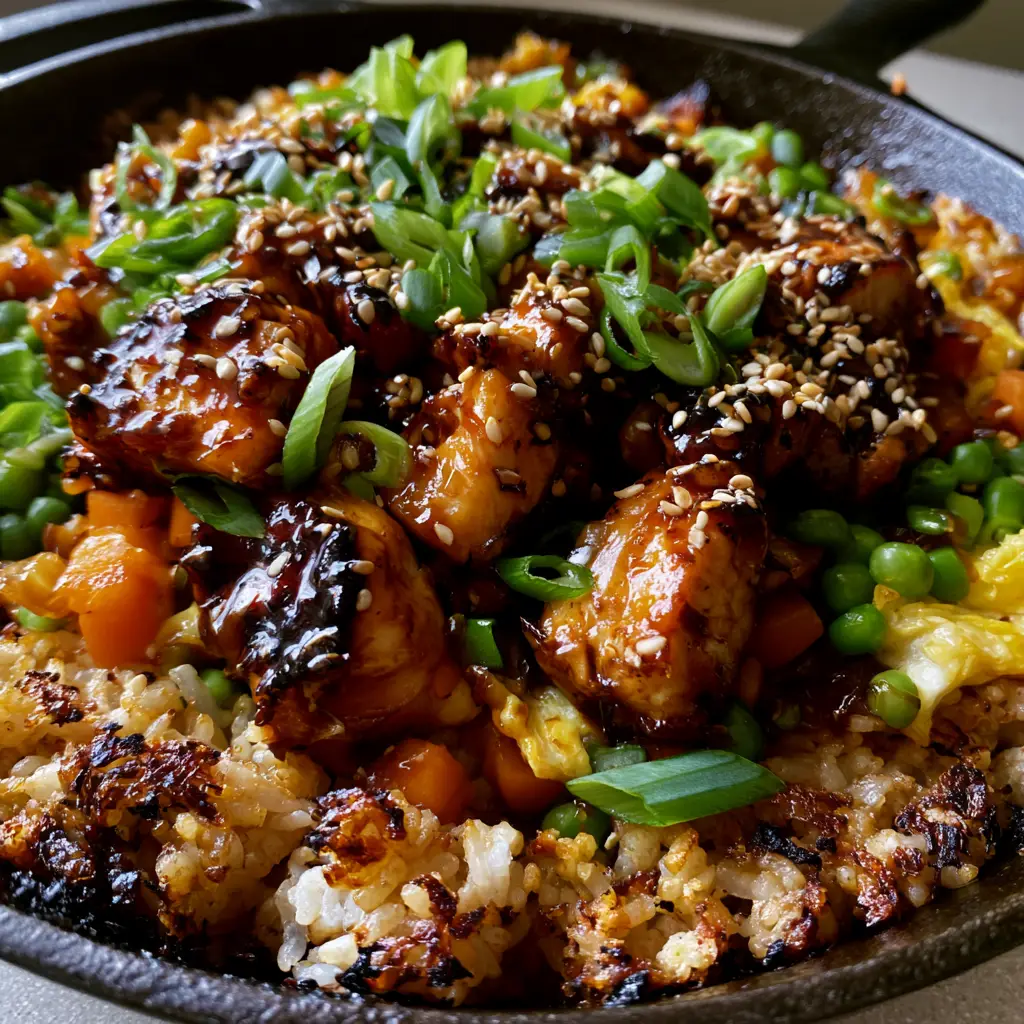
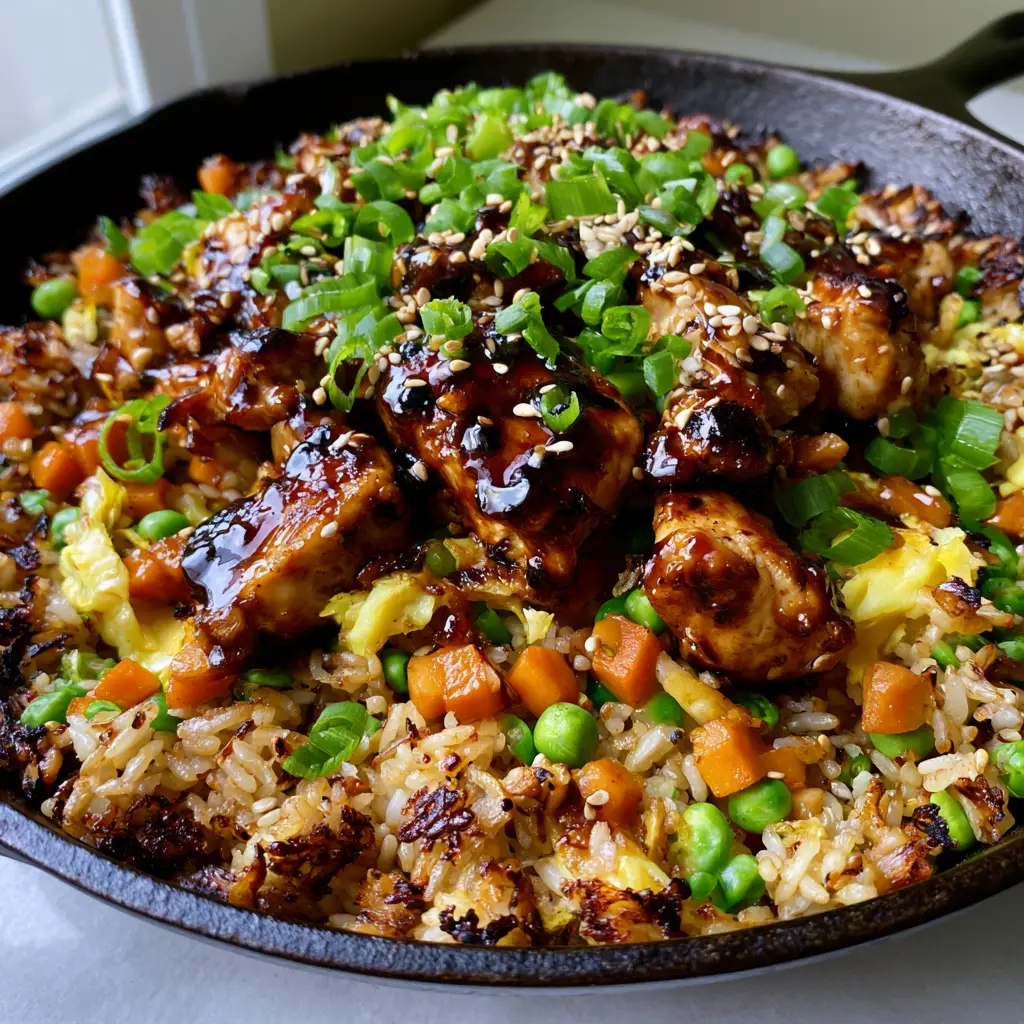
Imagine a seasoned black skillet arriving at your table, steam rising to reveal vibrant orange carrots and bright green peas nestled against golden scrambled egg ribbons. The chicken is the star, glistening under a dark teriyaki reduction that clings to every fiber. We are moving beyond mushy rice and bland protein to create a dish that hits every sensory cue: the sound of the sizzle, the smell of toasted sesame, and the sight of perfectly scorched rice edges.
This recipe was designed for the home cook who demands restaurant-quality results without the need for a high-BTU commercial wok. By leveraging the heat retention of cast iron, we can achieve “wok hei”—the breath of the wok—right on a standard stovetop. Let’s dive into the culinary science of the perfect Teriyaki Chicken Fried Rice.
Why This One-Pan Teriyaki Masterpiece Works
- The Scorched Edge Factor: By using a cast iron skillet, we achieve a level of toasting on the jasmine rice that non-stick pans simply cannot replicate, resulting in “socarrat-style” crispy bits.
- Mahogany Glaze Depth: Our homemade teriyaki reduction uses a specific sugar-to-soy ratio to ensure a thick, glossy finish that looks as good as it tastes.
- Textural Contrast: We balance tender, juicy chicken breast with the snap of fresh scallions and the soft, velvet texture of ribbons of scrambled egg.
- Visual Vibrancy: This dish is a color palette of deep browns, bright greens, and sunset oranges, making it as much a feast for the eyes as the palate.
The Anatomy of Flavor: Essential Ingredients
Long-Grain Jasmine Rice: You will need 4 cups (600g) of cooked, chilled jasmine rice. Cold rice is non-negotiable; fresh rice contains too much moisture, which leads to steaming rather than the frying required for Teriyaki Chicken Fried Rice.
Chicken Breast Chunks: Use 1.5 lbs (680g) of boneless, skinless chicken breast, cut into uniform 1-inch pieces. This size ensures a rapid sear to achieve those signature char marks while maintaining a juicy interior.
The Mahogany Teriyaki Base: A blend of 1/2 cup (120ml) low-sodium soy sauce, 1/4 cup (50g) brown sugar, 1 tbsp (15ml) honey, and 1 tsp (5ml) toasted sesame oil. The honey provides the “glisten” seen in the visual blueprint, while the brown sugar facilitates deep caramelization.
Aromatic Foundation: 1 medium yellow onion, finely diced to create caramelized onion bits, plus 3 cloves of minced garlic and 1 tbsp (15g) of fresh grated ginger. These ingredients melt into the oil, flavoring every grain of rice from the inside out.
The Vegetable Trio: 1 cup (150g) of diced tender carrots and 1 cup (150g) of bright green sweet peas. These provide a natural sweetness that cuts through the salty-savory profile of the teriyaki sauce.
Egg Ribbons: 3 large eggs, whisked with a pinch of salt. Instead of scrambling them into tiny curds, we cook them as a thin sheet and slice them into golden ribbons for a more elegant, professional presentation.
Finishing Touches: 2 tbsp (18g) toasted white sesame seeds and 1/2 cup (25g) thinly sliced fresh scallions. The scallions should be added at the very end to preserve their bright green color and sharp bite.
Professional Tools for the Perfect Sear
To achieve the results shown in our visual guide, a 12-inch (30cm) cast iron skillet is the primary requirement. The heavy bottom holds heat better than stainless steel, allowing the rice to toast effectively without sticking. You will also need a sturdy flat-edged metal spatula; this is essential for scraping up the caramelized bits (the fond) from the bottom of the pan.
A microplane is highly recommended for the ginger and garlic to ensure they are fine enough to distribute evenly. Finally, ensure you have a high-smoke-point oil on hand, such as avocado or grapeseed oil, as we will be cooking at high temperatures where butter or extra virgin olive oil would burn.
Mastering the Technique: Step-by-Step Instructions
Step 1: The Golden Egg Ribbons
Heat 1 tsp (5ml) of oil in your cast iron skillet over medium heat. Pour in the whisked eggs, tilting the pan to create a thin, even layer. Once set, slide the “egg crepe” onto a cutting board, roll it up tightly, and slice into 1/4-inch ribbons; set these aside for the final assembly.
Step 2: Searing the Charred Chicken
Wipe the skillet and increase heat to medium-high. Add 1 tbsp (15ml) of oil. Once the oil is shimmering, add the chicken chunks in a single layer. Do not crowd the pan; cook in batches if necessary to ensure you get a dark, golden-brown crust. Look for the “light char marks” mentioned in the visual prompt—this takes about 3-4 minutes per side.
Step 3: Developing the Mahogany Glaze
Once the chicken is seared, pour in half of your teriyaki sauce mixture. The sugars will immediately begin to bubble and reduce. Toss the chicken constantly until the sauce thickens into a dark, sticky glaze that coats the meat entirely. Remove the chicken from the pan and set aside.
Step 4: Aromatics and Caramelized Onion Bits
Add another tablespoon of oil to the pan. Toss in the diced onions and carrots. Sauté for 4-5 minutes until the onions are translucent and starting to brown around the edges. Add the garlic and ginger, stirring for only 30 seconds until fragrant to avoid burning the delicate aromatics.
Step 5: Achieving the Scorched Jasmine Rice
Add the chilled jasmine rice to the skillet, breaking up any large clumps with your spatula. Pour the remaining teriyaki sauce over the rice. Spread the rice into an even layer and let it sit undisturbed for 2 minutes. You are looking for a “toasted” sound—a rhythmic popping. Use your spatula to flip the rice, revealing the crispy, scorched golden-brown edges.
Step 6: The Final Synthesis
Fold in the frozen peas (they will thaw instantly in the residual heat), the glazed chicken, and the egg ribbons. Toss everything together for 1-2 minutes until the peas are bright green and the flavors have married. The rice should look moist but individual grains should remain distinct.
Expert Tips for Fried Rice Success
- Rinse Your Rice: If cooking rice specifically for this dish, rinse it under cold water until the water runs clear. This removes excess surface starch, preventing the rice from becoming a gummy mass in the skillet.
- The “Day-Old” Rule: If you don’t have day-old rice, spread freshly cooked rice onto a baking sheet and place it in the freezer for 15-20 minutes. This flash-dries the exterior of the grains.
- High Heat is Your Friend: Do not be afraid of the smoke. The skillet needs to be hot to achieve the “toasted grains” look. If the pan cools down, the rice will absorb the oil and become greasy.
- Sauce Control: Don’t drown the rice. The goal is to tint the rice mahogany and add flavor, not to make it soggy. The cast iron will help evaporate excess moisture.
Storage, Reheating, and Meal Prep
This Teriyaki Chicken Fried Rice stores beautifully, making it an ideal candidate for meal prep. Place leftovers in an airtight container and refrigerate for up to 4 days. When reheating, avoid the microwave if possible. Instead, return the rice to a hot skillet with a teaspoon of water or splash of soy sauce to revive the textures.
For freezing, ensure the rice is completely cool before placing it in a freezer-safe bag. It will stay fresh for up to 3 months. Thaw in the refrigerator overnight before reheating to maintain the integrity of the jasmine rice grains.
What to Serve With This Dish
While this is a complete meal on its own, it pairs excellently with other texture-rich sides. Try serving it alongside a vibrant corn salad for a fusion twist, or keep it light with some roasted summer vegetables. If you are hosting a larger gathering, these chicken meatballs can provide an extra boost of protein on the side.
For those who love a bit of sweetness after a savory meal, consider finishing the evening with honey-infused cupcakes which complement the honey notes in the teriyaki glaze perfectly.
Frequently Asked Questions
Absolutely. Replace the soy sauce with Tamari or liquid aminos. Ensure your toasted sesame oil is also certified gluten-free.
It is not recommended as fresh rice contains too much moisture, which will make the dish mushy. If you must use fresh rice, spread it on a tray and freeze it for 20 minutes first.
High-heat searing is key. Cook the chicken quickly to develop a crust (char marks) and then glaze it. This seals in the moisture before the chicken overcooks.
Yes, you can use maple syrup or agave nectar. The goal is to provide a liquid sugar that creates a glossy, mahogany finish on the chicken.
Most home stoves don’t get hot enough for a wok to work correctly. A cast iron skillet retains heat better, allowing you to achieve the ‘scorched’ rice edges on a standard burner.
The Complete Teriyaki Chicken Fried Rice Recipe
Teriyaki Chicken Fried Rice: The Ultimate One-Pan Cast Iron Recipe
Ingredients
Equipment
Method
- Cook whisked eggs in a thin layer in the skillet, then roll and slice into ribbons.
- Sear chicken breast chunks in high heat until char marks appear, then glaze with half the sauce.
- Sauté aromatics, then add rice and remaining sauce, pressing down to create scorched edges.
- Fold chicken, eggs, and peas back into the rice and garnish with sesame seeds and scallions.
Notes
Keep the skillet very hot to avoid steaming.
Conclusion: Bring the Sizzle Home
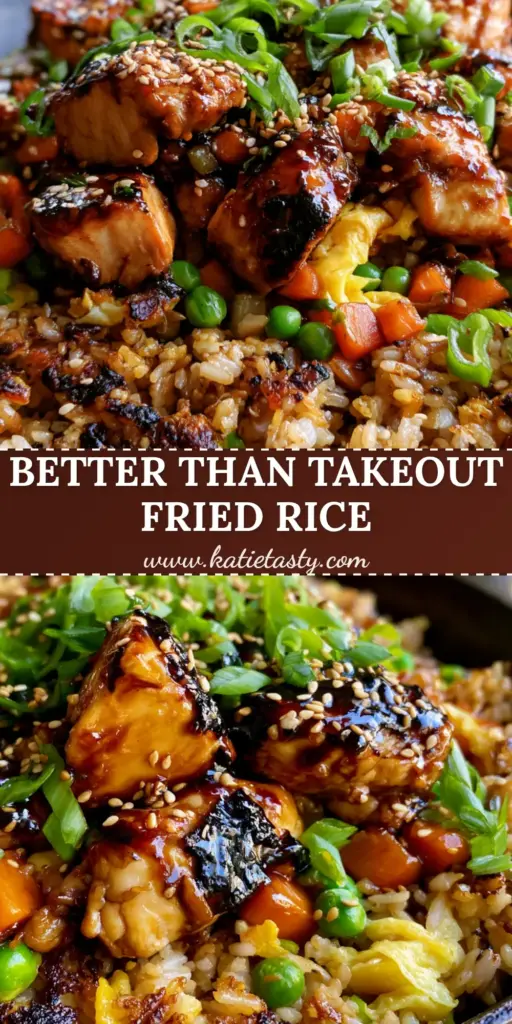
Mastering Teriyaki Chicken Fried Rice is a rite of passage for any home cook looking to elevate their weeknight dinner game. The combination of the heavy cast iron skillet, the mahogany glaze, and the scorched jasmine rice creates a flavor profile that is truly addictive. Don’t forget to garnish heavily with those toasted sesame seeds and fresh scallions for the ultimate visual impact.
Did you manage to get those perfect crispy rice edges? Let us know in the comments below! If you loved this recipe, please share it with your fellow foodies and pin it to your favorite boards on Pinterest so you never lose track of this one-pan wonder.