There is a specific kind of culinary magic that happens when high heat meets perfectly seasoned protein. This salt and pepper pork isn’t just another weeknight stir-fry; it is a masterclass in texture and aromatics. If you have ever craved those ultra-crispy, golden-brown pork cubes from your favorite Cantonese eatery, this recipe is designed to bring that viral-worthy experience directly into your kitchen.
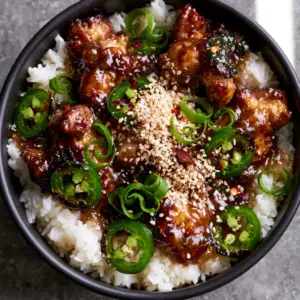
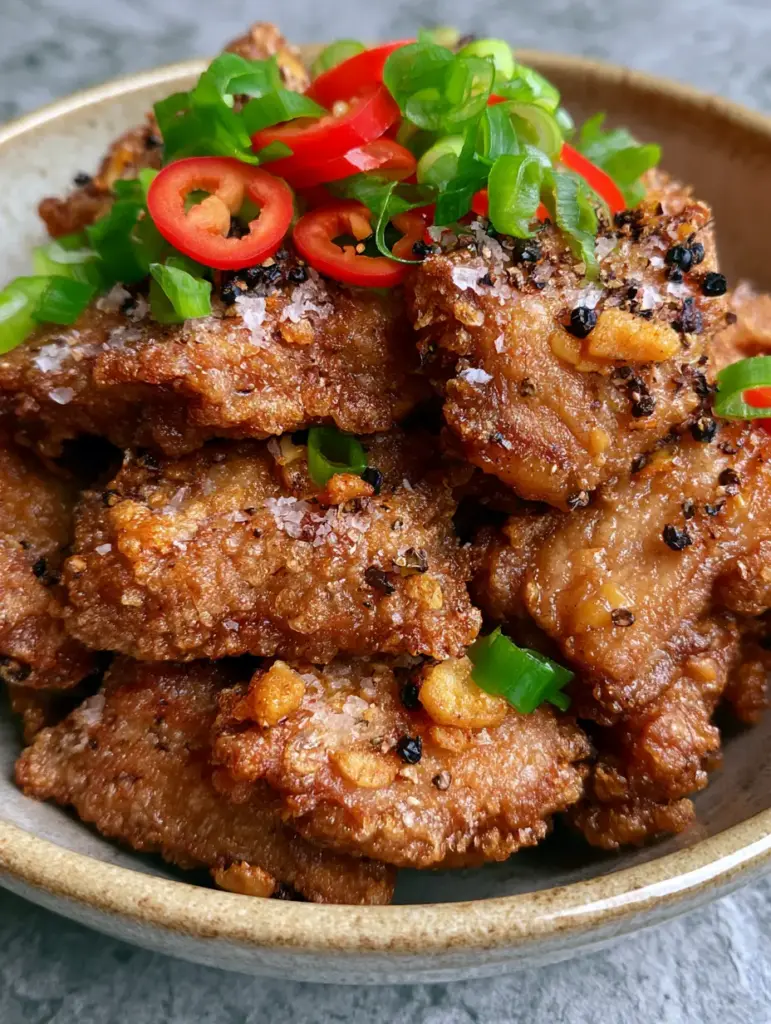
Imagine biting into a pork cube that features a shatter-crisp exterior with jagged, crunchy edges that give way to a tender, juicy center. Each bite is an explosion of coarsely cracked black peppercorns, toasted golden garlic bits, and the sharp heat of fresh red bird’s eye chilies. It is a dish that looks as incredible as it tastes, glistening under the light and piled high over a bed of fluffy jasmine rice.
To achieve the visual perfection seen in our latest kitchen session, we focus on the “dry-fry” technique. This ensures the pork remains light and crunchy rather than greasy. Whether you are looking for a quick dinner or a show-stopping meal to share on social media, this salt and pepper pork delivers on every front.
The Science of Shatter-Crisp Texture and Bold Flavor
- High-Definition Crunch: We use a specific coating method to create those visible jagged crunchy edges that catch the light and hold onto the seasoning.
- Aromatic Intensity: The combination of toasted minced garlic and cracked black peppercorns creates a sophisticated flavor profile that goes beyond simple saltiness.
- Vibrant Visual Contrast: Bright green scallions and rings of red bird’s eye chili provide a fresh pop of color against the deep golden-brown pork.
- Perfect Foundation: Serving this over a steaming base of jasmine rice allows the grains to soak up the seasoned oils and toasted garlic bits.
The Anatomy of Authentic Salt and Pepper Pork Ingredients
Pork Shoulder or Belly (1.5 lbs / 680g): For the best results, choose a cut with decent fat marbling. Pork shoulder provides a great balance of lean meat and fat, while pork belly offers that ultra-decadent glistening finish.
Cornstarch (1/2 cup / 65g): This is the secret to the “jagged” edges. Cornstarch creates a thin, brittle crust that stays crispy much longer than standard flour coatings.
Coarsely Cracked Black Peppercorns (2 tbsp / 12g): Avoid pre-ground pepper here. You want large, visible fragments of pepper to provide both a floral aroma and a significant spicy bite.
Flaky Sea Salt (1.5 tsp / 9g): Use a high-quality salt like Maldon. The large flakes provide a direct “hit” of seasoning on the tongue that balances the heat of the chilies.
Fresh Red Bird’s Eye Chilies (3-4, sliced): These small chilies pack a punch. Their vibrant red rings are essential for the visual blueprint of this dish.
Garlic (6 cloves, minced): We toast the garlic until it reaches a perfect golden-brown. This removes the raw bite and replaces it with a nutty, savory depth.
Scallions (3 stalks, sliced): Also known as green onions, these provide a necessary hit of freshness and a bright green contrast to the rich pork.
Jasmine Rice (2 cups / 400g): The fluffy, floral nature of jasmine rice is the traditional and most effective base for these savory pork bites.
Neutral Frying Oil (1/2 cup / 120ml): Use an oil with a high smoke point, such as peanut or grapeseed oil, to ensure a clean sear without burning.
Essential Kitchen Tools for Professional Results
To achieve the high-definition textures described, a heavy-bottomed skillet or a carbon steel wok is your best friend. These vessels retain heat efficiently, allowing for that rapid golden-brown crust. You will also need a spider strainer or slotted spoon to remove the pork bites while leaving the excess oil behind. A mortar and pestle is highly recommended for cracking the peppercorns to the perfect coarse consistency.

Step-by-Step Evolution of the Perfect Pork Bite
Preparing the High-Protein Canvas
Start by patting your pork completely dry with paper towels. Moisture is the enemy of crispiness; any surface water will create steam and prevent the jagged edges from forming. Cut the pork into uniform 1-inch (2.5cm) cubes. This ensures they all cook at the same rate, reaching a juicy interior just as the exterior turns golden.
The Double-Seasoning Coating Method
In a large bowl, toss the pork cubes with half of the cracked pepper and a pinch of salt. Once seasoned, dredge each piece in the cornstarch, pressing firmly so the starch adheres into the nooks and crannies of the meat. Shake off the excess starch; you want a light, even coating, not a heavy batter. This method is similar to how we prep the base for creamy bell pepper pork bites.
Toasting the Garlic and Aromatics
Heat 1 tablespoon (15ml) of oil in your skillet over medium-low heat. Add the minced garlic and cook, stirring constantly, until it turns a pale golden-brown. Watch this carefully—garlic can go from perfect to burnt in seconds. Remove the garlic and set it aside on a paper towel. This ensures the garlic stays crunchy and sweet rather than bitter and black.
Achieving the Golden-Brown Glisten
Wipe the pan and add the remaining oil, increasing the heat to medium-high. When the oil is shimmering (but not smoking), add the pork in a single layer. Do not overcrowd the pan; cook in batches if necessary. Sear the pork for 3-4 minutes per side. Look for the visual cue: the edges should look jagged and deeply golden-brown, with a distinct glistening finish.
The Final Flavor Infusion
Once all the pork is crispy, drain most of the oil from the pan, leaving about 1 tablespoon. Return all the pork to the pan along with the toasted garlic, sliced red bird’s eye chilies, and the remaining cracked pepper. Toss everything together for 60 seconds over high heat. This “tempering” of the spices wakes up the oils in the pepper and chilies.
Garnishing for Impact
Turn off the heat and throw in the sliced scallions and a generous sprinkle of flaky sea salt. Give it one final toss. The residual heat will wilt the scallions slightly while keeping their bright green color intact. If you enjoy this flavor profile, you might also love our zesty ginger-lime pork for a different citrusy twist.
Expert Tips for Success
- Freeze for Precision: If using pork belly, place it in the freezer for 20 minutes before slicing. This firms up the fat, allowing you to cut perfect, clean cubes.
- The Starch Wait: After dredging the pork in cornstarch, let it sit for 5 minutes. The starch will slightly hydrate, sticking better to the meat and creating a crunchier crust during frying.
- Temperature Control: If the oil isn’t hot enough, the pork will soak up the fat and become soggy. Use a wooden chopstick to test the oil; if bubbles form rapidly around it, you are ready to fry.
- Rice Prep: Rinse your jasmine rice at least three times until the water runs clear. This removes excess starch, ensuring the rice is fluffy and individual, rather than a gummy mass. Pair this with a side of crispy cucumber kimchi salad for the perfect meal.
How to Store and Revive Your Leftovers
While salt and pepper pork is best enjoyed fresh from the pan, you can store leftovers in an airtight container in the refrigerator for up to 3 days. To maintain the crispy texture, do not use a microwave. Instead, reheat the pork bites in an air fryer at 375°F (190°C) for 4-5 minutes, or in a dry skillet over medium heat until warmed through and re-crisped.
What to Serve With Your Crispy Pork
This dish is a powerhouse of flavor and stands well on its own over jasmine rice. However, adding a side of steamed bok choy or a light vinegar-based slaw can cut through the richness of the pork. For those who enjoy a bit of sauce, a side of our savory grilled pork sauce makes an excellent dipping companion. If you’re looking for a lighter protein alternative with similar seasoning, try our lemon and dill salmon.
Frequently Asked Questions
Yes! Spray the cornstarch-coated pork generously with oil and air fry at 400°F (200°C) for 12-15 minutes, tossing halfway through, until golden and crisp.
The secret is using cornstarch instead of flour and ensuring the pork is bone-dry before dredging. Letting the coated pork sit for 5 minutes before frying helps the starch adhere for a better crunch.
It has a kick from the fresh bird’s eye chilies and cracked pepper. For a milder version, remove the seeds from the chilies or reduce the amount of black pepper used.
Pork shoulder (butt) or pork belly are best. They have enough fat to stay juicy during the high-heat frying process while the exterior becomes ultra-crispy.
This usually happens if the pan is overcrowded, which causes the pork to steam rather than sear, or if the oil temperature is too low.
The Ultimate Salt and Pepper Pork Recipe
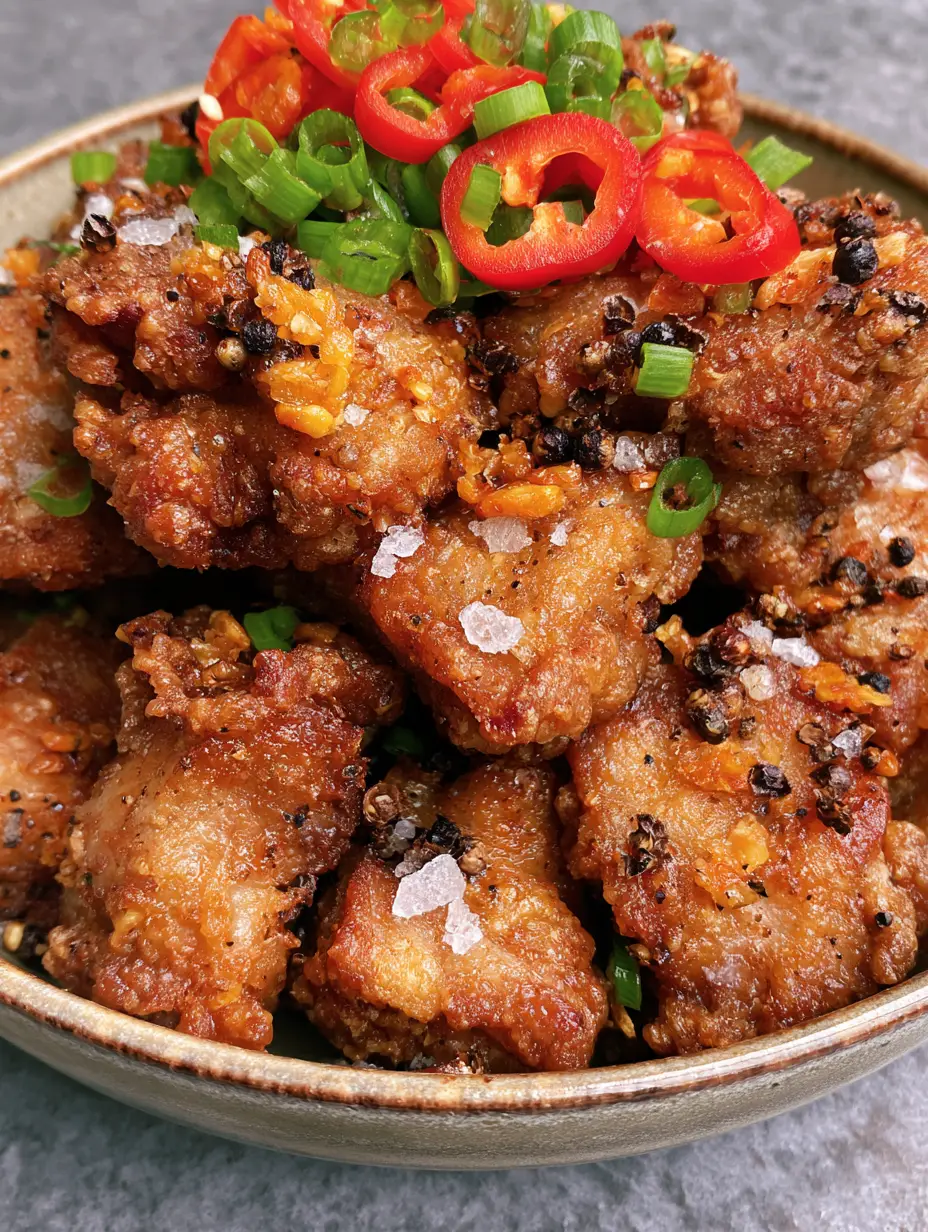
Salt and Pepper Pork: The Ultimate Ultra-Crispy Garlic Bites
Ingredients
Equipment
Method
- Pat the pork dry with paper towels and cut into 1-inch cubes.
- Toss pork with half the pepper, then dredge in cornstarch, shaking off excess to leave jagged edges.
- Heat 1 tbsp oil; fry minced garlic until golden-brown. Remove and set aside.
- Heat remaining oil on medium-high. Fry pork in batches until golden-brown and glistening (3-4 mins per side).
- Drain excess oil. Return pork and garlic to the pan with chilies and remaining pepper. Toss for 1 minute.
- Add scallions and flaky sea salt. Serve immediately over fluffy jasmine rice.
Notes
Use an air fryer to reheat to maintain the crispy texture.
A Viral Meal in the Making
The beauty of this salt and pepper pork lies in its simplicity and high-impact flavors. It’s a dish that appeals to all the senses—the sound of the crunch, the smell of the toasted garlic, and the vibrant colors in the bowl. We can’t wait to see your recreations! If you love this recipe, please leave a comment below and share your photos with us. Be sure to follow us on Pinterest for more viral-inspired home cooking.