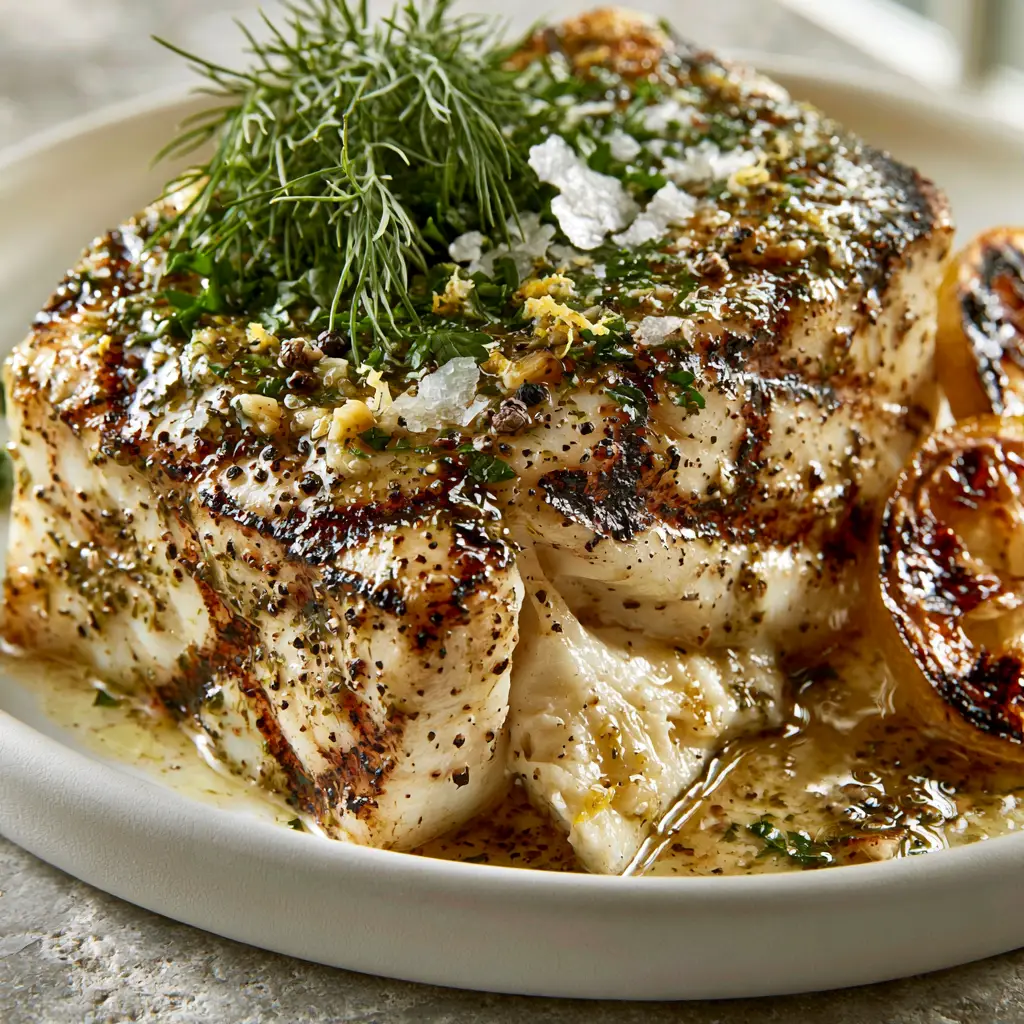
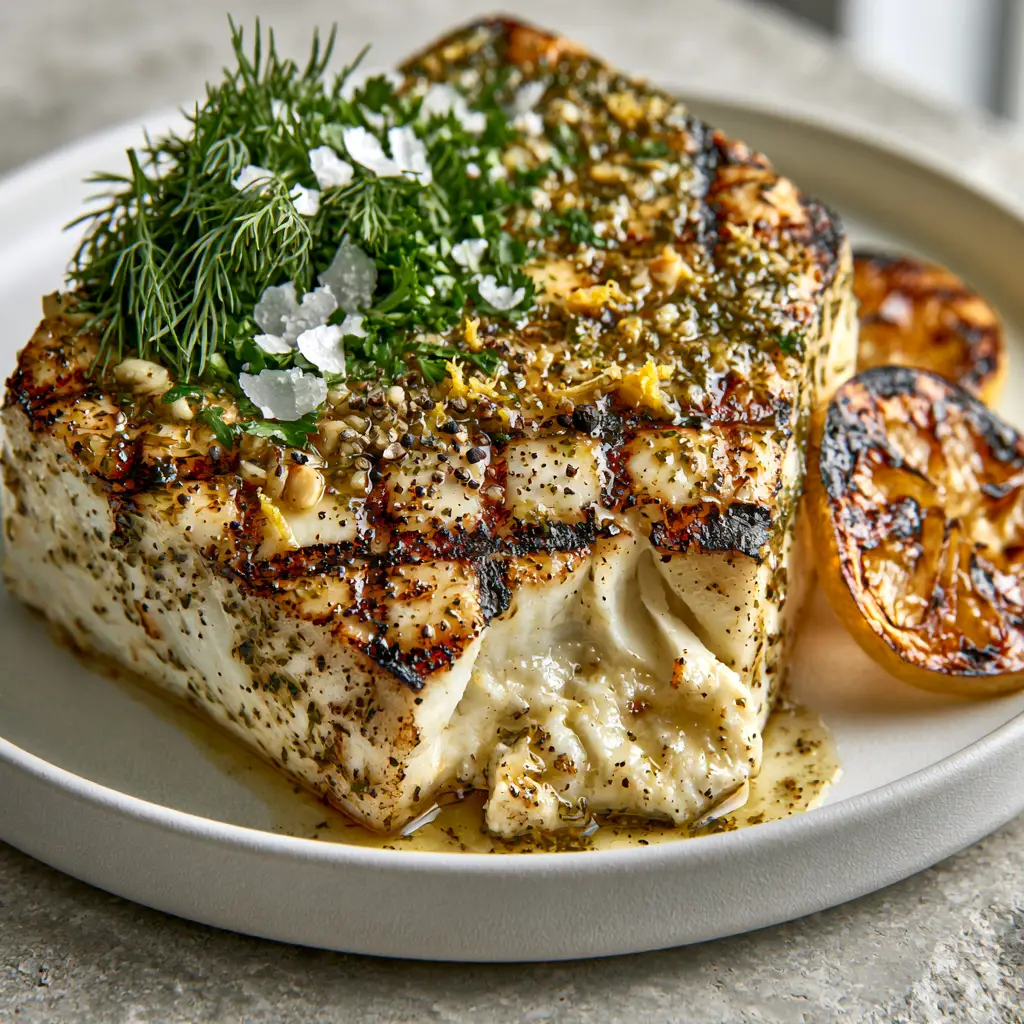
There is nothing quite like the sight of a thick-cut, pearly white halibut steak hitting a screaming hot grate. This grilled halibut recipe is designed for the home cook who craves that restaurant-quality finish: deep, charred cross-hatch grill marks and a moist, buttery interior that flakes at the mere suggestion of a fork. We aren’t just grilling fish; we are engineering a culinary masterpiece that balances the lean, mild sweetness of halibut with a robust, citrus-forward herb marinade.
The secret to this dish lies in the forensic details of the sear. We achieve a distinct contrast between the smoky, caramelized exterior and the succulent, pearly white flakes within. By incorporating a melting herb butter finish, we ensure every bite is infused with the bright notes of lemon zest and the aromatic punch of fresh dill and parsley. This is the ultimate summer centerpiece, visually stunning and scientifically balanced for the perfect palate experience.
Why This Zesty Herb-Crusted Halibut Defines Summer Grilling
- Visual Masterpiece: Professional-grade cross-hatch marks provide a stunning aesthetic that signals a perfect Maillard reaction and deep flavor.
- Succulent Texture: A precise cooking method ensures the halibut remains “pearly white” and juicy, avoiding the common pitfall of overcooked, chalky fish.
- Aromatic Depth: The combination of minced garlic, cracked black pepper, and fresh dill creates a “forest of herbs” that complements the fish without masking its delicate taste.
- Caramelized Citrus: Grilling the lemon slices transforms sharp acidity into a mellow, sweet, and smoky nectar that acts as the perfect final seasoning.
The Anatomy of a Perfect Grilled Halibut Recipe: Ingredients and Purpose
Thick-Cut Halibut Fillets: You need fillets at least 1.5 inches (3.8cm) thick. This thickness is crucial for achieving deep grill marks without overcooking the center, allowing the interior to remain moist and buttery.
Unsalted Butter (Melted): 4 tbsp (56g) of high-quality butter acts as the fat carrier for our aromatics. It creates a glossy, rich coating that helps the herbs adhere to the fish while providing a luxurious mouthfeel.
Fresh Lemon Zest and Juice: The zest of 2 large lemons provides essential oils for fragrance, while the juice adds the necessary acidity to cut through the richness of the butter marinade.
Minced Garlic: 3 cloves (15g) of garlic, finely minced, provide a savory backbone. As they hit the grill, they soften and infuse the herb butter with a mellow, toasted flavor.
Fresh Dill Sprigs: 1/4 cup (10g) of dill adds a feathery texture and a unique, grassy sweetness that is the traditional companion to high-end white fish.
Chopped Flat-Leaf Parsley: 2 tbsp (8g) of parsley adds a clean, peppery finish and a vibrant green color that “pops” against the white fish and dark grill marks.
Cracked Black Pepper and Flaky Sea Salt: These are the textural finishers. Large salt crystals provide a periodic “crunch,” while coarsely cracked pepper offers a slow-burn heat that balances the citrus.
High-Smoke Point Oil: 2 tbsp (30ml) of avocado or grapeseed oil is essential for the grates. This “invisible” ingredient prevents the delicate fish skin and flesh from sticking to the hot metal.
Essential Gear for Professional Fish Grilling
To achieve the visual cues described in our blueprint, you cannot rely on standard kitchen tongs alone. A heavy-duty cast iron grill or a well-seasoned outdoor gas grill is the primary requirement for those deep, charred marks. The thermal mass of cast iron ensures the temperature doesn’t drop when the cold fish makes contact.
Secondly, a flexible fish spatula is non-negotiable. This tool allows you to get underneath the fillet without breaking the delicate, flaky structure. Finally, an instant-read thermometer is your best friend; we are aiming for an internal temperature of 130°F (54°C) to ensure the fish remains “juicy and buttery” rather than dry.
Mastering the Sear: A Step-by-Step Culinary Guide
Preparing the Zesty Herb Marinade
In a small glass bowl, combine your melted butter, lemon zest, minced garlic, and half of the chopped herbs. Whisk vigorously until the garlic is suspended in the butter and the mixture looks glossy and emerald-flecked. Set this aside at room temperature so it remains liquid but begins to thicken slightly, ensuring it coats the fish in a thick layer.
The Art of the High-Heat Sear
Pat your halibut fillets bone-dry with paper towels; moisture is the enemy of the char. Brush each side generously with your high-smoke point oil and season with a base layer of salt. Place the fillets on the grill at a 45-degree angle to the grates. Press down very gently for the first 10 seconds to ensure maximum contact for those cross-hatch marks.
Achieving the Perfect Cross-Hatch Marks
After 3 minutes, rotate the fish 90 degrees while keeping it on the same side. This creates the diamond pattern seen in professional food photography. Once the fish releases naturally from the grate, flip it carefully using your fish spatula. Immediately brush the grilled side with a heavy coating of the zesty herb marinade, letting it melt into the charred grooves.
Finishing with Charred Lemons and Fresh Herbs
While the second side of the fish finishes, place your lemon slices directly onto the hottest part of the grill. Watch for them to turn a deep golden-brown and soften. Once the halibut reaches its target temperature, remove it to a matte white ceramic plate. Garnish with the remaining “forest” of fresh dill, chopped parsley, and a final, aggressive sprinkle of flaky sea salt.
Expert Strategies for Flawless Results
- The “Release” Rule: Never force the fish off the grill. If it’s sticking, the crust hasn’t fully formed yet. Wait another 30 seconds, and the fish will “self-release” once the Maillard reaction is complete.
- Temperature Carry-Over: Fish continues to cook once removed from the heat. Pull the halibut at 130°F (54°C) to allow it to carry over to a perfect 135°F (57°C) while resting.
- Zest Before Juice: Always zest your lemons before cutting and juicing them. It is nearly impossible to zest a spent lemon half efficiently.
- Clean Grates: Use a wire brush to clean your grates while they are hot, then oil them immediately before the fish goes on. A clean surface is the only way to get those “deep, charred” visual results.
Optimal Storage and Reheating Protocols
Halibut is best enjoyed immediately to appreciate the contrast between the hot, charred exterior and the moist interior. However, if you have leftovers, store them in an airtight glass container for up to 2 days. To reheat, avoid the microwave at all costs, as it will turn the buttery texture into rubber.
Instead, place the fish in a pan with a splash of water or broth, cover with a lid, and warm over low heat on the stovetop for 4-5 minutes. This “steams” the fish back to life without drying out the delicate protein fibers. Cold leftover halibut is also exceptional when flaked over a vibrant spinach salad for a high-protein lunch.
Elevating Your Meal: Perfect Pairings
A dish this bold requires sides that offer textural contrast or complementary brightness. A side of garlic butter noodles provides a comforting, starchy base that soaks up any extra zesty herb marinade. If you prefer something lighter, the crispness of a spinach apple chickpea salad offers a sweet and savory crunch that cuts through the buttery halibut.
For those looking for a complete “surf and turf” style spread or a variety of proteins, consider serving this alongside orange dijon grilled halibut to offer guests different flavor profiles. If you have extra herbs, they can easily be repurposed into a garnish for a hearty cabbage and sausage skillet the following evening.
Commonly Asked Questions About Grilling Halibut
Yes, but it must be completely thawed in the refrigerator and patted extremely dry. Any excess moisture will cause the fish to steam rather than sear, preventing those charred marks.
Place the fish at a 45-degree angle to the grates. Cook for 2-3 minutes, then rotate the fish 90 degrees while staying on the same side. This creates the classic diamond pattern before you flip.
Ensure your grates are scrubbed clean and preheated. Pat the halibut completely dry and coat it with a high-smoke point oil like avocado oil. Most importantly, do not try to flip the fish until it ‘self-releases’ from the grate.
Grilling with the skin on helps hold the fillet together and provides a protective layer against the heat. However, if you prefer skinless, ensure your fillets are thick-cut to maintain structural integrity.
For a moist and buttery interior, pull the halibut off the grill when it reaches an internal temperature of 130°F (54°C). Carry-over cooking will bring it to the ideal 135°F (57°C) as it rests.
The Ultimate Grilled Halibut Recipe with Herb Butter
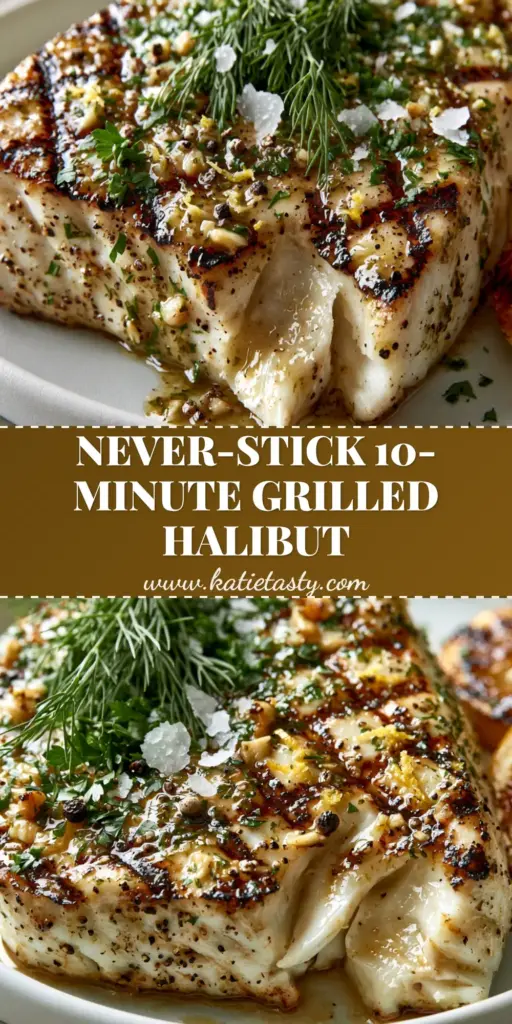
Grilled Halibut Recipe with Zesty Herb Butter and Charred Lemons
Ingredients
Equipment
Method
- In a small bowl, whisk together melted butter, lemon zest, minced garlic, and half of the chopped dill and parsley until well combined.
- Pat the halibut fillets extremely dry with paper towels. Rub with avocado oil and season lightly with salt.
- Place halibut on a preheated grill (450°F) at a 45-degree angle. Cook for 3 minutes until deep char marks form. Rotate 90 degrees and cook for another 2 minutes for cross-hatching.
- Flip the fish carefully. Brush the grilled side generously with the herb butter marinade. Place lemon wheels on the grill simultaneously.
- Cook until the internal temperature reaches 130°F (54°C). Remove fish and lemons from the grill. Garnish with remaining fresh herbs and flaky sea salt.
Notes
Use a high-smoke point oil like avocado oil to prevent sticking on high-heat grates.
Bring the Luxury of a Seafood Grill Home
This grilled halibut recipe is more than just a meal; it is a masterclass in texture and temperature. By following these forensic steps—focusing on the thick-cut fillets, the cross-hatch marks, and the zesty herb infusion—you can create a dish that is as visually stunning as it is delicious. We invite you to try this technique and see the difference that professional culinary logic makes in your home kitchen.
Did those grill marks turn out perfectly? We want to see your results! Leave a comment below, sign up for our newsletter for more elite recipes, and be sure to share this post to your favorite boards on Pinterest to save it for your next summer cookout!