There is a specific, undeniable magic that happens when shredded russet potatoes meet the intense, conductive heat of a dark metal sheet pan. We are talking about Loaded Hash Browns that redefine the breakfast standard, featuring edges so shatteringly crispy they mimic the snap of a kettle chip.
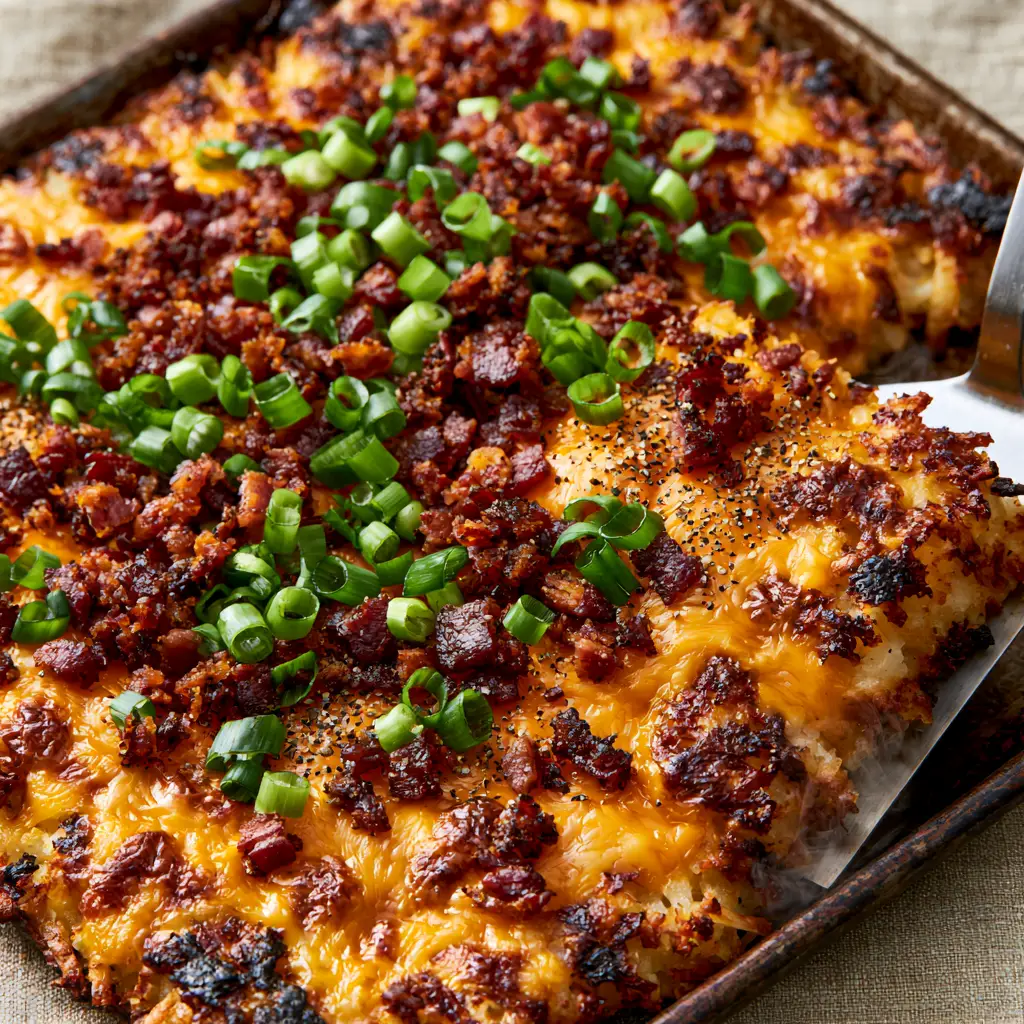
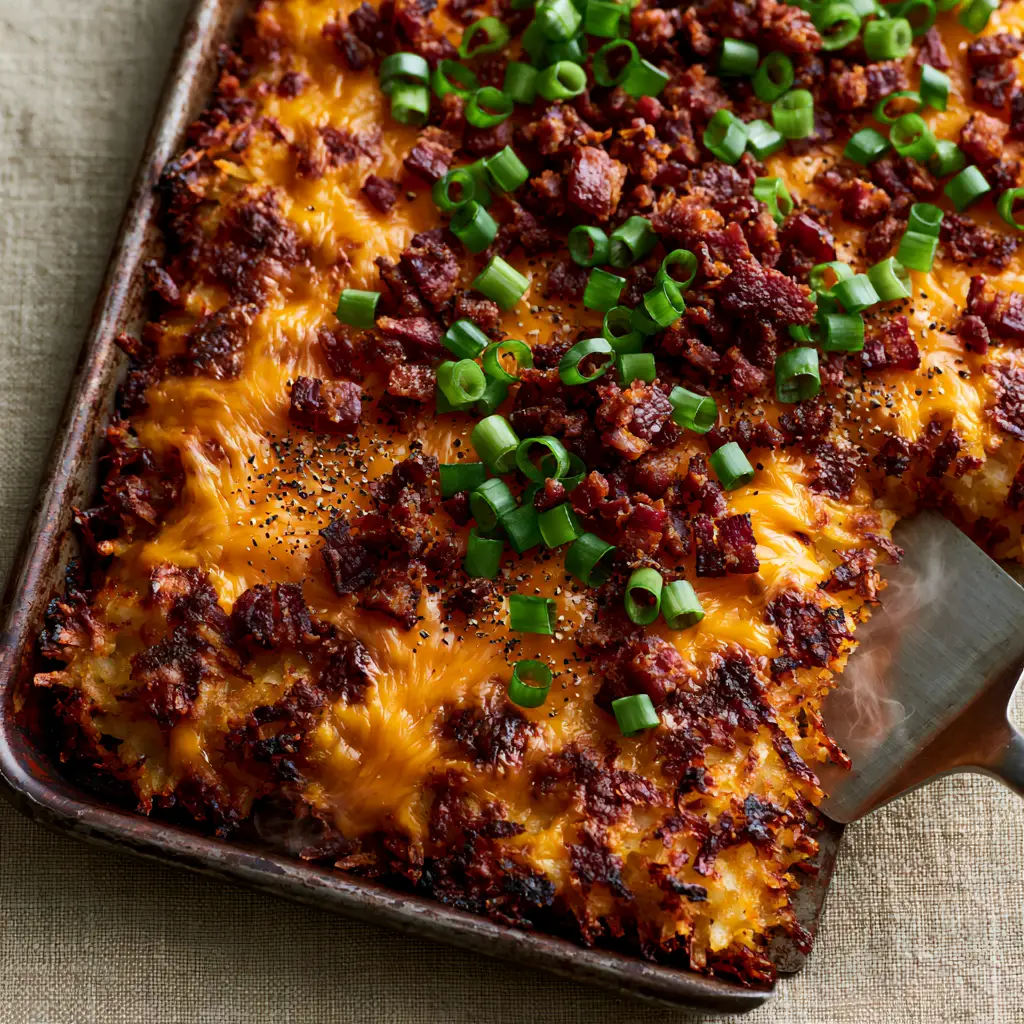
Imagine pulling a tray from the oven where the surface is a sea of bubbling, sharp orange cheddar cheese, caramelized at the borders to a deep amber hue. This isn’t just breakfast; it is a culinary event designed to satisfy the most intense cravings for salt, fat, and crunch.
Every square inch of these Loaded Hash Browns is designed for maximum flavor impact, from the smoky, thick-cut bacon crumbles to the bright, sharp bite of freshly sliced green onions. Whether you are hosting a weekend brunch or seeking the ultimate comfort food, this sheet pan method ensures every portion has that coveted, perfectly browned underside.
The Anatomy of the Perfect Sheet Pan Crunch
- The Shatter-Crisp Edge: By using a dark metal pan and high-heat fats, we achieve visible charred, crispy borders that provide a structural contrast to the tender potato interior.
- The Molten Cheddar Blanket: A thick layer of sharp orange cheddar doesn’t just melt; it bubbles and browns, creating a savory crust that fuses the toppings to the potatoes.
- Thick-Cut Bacon Architecture: We use massive amounts of small, thick-cut bacon crumbles to ensure every single forkful contains a hit of smoky protein.
- Symphonic Seasoning: A final dusting of cracked black pepper and sea salt flakes cuts through the richness of the cheese, highlighting the earthy notes of the russet potatoes.
The Essential Elements for Loaded Hash Browns Mastery
To achieve the visual and textural results seen in professional food photography, we must select ingredients that behave predictably under high heat. Here is what you will need for your Loaded Hash Browns masterpiece.
Shredded Russet Potatoes: 3 lbs (1.36kg) of large russets are the gold standard here because their high starch content leads to superior browning. Avoid waxy potatoes like Red Bliss, as they contain too much moisture to achieve that signature shatter-crisp texture.
Sharp Orange Cheddar Cheese: 3 cups (340g) of freshly grated sharp cheddar provides that iconic bubbling orange surface. Freshly grating your cheese is mandatory; pre-shredded bags contain anti-clumping starches that prevent the cheese from caramelizing beautifully at the borders.
Thick-Cut Bacon: 12 oz (340g) of bacon, diced and cooked until crispy, provides the “massive amount” of topping required. The thickness of the cut ensures the bacon maintains its structural integrity and “snap” even when nestled into the melted cheese.
Fresh Green Scallions: 1 bunch (approx. 6-8 stalks) provides the essential aromatic lift and bright green visual contrast. We use both the white and green parts to ensure a balance of sharp onion flavor and fresh, herbal notes.
High-Smoke Point Fat: 4 tbsp (60ml) of avocado oil or clarified butter is the “invisible” hero that fries the potatoes against the metal pan. Using a fat with a high smoke point prevents the Loaded Hash Browns from tasting acrid or burnt at 425°F (220°C).
The Seasoning Duo: 1 tsp (5g) sea salt flakes and 1 tsp (2g) freshly cracked black pepper are vital. The sea salt flakes provide a delicate crunch and “pop” of salinity, while the coarse pepper adds a woody heat that balances the fat.
If you are looking to round out a full brunch spread, these potatoes pair beautifully with refreshing sides like a Mexican street corn salad or even some roasted summer vegetables for a lighter touch.
The Critical Tools for Sheet Pan Success
Achieving a 45-degree angle-worthy lift with a metal spatula requires the right equipment. A dark, heavy-duty rimmed baking sheet is non-negotiable for Loaded Hash Browns.
Dark metal absorbs heat more efficiently than shiny aluminum, which is the secret to getting that perfectly browned underside. You will also need a clean kitchen towel or cheesecloth; this is the most important “tool” for removing every drop of excess moisture from the shredded potatoes.
A sturdy metal spatula is also required to slide under the corners of the hash browns. This allows you to lift square portions while keeping the steam trapped inside and the crispy crust intact on the bottom.
Step-by-Step: Constructing the Ultimate Loaded Hash Browns
The Art of the Potato Squeeze
Start by peeling and grating your russet potatoes into a large bowl of cold water. This removes surface starch that causes clumping; once the water runs clear, drain the potatoes and transfer them to a clean kitchen towel.
Twist the towel with all your might to wring out every drop of moisture until the potato shreds feel dry to the touch. This “forensic” attention to moisture is the only way to ensure your Loaded Hash Browns are crispy rather than steamed and soggy.
The Golden Foundation Bake
Toss the dried potato shreds with your oil, sea salt, and half of the cracked black pepper. Spread them across your dark metal sheet pan in an even layer, pressing down firmly with the back of a spatula to create a tight “cake.”
Bake at 425°F (220°C) for 20-25 minutes. Look for the visual cue of deep golden-brown edges that have begun to pull away slightly from the sides of the pan; this indicates the Maillard reaction is working its magic.
The Cheesy Loading Phase
Remove the pan and immediately cover the surface with your massive blanket of sharp cheddar cheese. Sprinkle the crispy bacon bits evenly over the top, ensuring they nestle into the cheese gaps.
Return the pan to the oven for another 5-8 minutes. You are looking for the cheese to be bubbling and for those “caramelized borders” to form where the cheddar meets the hot metal of the pan.
The Final Garnish and Reveal
Once the cheese is molten and slightly browned, remove the pan from the oven. Immediately top with a heavy garnish of sliced green onions and the remaining cracked black pepper.
Use your metal spatula to slide under a corner, lifting a square portion to reveal the steam escaping. The underside should be a uniform, deep mahogany brown, matching the shattered, crispy edges of the top layer.
Chef’s Tips for Fail-Proof Crispy Potatoes
- The Pan Temperature: If you have time, preheat the sheet pan in the oven before adding the oiled potatoes for an instant sear.
- The Thickness Factor: Don’t spread the potatoes too thin, or they will become hard and dry; aim for a thickness of about 1/2 inch (1.25cm).
- Freshly Cracked Pepper: Always use a pepper mill; pre-ground pepper loses its volatile oils and won’t provide the same aromatic punch against the Loaded Hash Browns.
- The Resting Period: Let the pan sit for 2 minutes after the final bake; this allows the cheese to “set” slightly, making it easier to lift clean squares.
Preserving the Crunch: Storage and Reheating
While Loaded Hash Browns are best served immediately to appreciate the “shatteringly crispy edges,” you can store leftovers in an airtight container for up to 3 days. To restore the texture, avoid the microwave at all costs.
Instead, reheat portions in a dry skillet over medium heat or back in a 400°F (200°C) oven for 10 minutes. This will re-melt the cheddar and crisp up the potato base without making the bacon rubbery.
For those meal-prepping for a crowd, these potatoes are much heartier than a zucchini casserole, making them excellent for reheating during a busy work week.
Creative Pairings for a Breakfast Feast
These Loaded Hash Browns are a meal on their own, but they also serve as a spectacular base for a larger spread. Consider serving them alongside fluffy Greek yogurt waffles for a sweet and savory balance.
If you want to keep the meal high in protein, a side of scrambled eggs or a serving of high-protein vegetarian options like seasoned black beans works wonders. For a complete sheet pan theme, you could even serve them as a side to sheet pan fajitas during a festive brunch.
Common Questions About Loaded Hash Browns
Yes, but you must thaw them completely and squeeze out any excess moisture to achieve the same level of crispiness as fresh russet potatoes.
No flipping is required! The dark metal pan conducts enough heat to brown the underside perfectly while the top gets crispy under the oven’s heat.
Use a dark metal baking sheet and a high-heat fat like avocado oil. Avoid parchment paper, as direct contact with the metal pan creates the best crust.
Sharp orange cheddar is best for its flavor and ability to caramelize at the borders. Always grate it fresh for the best bubbling texture.
Sogginess is usually caused by excess moisture. Ensure you wring the potatoes thoroughly in a kitchen towel until they are bone-dry before baking.
The Ultimate Loaded Hash Browns Recipe Card
Loaded Hash Browns Sheet Pan Recipe: The Crispiest Cheesy Breakfast
Ingredients
Equipment
Method
- Peel and shred the russet potatoes into a bowl of cold water. Rinse until the water is clear to remove excess starch.
- Transfer shredded potatoes to a clean kitchen towel and wring vigorously until completely dry. This is essential for crispiness.
- Toss potatoes with oil, salt, and half the pepper. Spread on a dark metal sheet pan and press down. Bake at 425°F (220°C) for 20-25 minutes until edges are golden-brown.
- Top with shredded cheddar and bacon crumbles. Return to the oven for 5-8 minutes until cheese is bubbling and caramelized at the borders.
- Remove from oven and immediately top with sliced green onions and remaining cracked black pepper. Slice into squares and serve hot.
Notes
Ensure the cheese is freshly grated to achieve the best melt and caramelization.
Closing Thoughts on Sheet Pan Excellence
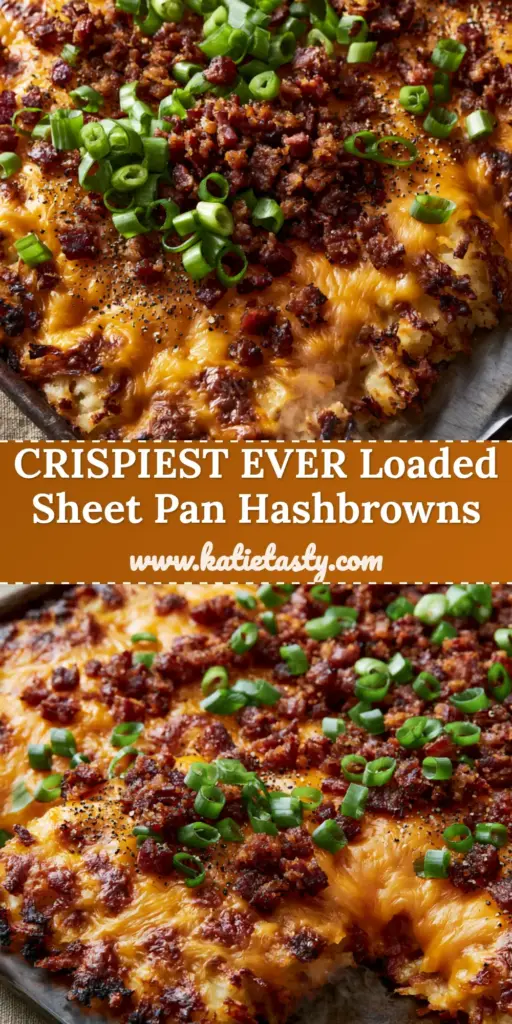
Mastering these Loaded Hash Browns is about understanding the relationship between heat, moisture, and fat. When you see that steam rising from a perfectly browned square, you’ll know the effort of squeezing those potatoes was worth every second.
If you loved this recipe, please leave a comment below and let us know how your crispy edges turned out! Don’t forget to share your creations and follow us on Pinterest for more indulgent breakfast inspiration.